Send signal messages via script / API: signal-cli-rest-api

The well-known Signal Messenger can besides the app also be used via command line or from other systems. The signal-cli-rest-api, which is available in the form of a Docker container, offers a simple option for this. For the API to work, it has to be coupled via the Signal app beforehand.
Profile Docker Basics
A container is an isolated environment independent of the operating system (OS):
When a container is first launched, Docker independently loads all the necessary sources
from the internet.
Docker can be installed on Windows, macOS or an Linux Distribution
| Software | Signal-cli-rest-api |
|---|---|
| GitHub | https://github.com/bbernhard/signal-cli-rest-api |
| current version | 0.98 |
| found | 2026-03-12 |
Those who have Docker installed on their system can start the API with the following command:
docker run -d --name signal-api --restart=always -p 8080:8080 \
      -v $HOME/.local/share/signal-cli:/home/.local/share/signal-cli \
      -e 'MODE=native' bbernhard/signal-cli-rest-api
To include the API in another project or to document the parameters, it is a good idea to use a docker-compose.yml - file:
version: "3"
services:
  signal:
    container_name: signal-api
    image: bbernhard/signal-cli-rest-api:latest
    restart: always
    ports:
      - "8080:8080"
    environment:
      MODE: 'normal'
    volumes:
      - "./signal:/home/.local/share/signal-cli"
After saving the content to a file or adding it to another docker-compose file, the container can be started with "docker compose up -d".
Connect Signal app
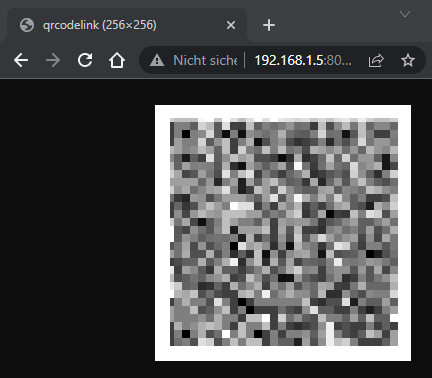
Dhe container generates a QR code via which the Signal app can be paired. The call is made via the browser: http://localhost:8080/v1/qrcodelink?device_name=signal-api
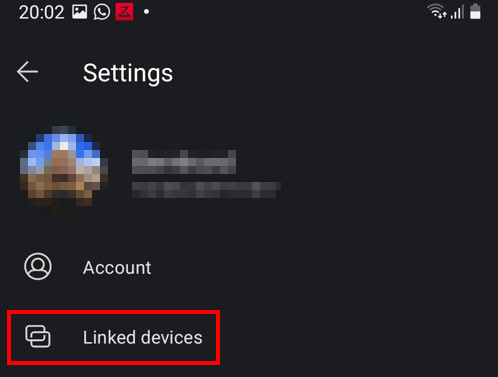
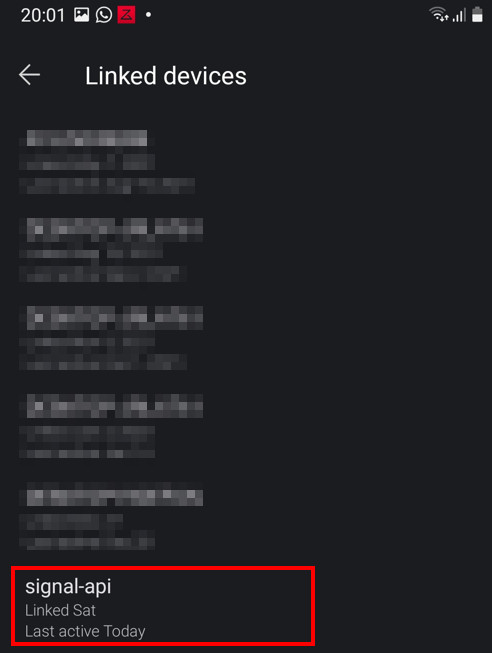
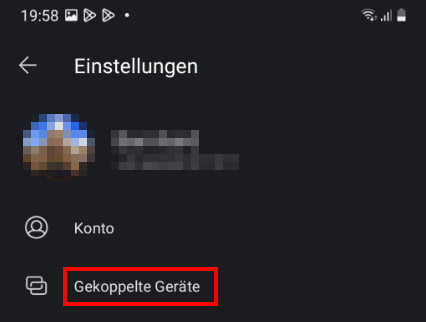
In the Signal app, on the smartphone, the API can be paired with "+" under Settings and "Paired devices":

Send Signal message
The API allows sending and retrieving messages via a POST request:
Send signal message from terminal (curl).
The following terminal command can send a signal message to one or more phone numbers after pairing:
curl -X POST -H "Content-Type: application/json" 'http://localhost:8080/v2/send' \
     -d '{"message": "Test via Signal API!", "number": "+4412345", "recipients": [ "+44987654" ]}'
The parameter "number" stands for the phone number of the sender, i.e. for the own number. As destination: "recipients" the own or one or more other telephone numbers can be used. Besides the terminal it is also possible to use the API of certain systems directly, as an example from Home Assistant.
Home Assistant - Notification
Beforehand, it should be briefly mentioned that Home Assistant already offers a possibility for notifications with its official app, see: Home-Assistant Docker Conbee 2 and Zigbee2MQTT / deCONZ. Signal I tested as an alternative, as described here. Since I also use Docker and a docker-compose file for Home Assistant, I added the previously mentioned lines to Home-Assistant 's docker-compose.yml file.
In Home Assistant or in its configuration, different profiles for different phone numbers can be created in advance: As an example, I added a profile named "signal" to Home Assistant configuration. Here are the additional lines of the configuration.yaml - file:
...
notify:
  - name: signal
    platform: signal_messenger
    url: "http://signal-api:8080"
    number: "+44987654" # the sender
    recipients:
      - "+44987654"
...
The parameters "number" and "recipients" again reflect the sender and recipient phone numbers. The URL contains the name of the Signal API, according to the example: "signal-api".
The notification profile can then be used in an automation, for example:

service: notify.signal
data:
  message: >-
    Temperatur: {{states('sensor.keller_temperature')}}°C
Luftfeuchtigkeit:{{states('sensor.keller_humidity')}}% 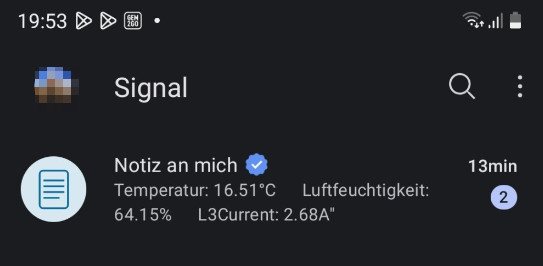
Uptime Kuma - Notification
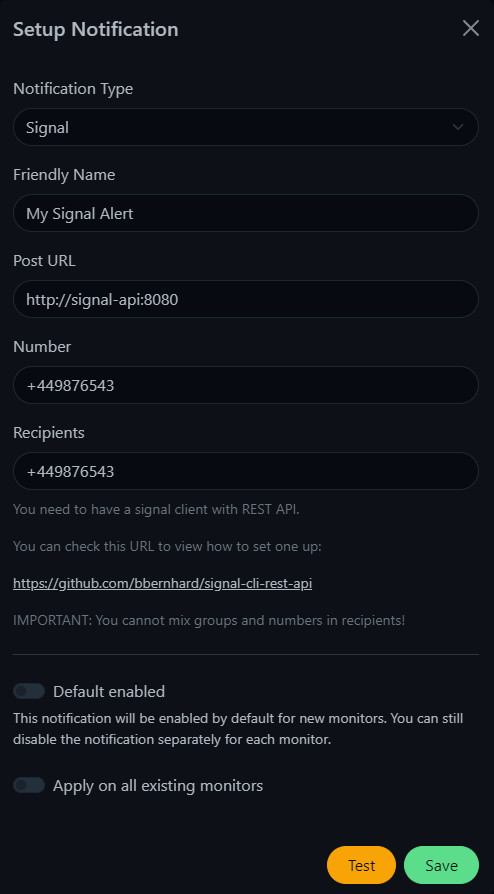
Those who monitor certain services with Uptime Kuma can also receive notifications from it via Signal:
Signal messages from Grafana: only via a detour
Grafana does not provide out-of-the-box support for the Signal API, see: github.com/grafana/grafana/issues/14952. In addition, the transmitted parameters cannot be specified when using the webhook notification, which means that directly addressing the Signal API does not work. After using a simple Docker container for receiving webhooks for Gitea, I came up with the idea of sending the messages from Grafana to the webhookd container and then automatically forwarding them to the signal-api using curl. See also: Docker WebHook Deamon: simple hook server for bash scripts.
So for the setup, I also added the "webhookd" service to "signal". Here are the additional lines in the docker-compose.yml - file:
...
  signal:
    container_name: signal-api
    image: bbernhard/signal-cli-rest-api:latest
    restart: always
    ports:
      - "8080:8080"
    environment:
      MODE: 'normal'
    volumes:
      - "./signal:/home/.local/share/signal-cli"
  webhookd:
    hostname: webhookd
    image: ncarlier/webhookd:edge-distrib
    container_name: webhookd
    restart: always
    volumes:
     - ./webhookd:/scripts
     - ./webhookd_tmp:/tmp
    environment:
      WHD_LISTEN_ADDR: ":80"
      WHD_SCRIPTS: /scripts
      WHD_HOOK_TIMEOUT: '600'
...
Sending is also done here with curl. As a base, I customized a sample bash script and saved the content in the scripts folder with the name signal.sh:

Contents signal.sh file:
#!/bin/sh
# Validate parameters
payload=$1
payload="$(echo "$payload"|tr -d '\n')"
[ -z "$payload" ] && die "missing request payload"
payload_type=$(echo $payload | jq type -r)
[ $? != 0 ] && die "bad body format: expecting JSON"
[ ! $payload_type = "object" ] && die "bad body format: expecting JSON object but having $payload_type"

#extract message:
message=$(echo $payload | jq .message -r)

#send to signal_api
curl -X POST -H "Content-Type: application/json" "http://signal-api:8080/v2/send" -d "{\"message\": \"$message\", \"number\": \"+4398765\", \"recipients\": [\"+43664601911517\"]}"
The last line in the bash script corresponds to the curl call mentioned earlier.
In order to start the bash script, I allowed it to be executed with chmod +x:
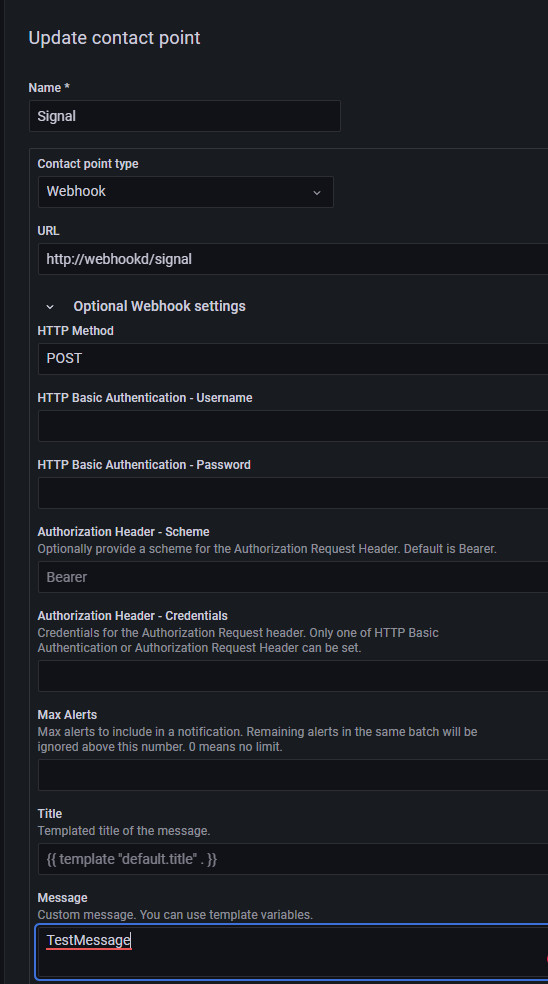
chmod +x . signal.sh In Grafana, a new "Update contact point" with the URL http://webhookd/signal is now sufficient. "webhookd" is the name of the webhookd container and "signal" the name of the bash file without .sh
The function of the bash file is currently limited to transferring the transmitted message (message), which allows the use of templates and variables for the message in Grafana.
Conclusion
The "signal-cli-rest-api" can be accessed relatively easily from other systems using a POST call. As an example, Home Assistant or Uptime Kuma provides direct support for the API. If a system does not officially support the API, it may be possible to use the API via the mentioned Webhook Daemon, see: Docker WebHook Daemon: simple hook server for bash scripts..
 ({{pro_count}})
{{percentage}} % positive
 ({{con_count}})