Home Assistant - Raspberry PI installation
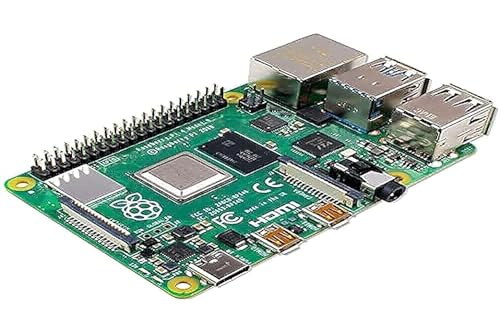
One of the preferred installation variants of Home Assistant, besides the use of Docker, is the Home Assistant operating system: HAOS and a Raspberry Pi (RPi). Using a Raspberry Pi as a smart home control center is simple, cheap to purchase, and power efficient to operate.

SD or SSD?
An SSD hard disk is often recommended as storage for Home Assistant, since changes in the database trigger a relatively large number of write operations, which could cause a cheap SD card to give up. Alternatively, an SD card that is designed for a high number of write operations can be used, e.g. SanDisk MAX ENDURANCE
Even better, however, is the use of an external SSD USB disk, as the firmware of HDDs usually distributes the write operations more intelligently and can therefore potentially achieve an even longer service life.
HAOS- Installation Raspberry Pi
The easiest way to install HAOS on the Raspberry Pi is to use the Raspberry Pi Imager: https://www.raspberrypi.com/software/, see also: Raspberry Pi Startup.
The HAOS image is written to an empty SD card, which then starts the Raspberry Pi with Home Assistant. Depending on the hardware used: Raspberry Pi 3, 4 or 5, an appropriate image can be selected:Then still select the inserted SD card and "WRITE" the image:
Raspberry PI Start: Access via the browser
Inserted into the Raspberry Pi, it boots with Home Assistant and can be accessed via its name or IP address and port 8123 in the browser: http://homeassistant.local:8123/. Alternatively, a look at the router's management interface will tell us the IP address, or it can also be found out using the following PowerShell script: Find IP addresses on the network even if their firewall is enabled.
 ({{pro_count}})
{{percentage}} % positive
 ({{con_count}})