Fronius Gen24 Commissioning: Connection >Setup >Integration

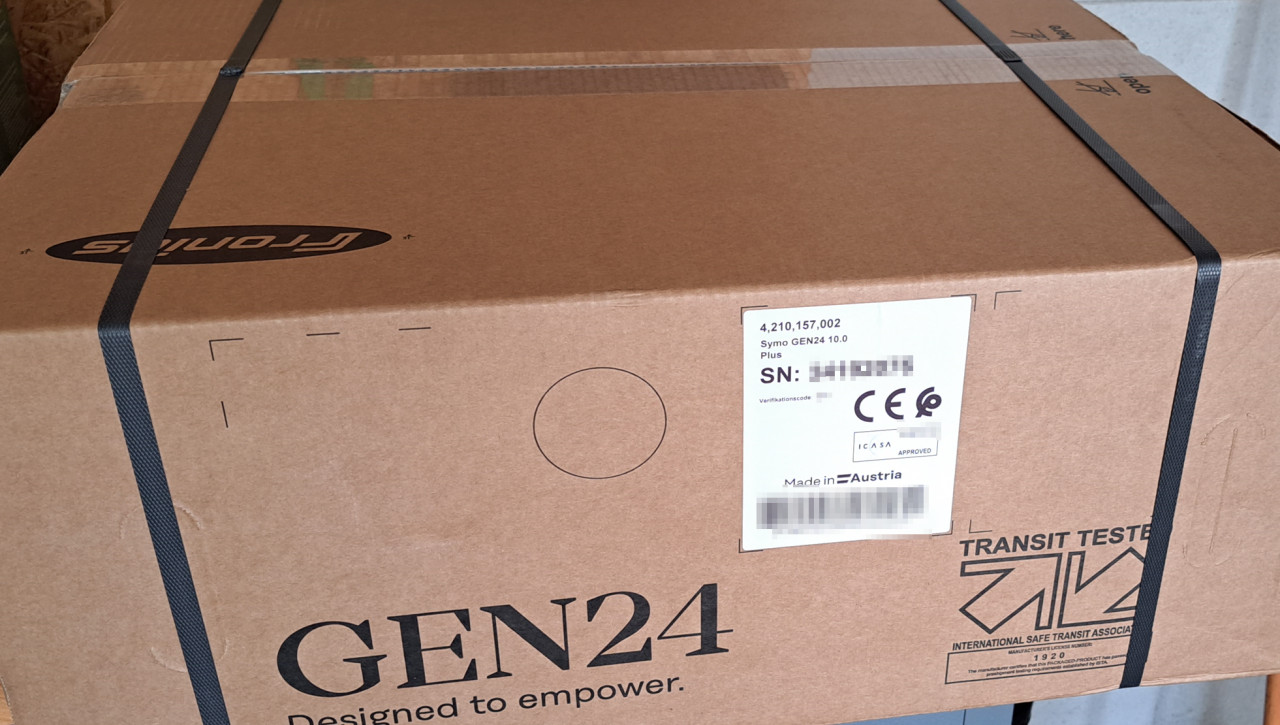
One of the first details needed for the approval of a PV system is the data of the inverter. In the years 2022/ 2023, in besides the technical data, the availability was also a decision criterion for the selection. In order to fix the inverter type and to be able to plan the rest of the plant better, I first tried to get my favorite inverter - the Fronius Gen24 - in advance. Although somewhat overpriced, but in stock, I was able to order the device via Amazon and a provider:
AC Wiring
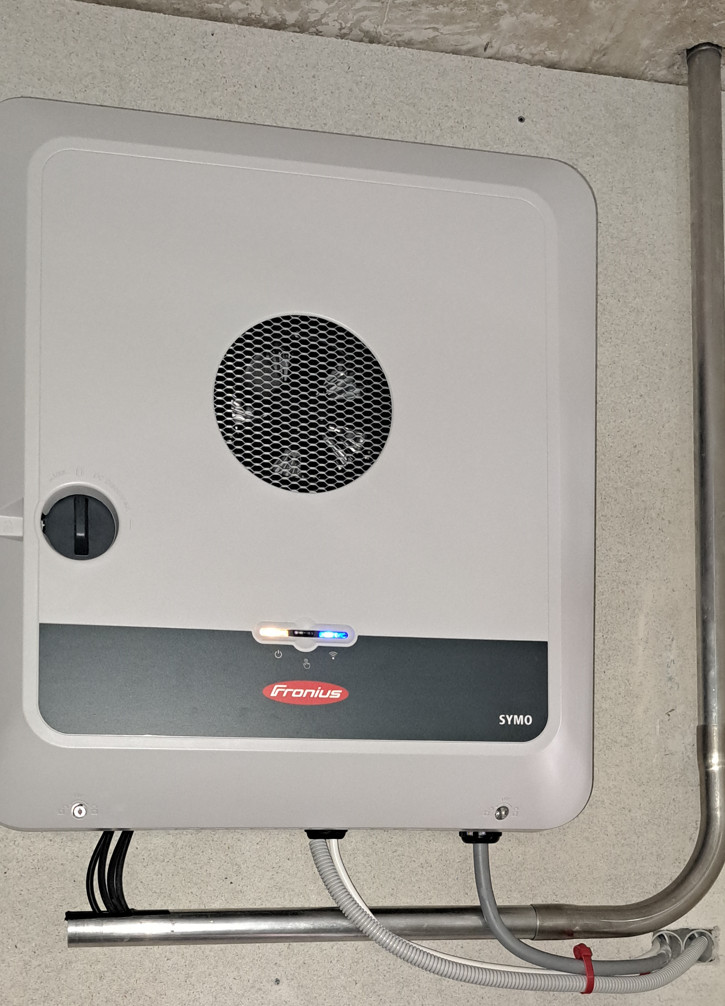
After mounting the inverter on the wall, I was able to connect the AC side, including the smart meter and emergency power outlet:
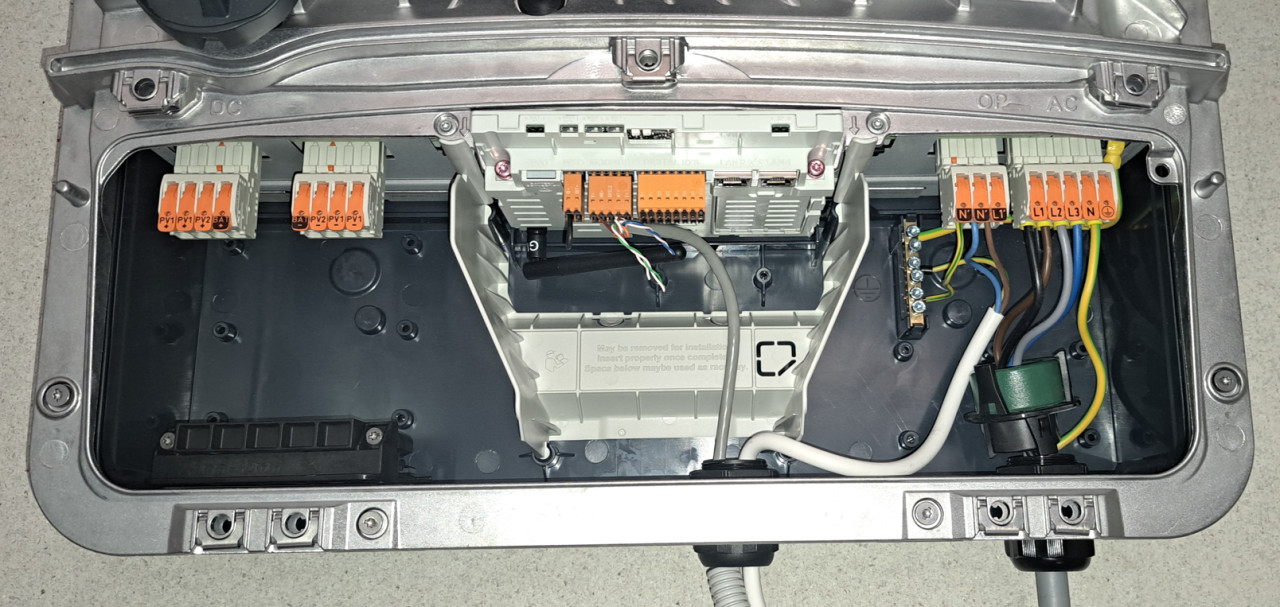
For the requirements for the AC side, I took a look at the manual and used a 5x 6 mm² cable to the inverter, which I hooked to a 32A circuit breaker and after a 100mA residual current device (RCD).
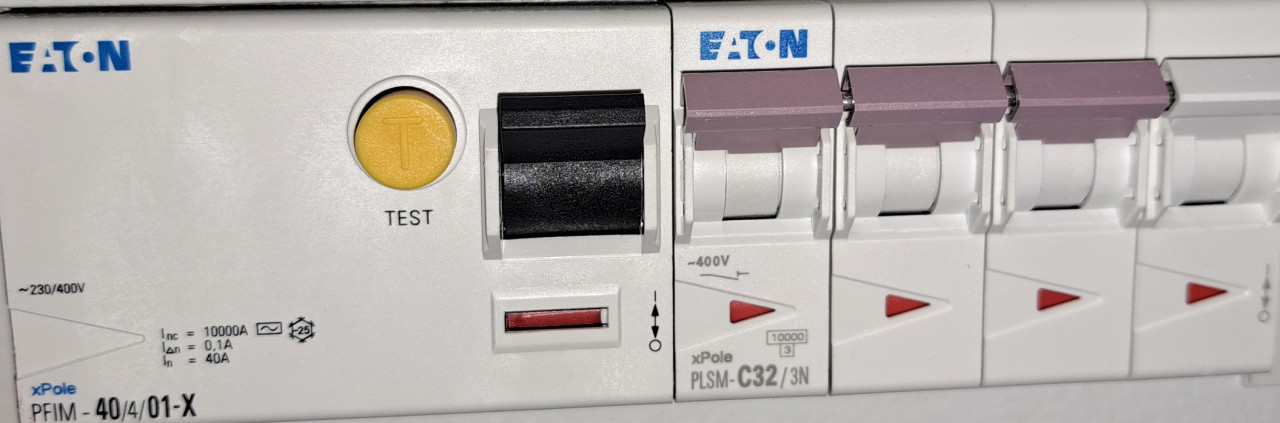
I hung the cables for the PV point on a socket in the meter cabinet via a RCD/LS automatic circuit breaker (RCBO):

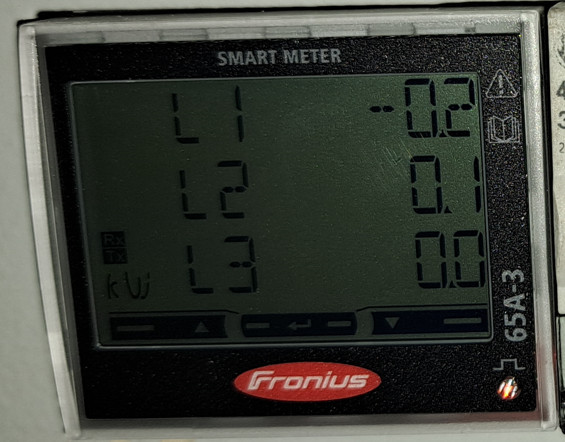
I clamped a Fronius 65A-3 smart meter between the meter and the RCDs for the house wiring and connected it to the inverter via LAN cable. Not sure where to connect the neutral conductor from: I don't think the documentation is very clear here. After the RCD, the smart meter could cause a small Fault current and before the RCD the neutral would be unprotected? For the above reasons, I tried the smartmeter first without N-conductor and lo and behold: works too.
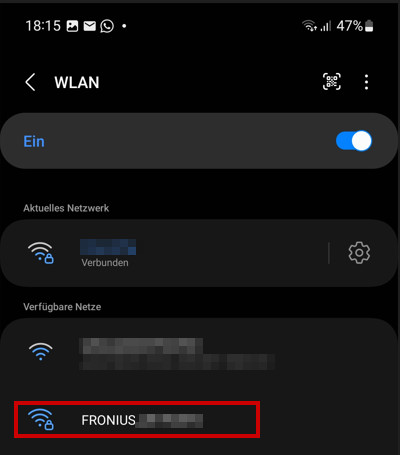
After switching on the FI and circuit breaker, the inverter reports as a WLAN hotspot.
DC cabling: DC side
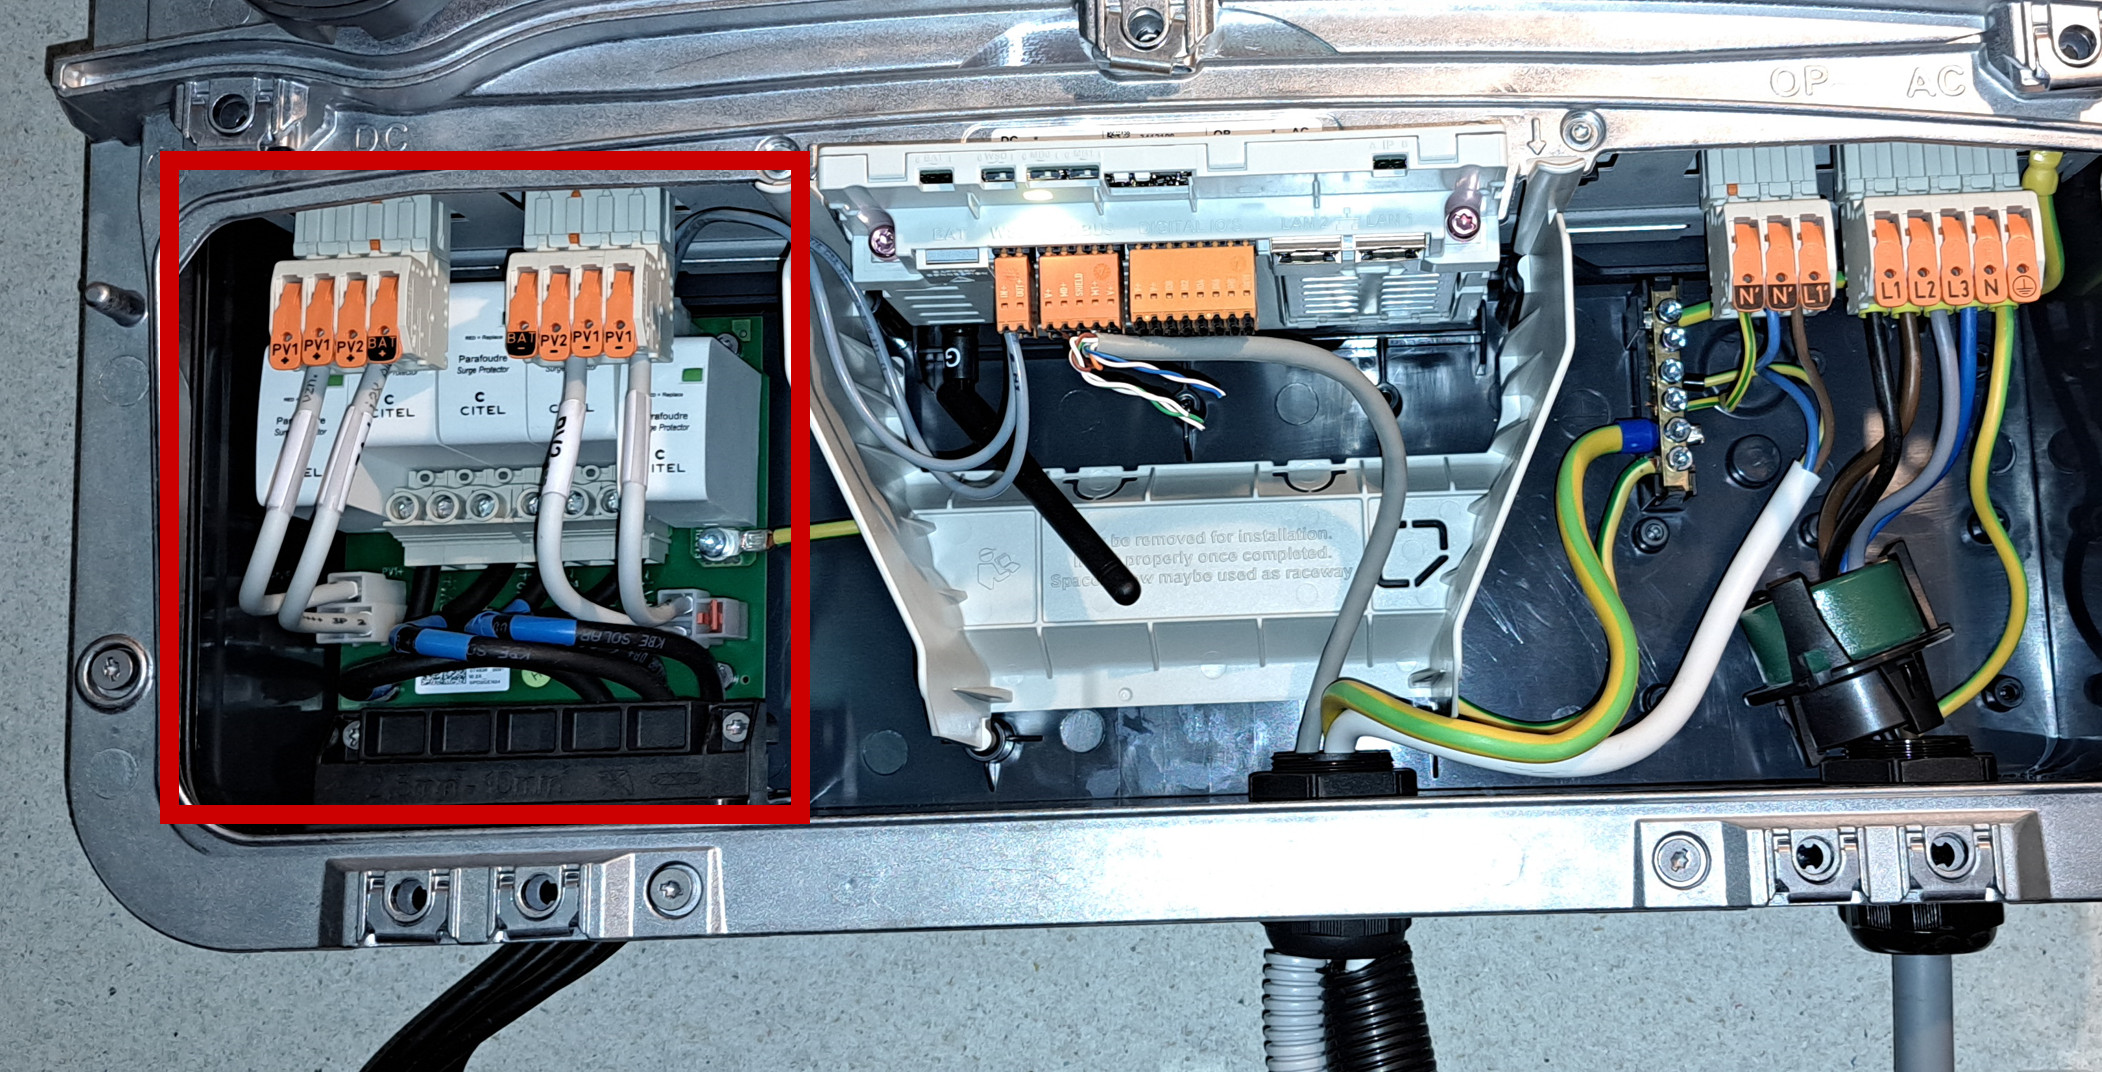
The DC side leads from the inverter with 6 mm² PV cable via aluminum pipes into the attic to the generator connection box (GAK):

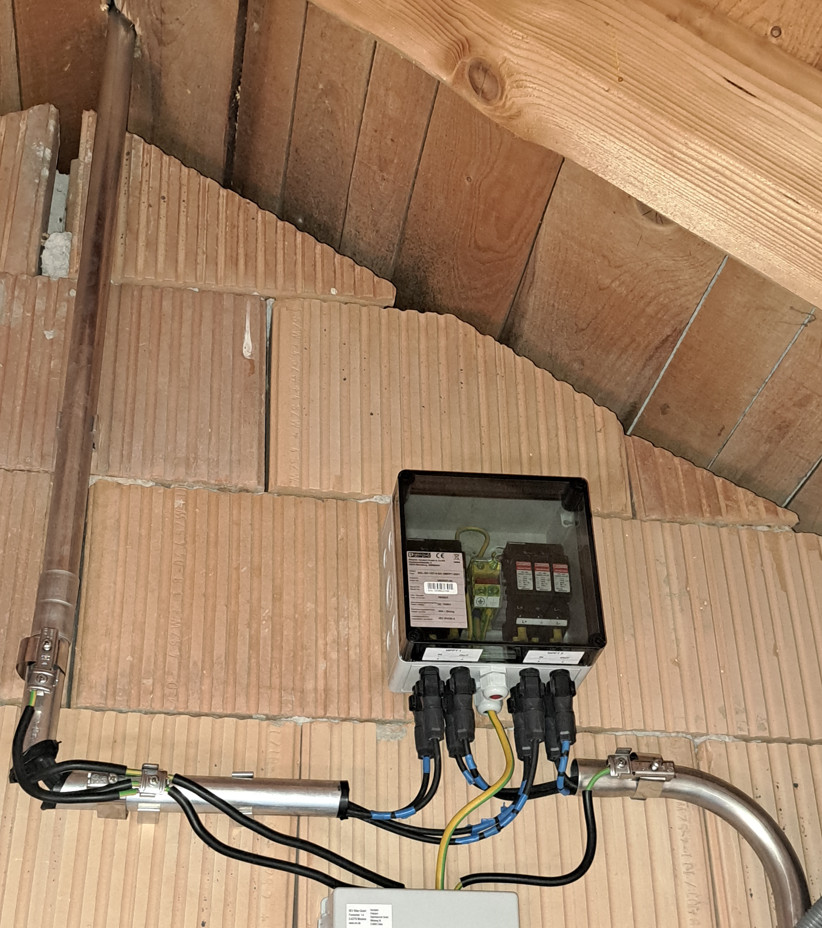
In Austria, according to OVE-RICHTLINIE R 11-1, DC cables within a building must be routed in masonry or in electrically conductive metal pipes or metal ducts, so I used 32 mm aluminum pipes for the connection. Since there is no lightning conductor in my house, a type 2 surge protector is used in the GAK. The surge arrester is connected to the potential equalization bar (PAS) in the basement via a 16 mm² grounding cable. In addition to the surge protector in the attic, I also installed a surge arrester in the inverter, since the cable between the inverter and the GAK is longer than 10 meters.
At this point, please be sure to observe the current local regulations.
Setup via WiFi using the smartphone
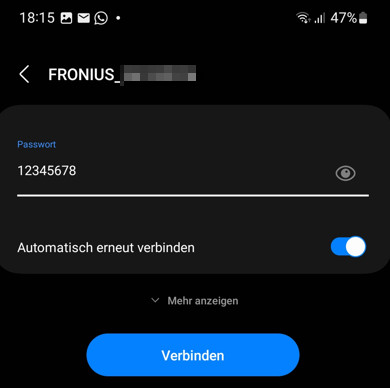
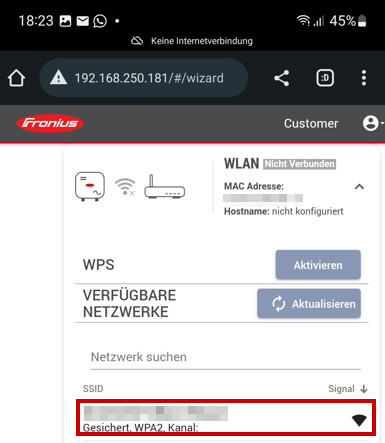
The WiFi hotspot of the inverter has an identifier in the form: FRONIUS_???. After a longer press on the button on the inverter, it should report vie WLAN as an available network:
The initial password for the connection is 12345678.
By the way, the WLAN hotspot can also be activated after startup by pressing the button for a long time if the WLAN should be changed or if it causes problems. The blue LED then starts blinking and the hotspot is active for some time.
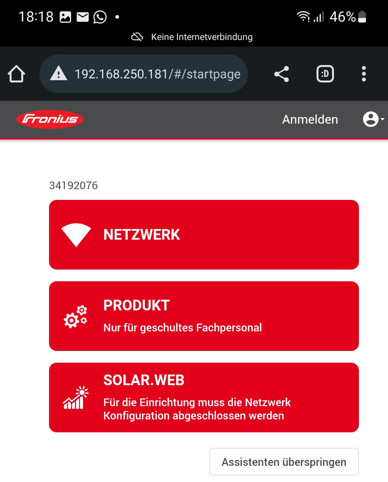
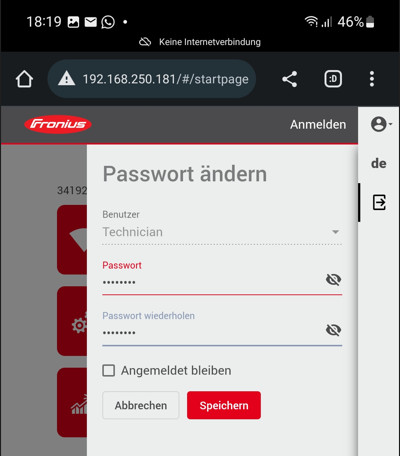
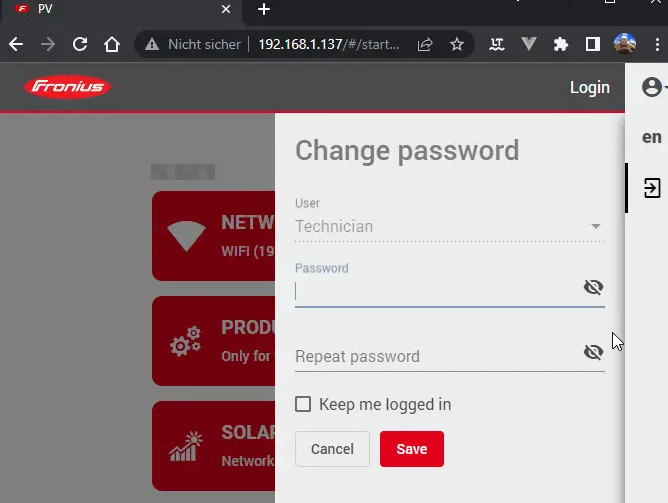
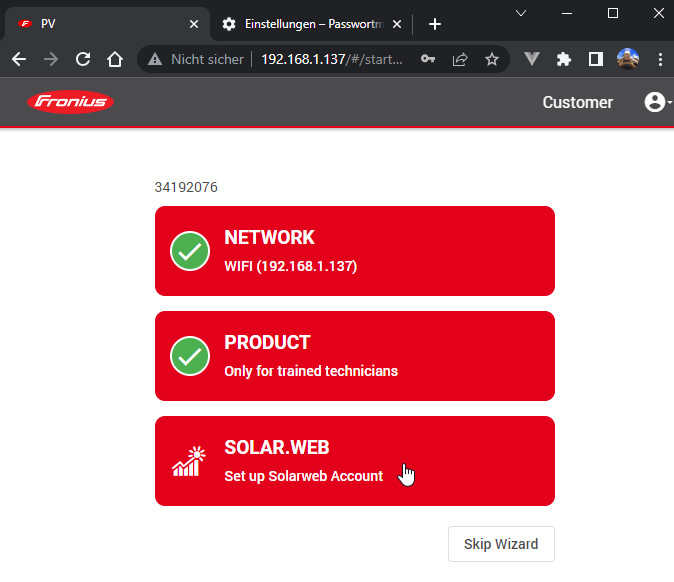
After the connection, a setup wizard appears with the help of which the two users: Customer and Technician can be set up and their passwords assigned:
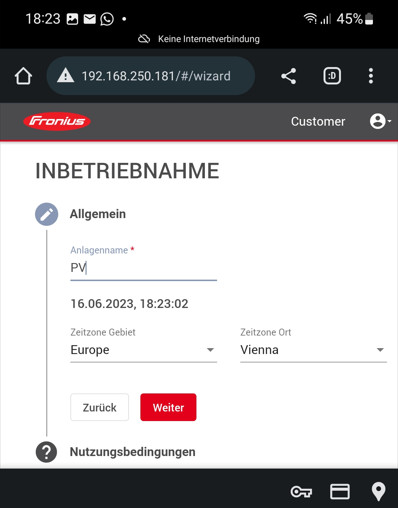
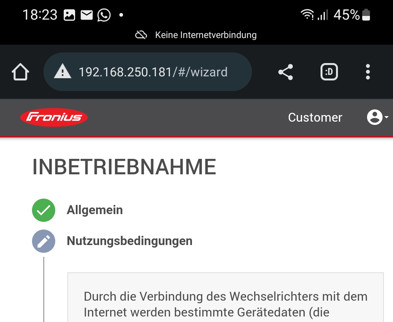
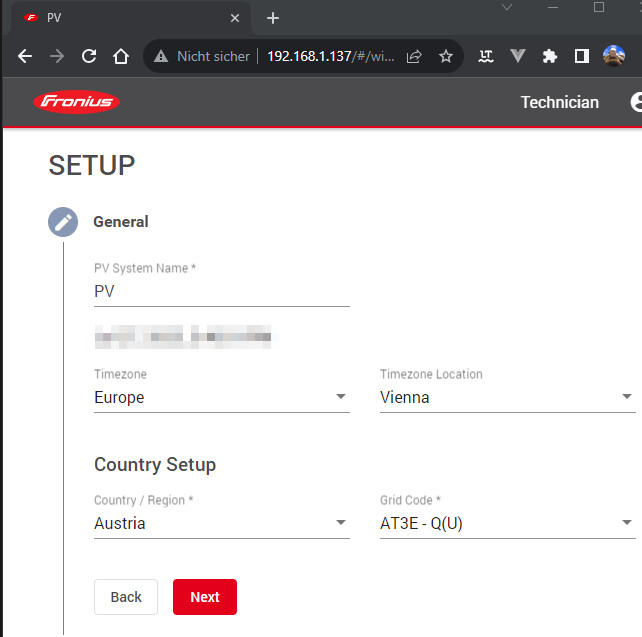
After entering the password, the wizard will guide you through the time and country settings:
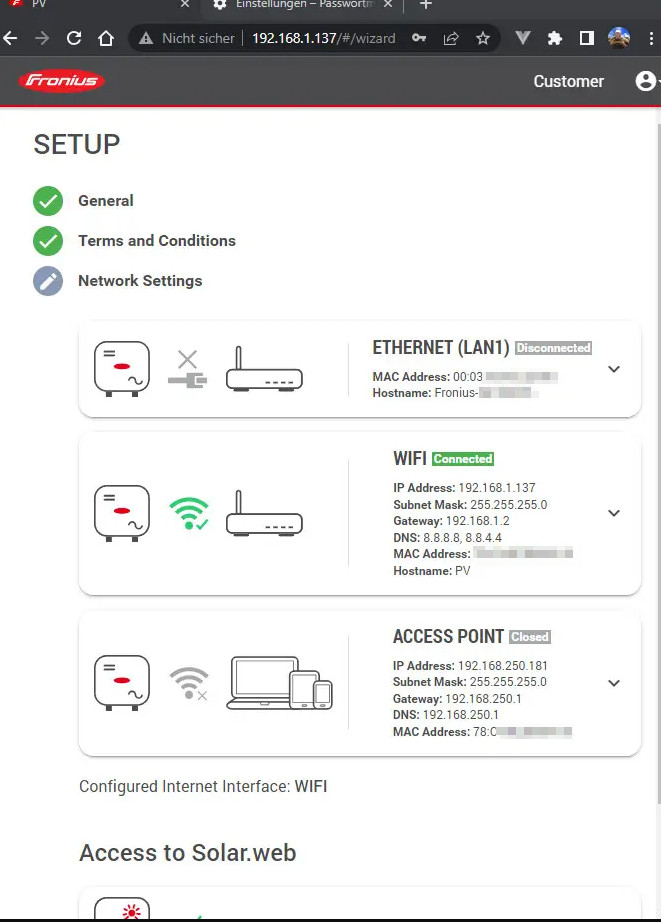
In order for the inverter to connect to the WLAN router, the WLAN data can be specified using the Customer user and the WLAN can be connected:
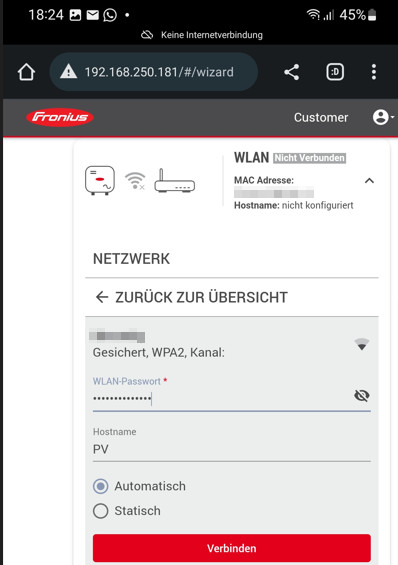
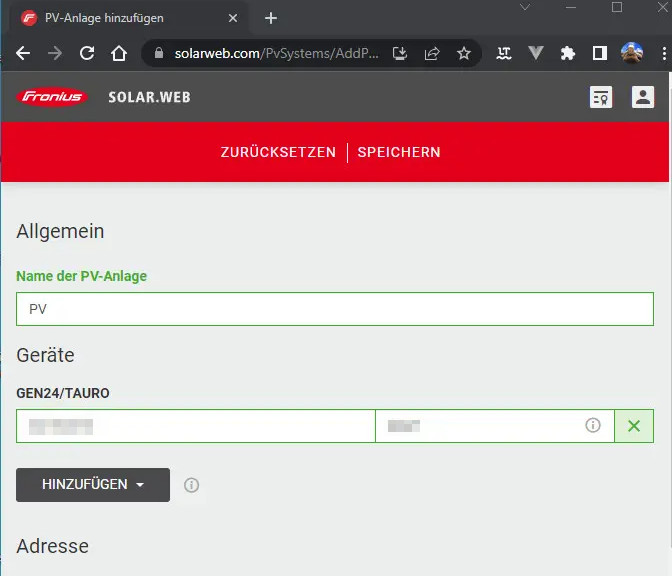
From this point on, the IP address of the inverter can be found in the overview of the router, or alternatively via a power shell command. Depending on the router, the inverter may also be accessible with its host name, which I have defined with "PV", i.e.: http://pv
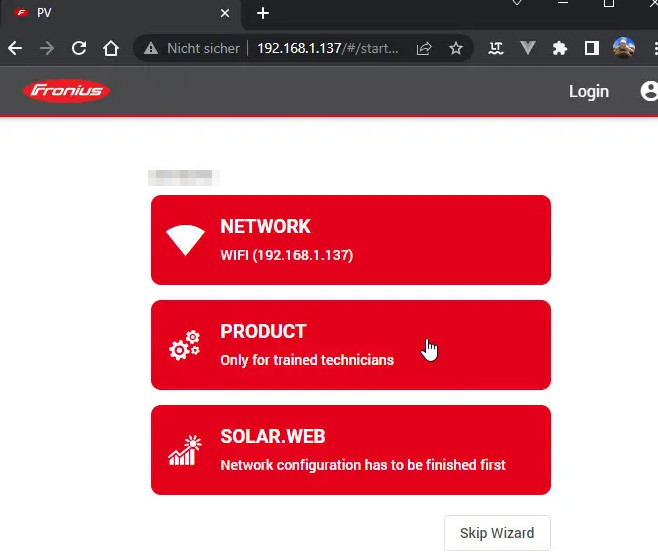
Change to the IP address in the WLAN
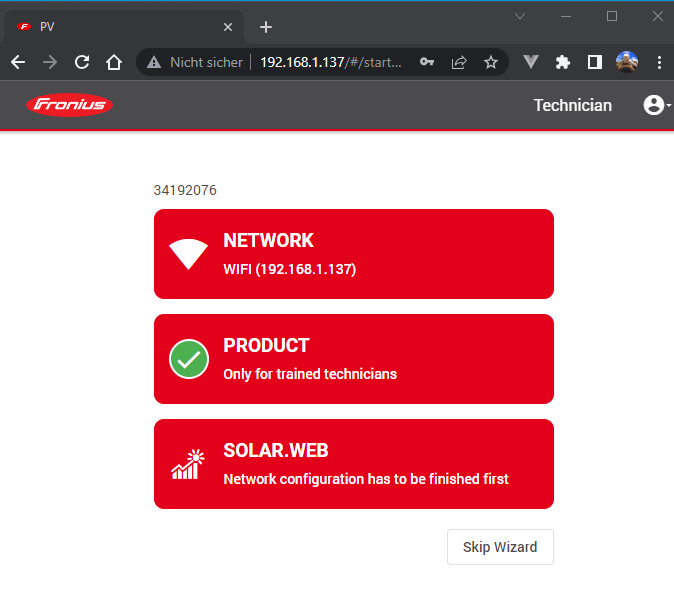
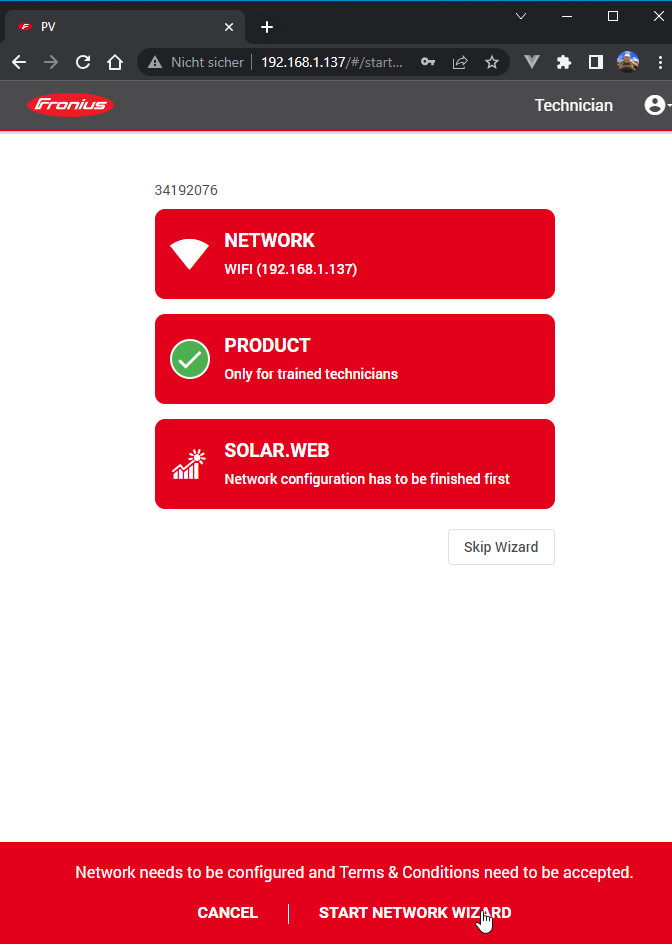
After the router has connected to the WLAN, the further setup can be done comfortably via a PC:
Commissioning Wizard
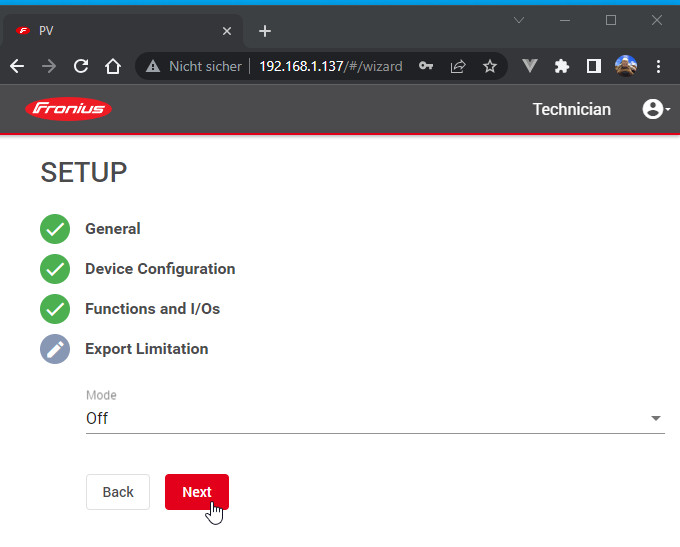
During the actual commissioning, it is essential to select the correct country and the prescribed country setup, otherwise the inverter must not be connected to the grid.
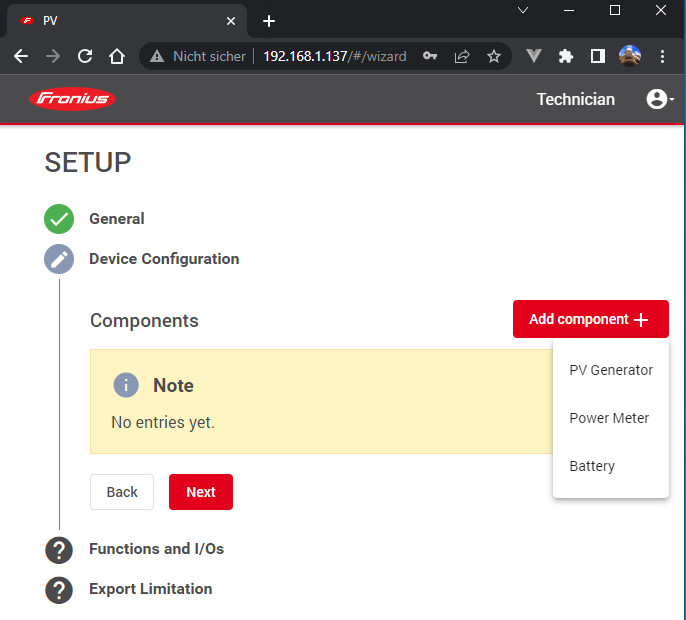
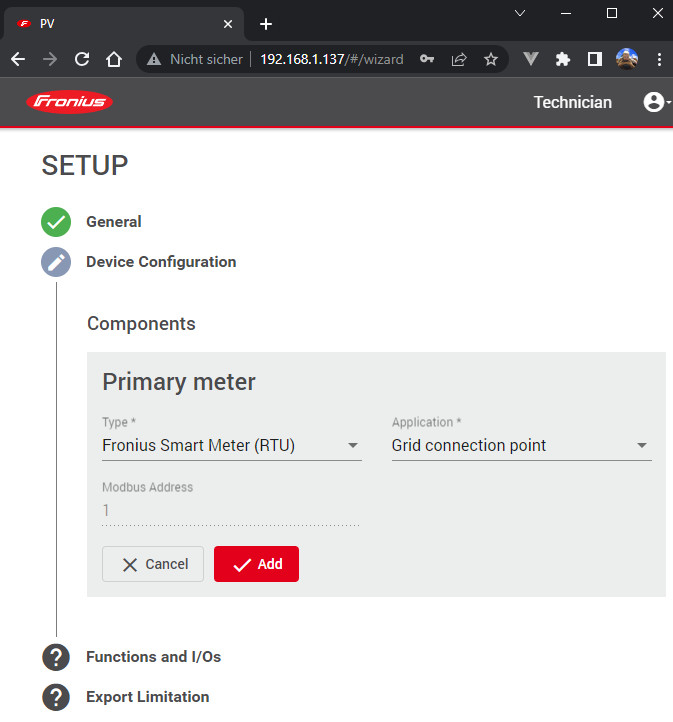
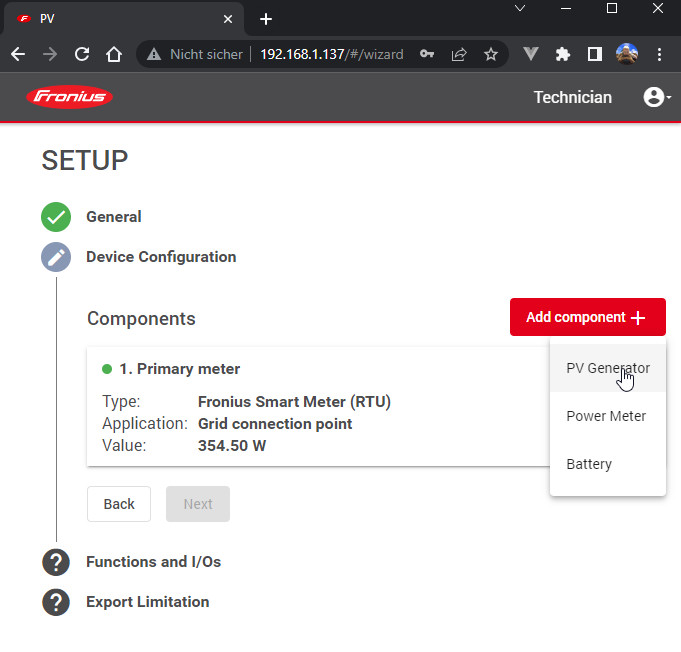
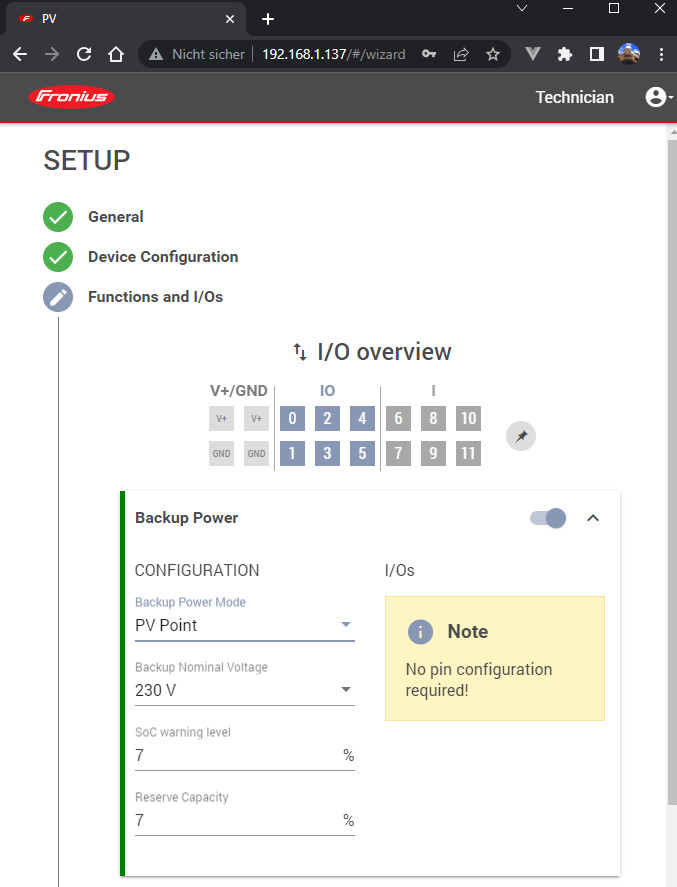
Under Device Configuration, the smart meter, the PV panels and, if available, a storage device can then be added.
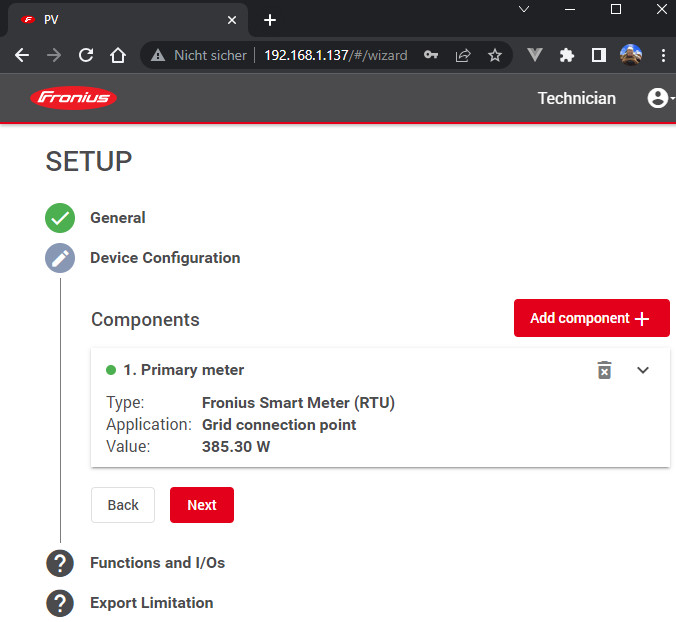

So far, the inverter is now ready for use.
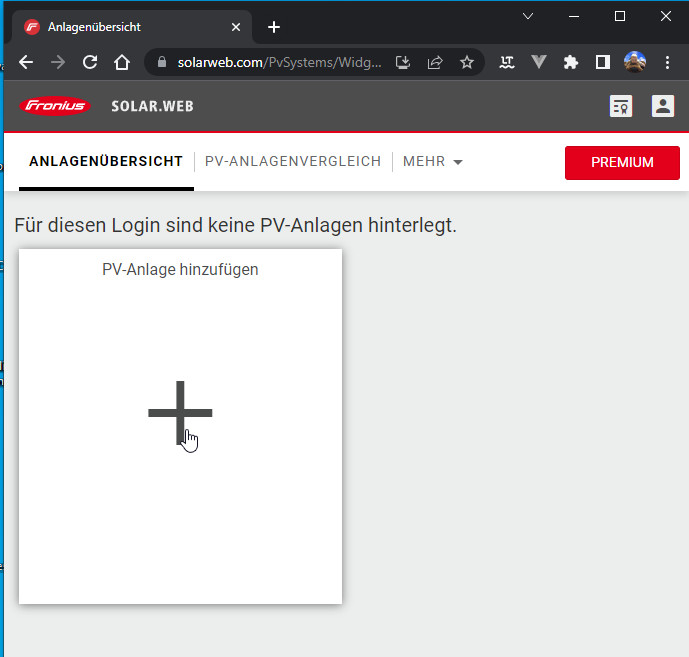
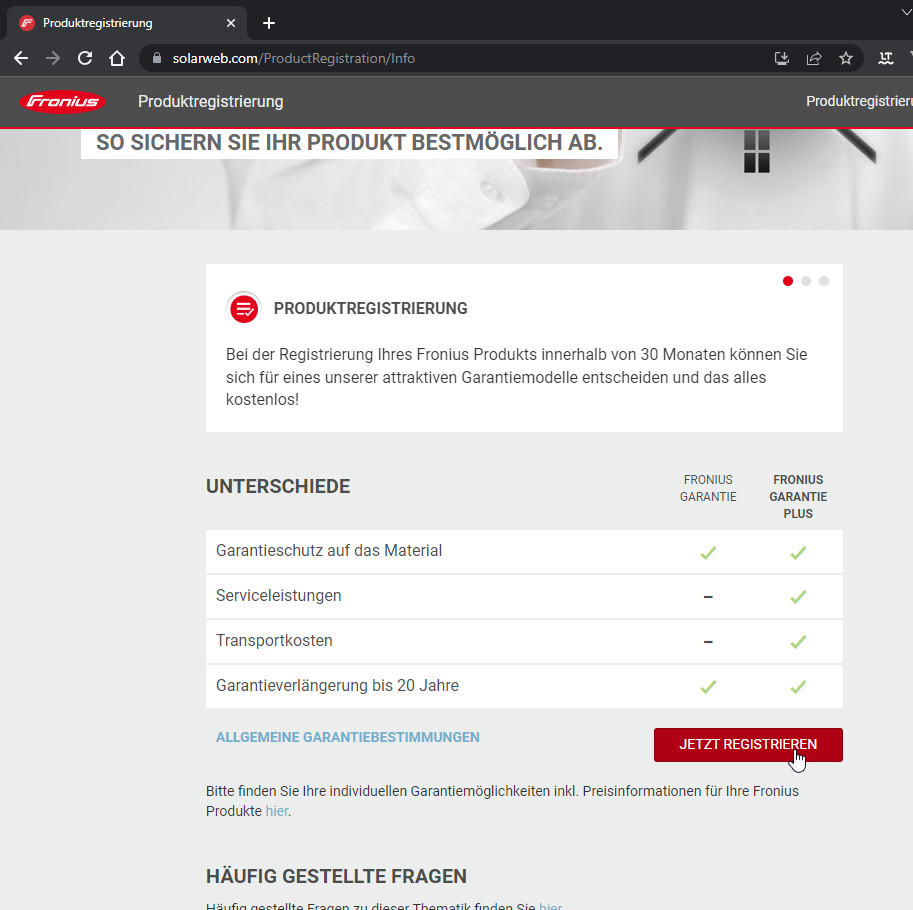
Fronius Cloud: Solar.Web
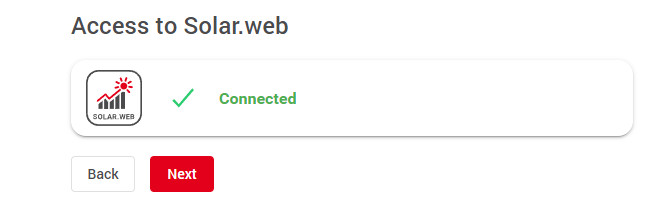
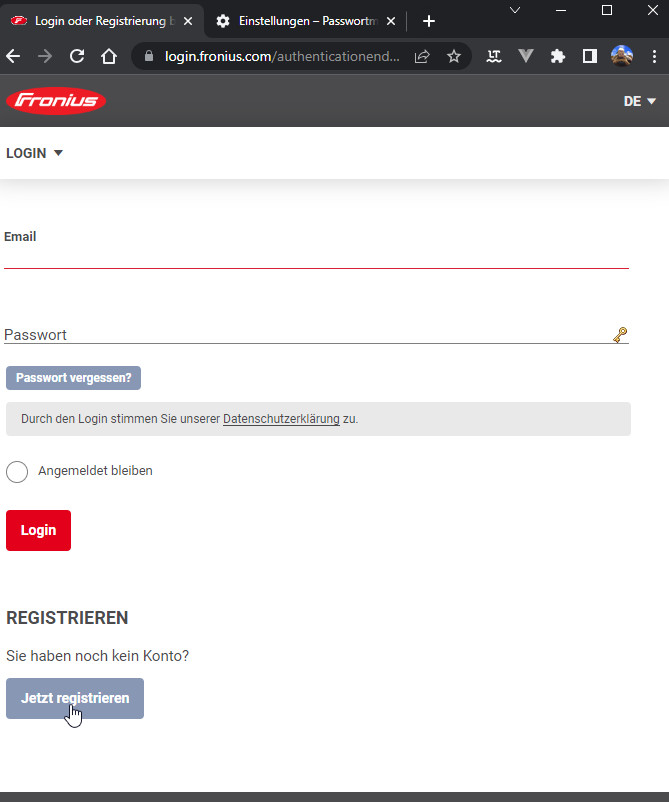
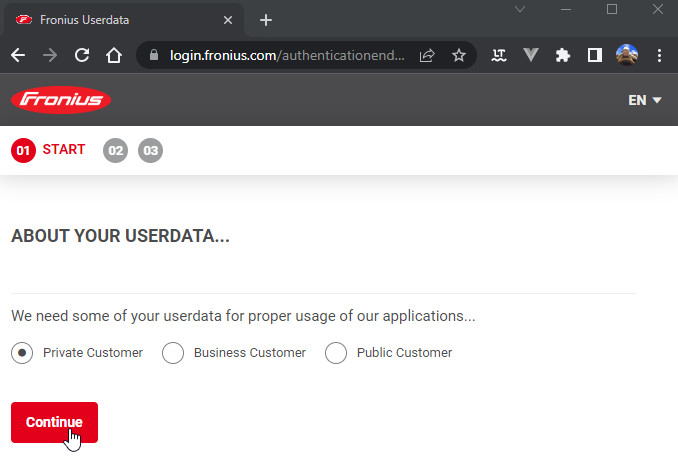
Anyone who wants to use the Fronius cloud solution including the Fronius app can connect the inverter to a SOLAR.WEB account:

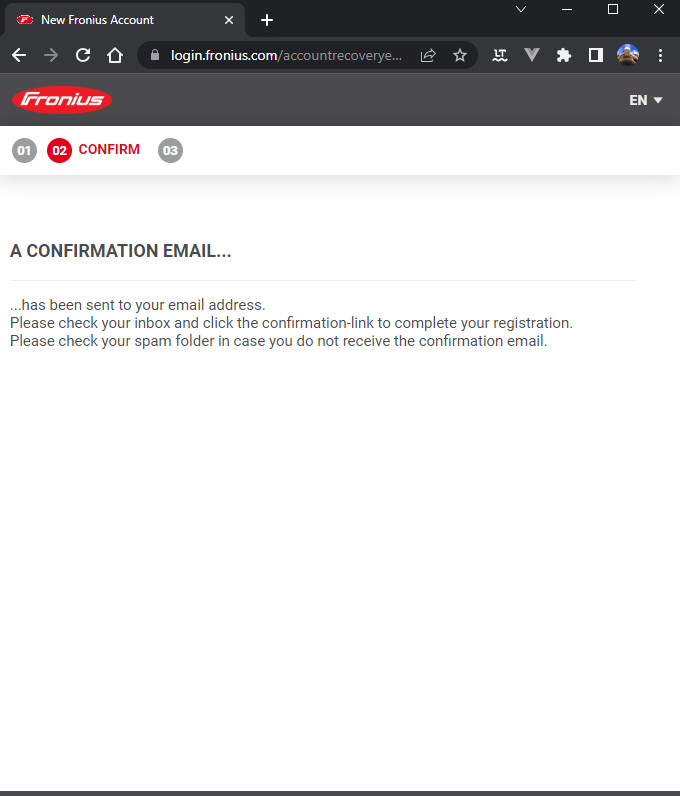
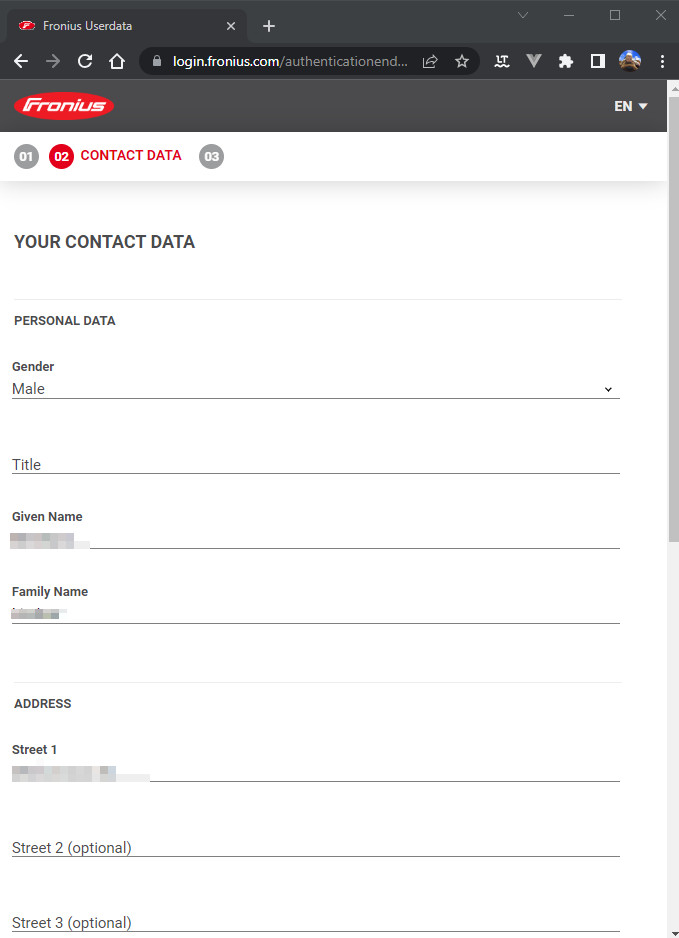
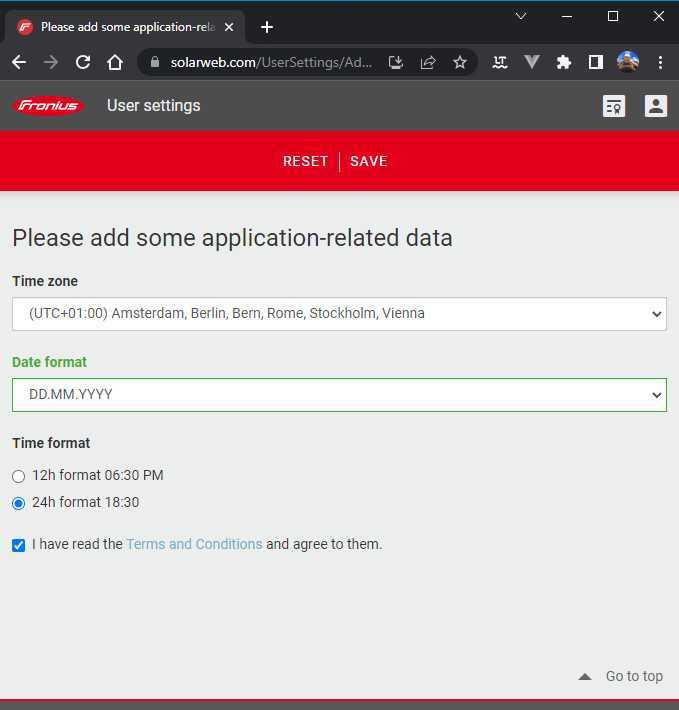
After confirming the email address, we continue with the personal data:
Product registration can extend the device's warranty by 5 years to a total of 7 years free of charge. Additional years can be purchased by inserting coins.
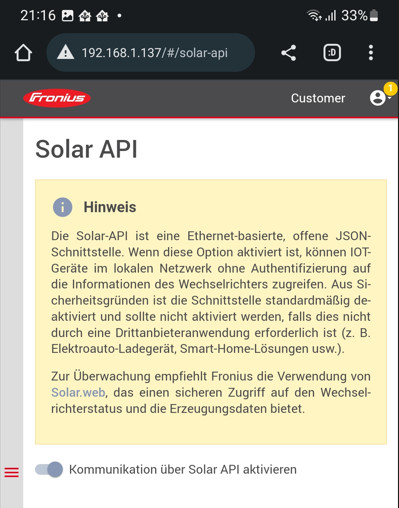
API access - Home Assistant
In order for me to connect Home-Assistant to the inverter, the first thing I did was enable the Solar API:
In Home-Assistant, the integration "Fronius" can then be added and the inverter connected:


As can be seen from the address, communication with the inverter takes place directly and without a cloud.
Next to the actual inverter, the connected smart meter is listed as a separate device:

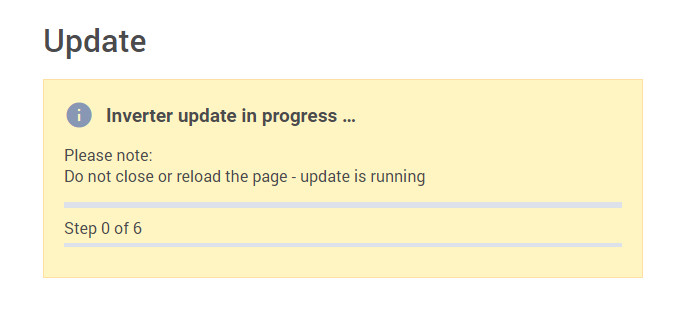
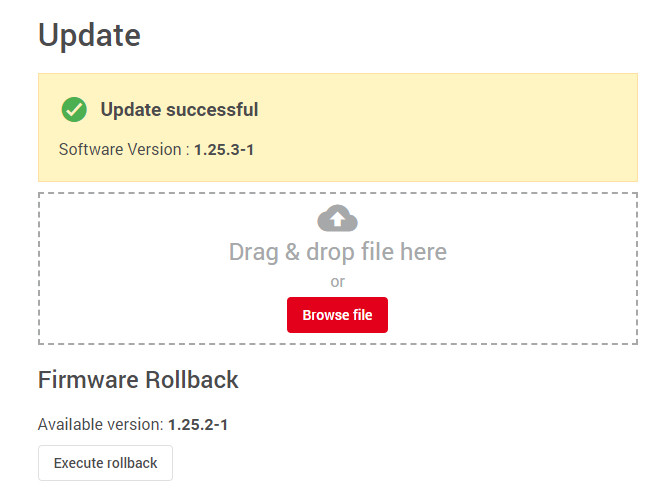
Firmware update
Originally I had the problem that the WLAN connection was lost every few days. For this reason, I downloaded and installed a new firmware from the manufacturer's website: https://www.fronius.com/en/solar-energy/installers-partners/service-support/tech-support/software-and-updates/symo-gen24plus-update
Current firmware version of the Fronius Gen24:
1.40.7-1
(found: 2026-02-25)

Conclusion
The setup of the Fronius Gen24 is very simple. Thanks to the existing integration for Home Assistant, I am not bound to the use of Solar.Web, can include my balcony power plant in the statistics and do not need "PREMIUM" to view details of historical values older than 3 days. In addition, I can control my Heat pump via Home Assistant, completely without Ohmpilot.
 ({{pro_count}})
{{percentage}} % positive
 ({{con_count}})