Display data from any Linux system in HA
Webhooks make it easy to transfer data from any Linux system to Home Assistant.
Automation: Webhook trigger
An "automation" with a webhook trigger can be used for receiving in Home Assistant:
Linux system: curl call
Using the webhook ID, curl can trigger the automation from any Linux system and transmit data.
curl -X POST http://homeassistant.local:8123/api/webhook/WebhookIDReceive data: trigger.data
The variable "trigger.data" is available in the automation for receiving certain values or data. In order for the data to end up in an entity in Home Assistant, we still need an entity, for example a text input helper:
To populate the test sensor with a value, the parameter -d (Data) can be appended to curl with the desired value:
curl -X POST -d bashdata="state_from_curl" http://homeassistant.local:8123/api/webhook/WebhookIDThe text input helper has a limit of 255 characters.
More than 255 characters: HACS "Variables+History"
The HACS integration "Variables+History" enables the attributes in a sensor to be filled, allowing values of any length to be transferred.HACS is required to add the integration, see: Home Assistant Integrations

Create variable
A sensor, called a "variable" in the integration, can be created by adding it to the integrations:
The variable can now be used in the automation:

Several attributes can be transferred to the automation via the curl command:
| curl command | Automation, Variables+History: Attributes |
|---|---|
| curl -X POST -d bashdata="state_from_curl" http://homeassistant.local:8123/api/webhook/WebhookID | bashdata: "{{ trigger.data.bashdata }}" |
| curl -X POST -d bashdata1="state_from_curl" -d bashdata2="state_from_curl" http://homeassistant.local:8123/api/webhook/WebhookID |
bashdata1: "{{ trigger.data.bashdata }}" bashdata2: "{{ trigger.data.bashdata2 }}" |
Example: OpenWrt
With the help of a cron job in OpenWrt, any data can be transmitted to Home Assistant, e.g. all connected WiFi devices from several AccessPoints, the DHCP leases and Usteer data:

* * * * * wifi5g=$(iw dev | grep -o "phy0-ap[0-9]*" | while read iface; do iw dev $iface station dump | grep "^Station" | sed 's/Station//g' | sed 's/://g' | sed 's/ //g' | sed 's/on//g' | sed 's/(phy[0-9]*-ap[0-9])*//g'; done | tr '\n' ' ') && \
dhcp=$( cat /tmp/dhcp.leases| awk '{print $2,$4,$1}' | sed 's/ \+/\_/g' | sed "s/[^[:alnum:]_]//g") && \
wifi24g=$(iw dev | grep -o "phy1-ap[0-9]*" | while read iface; do iw dev $iface station dump | grep "^Station" | sed 's/Station//g' | sed 's/://g' | sed 's/ //g' | sed 's/on//g' | sed 's/(phy[0-9]*-ap[0-9])*//g'; done | tr '\n' ' ') && \
log=$(dmesg | tail -1) && \
usteer=$(ubus call usteer get_clients) && \
curl -X POST \
    -d dhcp="$dhcp" \
    -d wifi5g="$wifi5g" \
    -d wifi24g="$wifi24g" \
    -d log="$log" \
    -d usteer="$usteer" http://192.168.1.5:8123/api/webhook/-KPX0XzpsESy0w2kZmX48qyuS-$HOSTNAME

see also: OpenWRT & Home Assistant: evaluate-visualize-react
Variant 2: REST-API
Data from a Linux terminal can alternatively be transmitted to Home Assistant via an access token. However, this variant allows the access token far-reaching authorizations in Home Assistant, so I can only recommend this variant to a limited extent for the purpose described here.
Prerequisite: Access Token
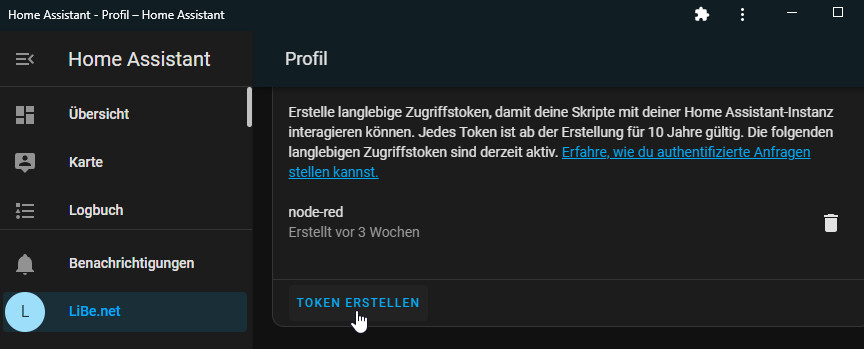
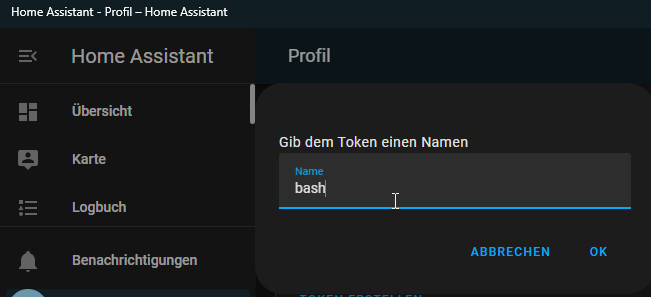
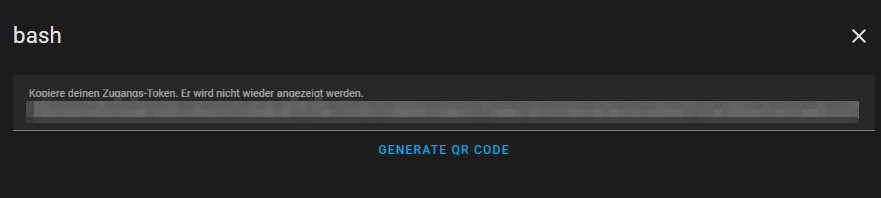
Create entity / send data in Bash:
curl -X POST -H "Content-Type: application/json" -d '{"state": "50"}' http://HA-IP:8123/api/states/counter.backup_sox_scripts_backup -H "Authorization: Bearer ??"Conclusion
The use of Bash or REST makes it possible to deliver values to Home Assistant and evaluate or display them with Smart Home. Linux systems with access to cron can be integrated with it, even if there is no integration for this.
 ({{pro_count}})
{{percentage}} % positive
 ({{con_count}})