Home Assistant + DIY Microcontroller + ESP Home (Docker)

With ESPHome it is very easy to program your own microcontroller for use in HomeAssistant. My first use for a self-programmed microcontroller was to record the water flow and temperature values of my heater, see: ESP32 programming, Arduino - install requirements.
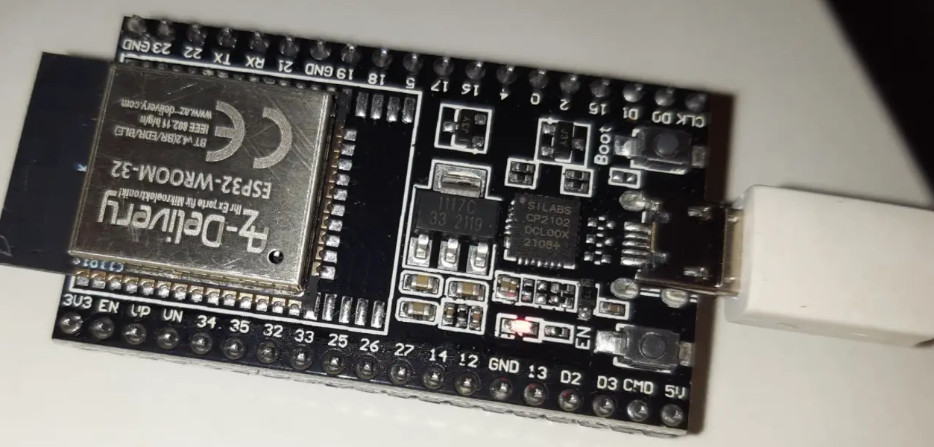
(Picture of an ESP32 microcontroller connected to a USB charging cable)

Although I was able to program the microcontroller relatively quickly, not least thanks to numerous examples in Arduino, the implementation with ESPHome is even easier. The program code with similar functionality in ESPHome has, compared to my Arduino version, about half the lines and is also much more understandable and stable than my Arduino version. One reason I reprogrammed my working microcontroller with ESPHome was that I had to restart the ESP every so often to get it to reconnect to the MQTT broker.
For changes to the program code or for debugging, I had to use Arduino to either plug in a laptop in the boiler room or, for cruder changes, remove the microcontroller and program it in a more comfortable place: Then more or less blindly without sensors, since they are installed in the boiler room. Reason enough to test ESPHome.
What is ESPHome?
ESPHome is a slim web interface with which microcontrollers like the ESP8266 or ESP32 can be programmed and easily integrated into Home Assistant. Unlike Arduino, ESPHome is not primarily programmed in C, but in YAML files. ESPHome converts the YAML code into C, compiles it and runs the finished program on the microcontroller. The finished example program takes care of the WLAN connection and the possibility to update itself. It also provides the basis for communication with Home Assistant.
OTA update
ESPHome can be used to program the devices via WLAN and display the console output: OTA update, i.e. over-the-air update. If the ESP has been programmed with the base code, the device can be installed and wired at its place of use and later supplied with the necessary software via WLAN from any browser.
ESPHome in Docker and https
I started Home Assistant in Docker, therefore the AddOn Store is not available. ESPHome can be started via an additional Docker container.
Docker Basics
Docker allows applications to be launched by command in a so-called container.A container is an isolated environment independent of the operating system (OS):
When a container is first launched, Docker independently loads all the necessary sources
from the internet.
Docker can be installed on Windows, macOS or an Linux Distribution
docker-compose.yml
To start ESPHome using docker compose, the official Docker ESPHome image can be used .The image can be downloaded, created and launched with a simple docker-compose.yml file. The file can be filled with any text editor as follows and then customized:
Filename: docker-compose.yml, Content:
services:
  esphome:
    container_name: esphome
    image: esphome/esphome
    privileged: true
    environment:
        - USERNAME=admin
        - PASSWORD=???
        - ESPHOME_DASHBOARD_USE_PING=true
   #Für einen direkten Zugriff, ohne Internet. Aufruf: http://localhost:6052 oder http://ServerIP:6052
    ports:
      - 6052:6052
    dns:
      - 192.168.1.1
    volumes:
      - ./esphome:/config:rw
   #Labels für ReverseProxy, siehe: https://www.libe.net/traefik
    labels:
      - "traefik.enable=true"
      - "traefik.http.routers.esphome.rule=Host(`esphome.domain.tld`)"
      - "traefik.http.routers.esphome.entrypoints=web"
      - "traefik.http.routers.esphome.entrypoints=websecure"
      - "traefik.http.routers.esphome.tls.certresolver=myresolver"
      - "traefik.http.services.esphome.loadbalancer.server.port=6052"
    restart: always

#Ohne dem Einsatz eines Reverse Proxy (https://www.libe.net/traefik) fehlt voraussichtlich das Netzwerk webproxy
#und die folgenden Zeilen können entfernt oder auskommentiert werden. Alternativ kann das Netzwerk mit "docker network create webproxy" erstellt werden
networks:
  default:
    name: webproxy
    external: true
For direct access via IP address or localhost - even without reverse proxy, DNS or public IP - the configuration includes "ports: - 6052:6052", which allows the call to be made via localhost:6052 as well. For use without a reverse proxy, the network: ... section can be removed.
For Internet access to work via the Traefik reverse proxy, the domain must be replaced in the labels with the previously created DNS records (in the example: esphome.domain.tld) .The example uses Docker bind mounts and no volumes for permanent data storage. See: Docker Data Storage: Docker Volumes vs Host Folders. For a working name resolution from ESPHome to the microcontrollers, I also added my router as a DNS server, see: offline.
Start container
The startup is done from the folder of the docker-compose.yml file with the command "docker compose up":
docker compose up -dStartup / first call of the web interface
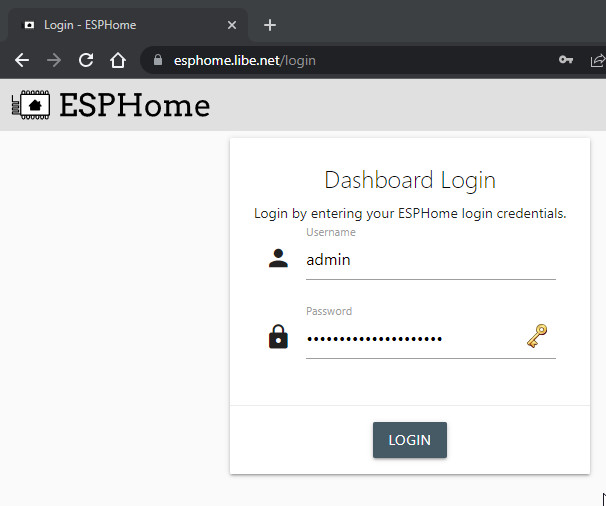
When calling the specified domain (https://wp.domain.tld) ESPHome logs in with a login mask. The username and password can be specified and changed in the docker-compose.yml file.
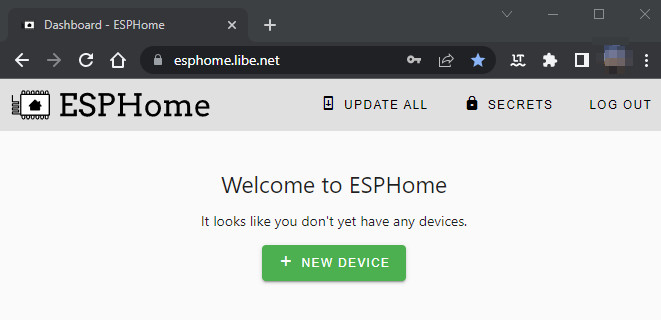
By clicking on "NEW DEVICE" new microcontrollers can be created:

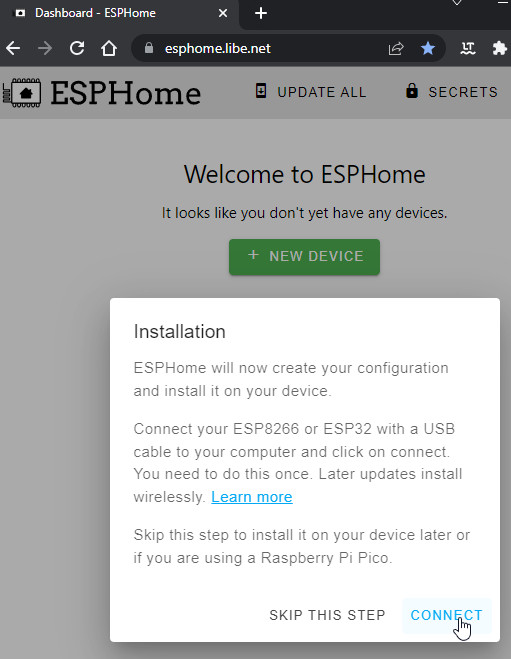

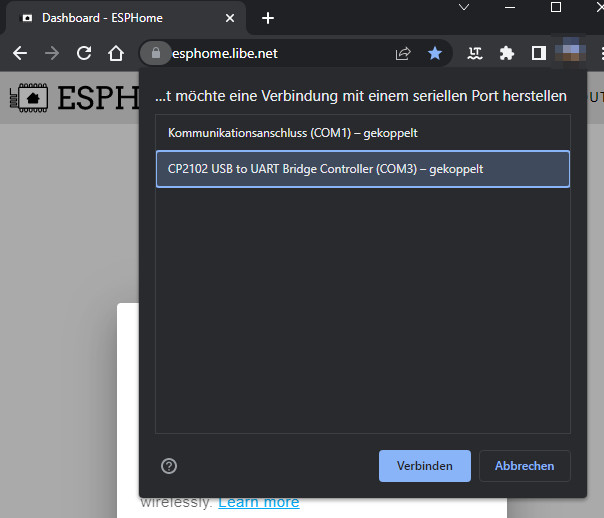
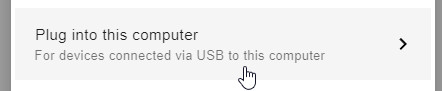
The connection to the microcontroller must be done initially via a cable. In my case I have connected the microcontroller to a computer with USB, which allows me to connect via the browser using the UART Bridge Controller (Plug into this computer). Since the connection to the microcontroller is done via the browser, it does not matter if the ESPHome server is running on another device:

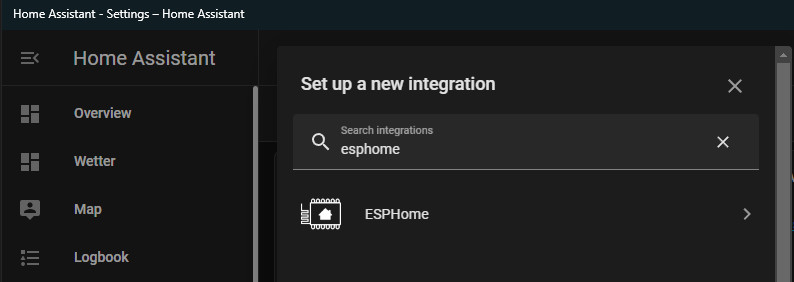
HA integration
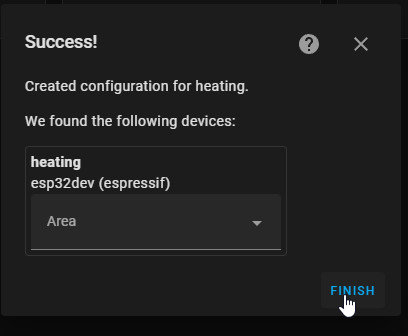
In order for the microcontrollers to show up as devices in Home Assistant, we need ESPHome integration:
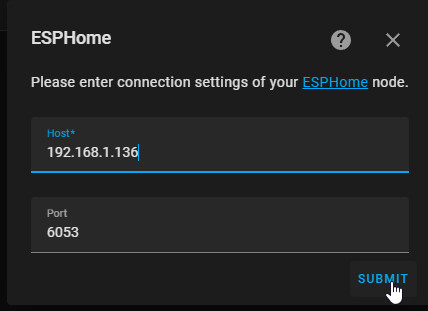
For the connection, I first used the IP address of my first microcontroller:

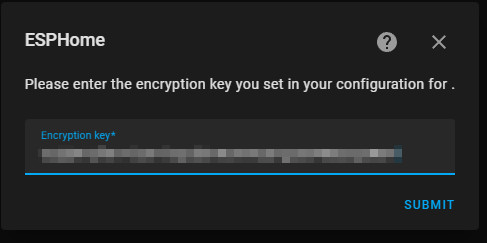
Back to ESPHome, an API key (Encryption key) can be read in it:
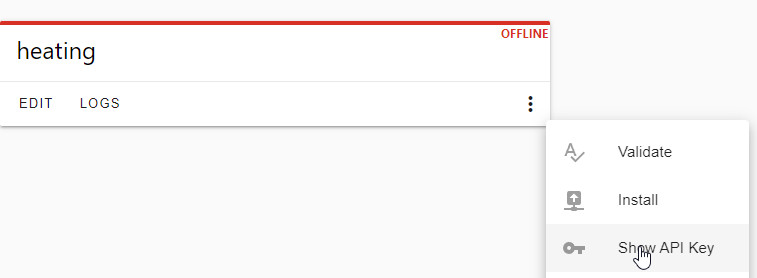
The Encryption key is needed for the connection in Home Assistant:
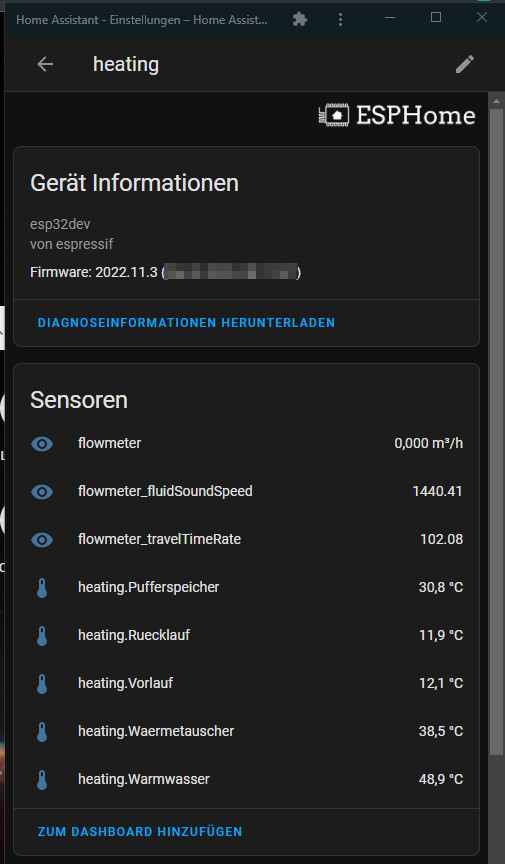
Here is a look at my included microcontroller and its provided sensors:
ESP-Home as menu item in the Home Assistant sidebar
In order for ESPHome to integrate into the Home Assistant gui, the web service can be created as a panel_iframe in the configuration.yaml file:

The following lines at the beginning of configuration.yaml add ESPHome as a new menu item:
panel_iframe:
  esphome:
    title: "ESPHome"
    url: "https://esphome.domain.tld/"
    icon: mdi:docker
The "url:" must of course be replaced here with the previously configured URL.
Troubleshooting
My first attempt ended with the following error: "Please upgrade to the PlatformIO Core 6".

I already tested ESPHome some time ago, starting a Docker container. When I tried to use ESPHome again, I could not program the ESP32 for the time being, because the container was obviously too old: A "docker-compose pull" could fix the problem by downloading a new version of ESPHome.
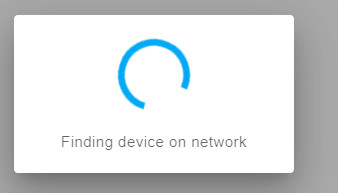
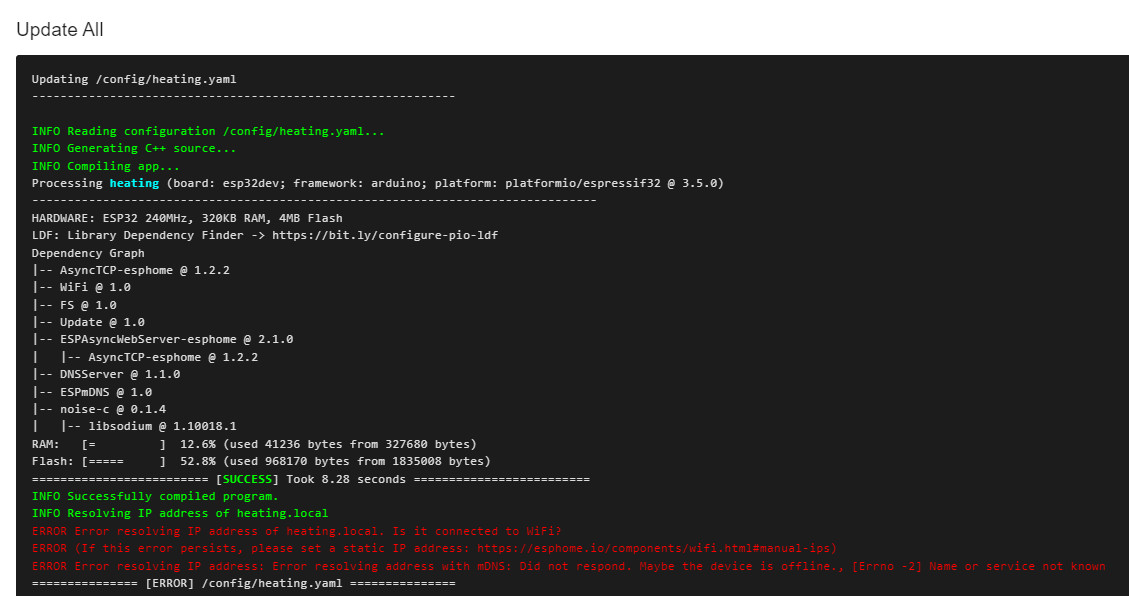
Configuration created but unable to detect the device on the network
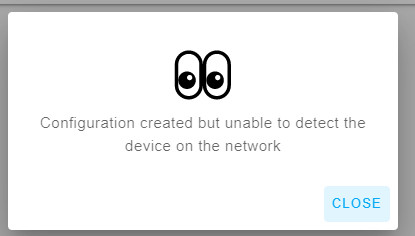
Originally I wanted to connect the ESP to a hidden WLAN, but this did not work. The solution was to use a visible WLAN for the connection.


Offline
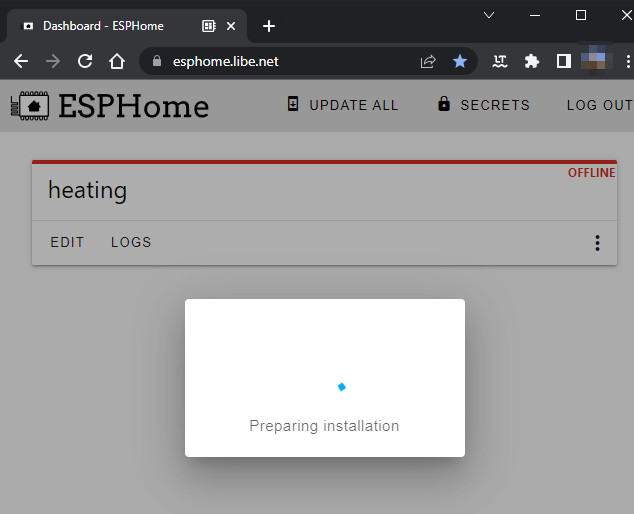
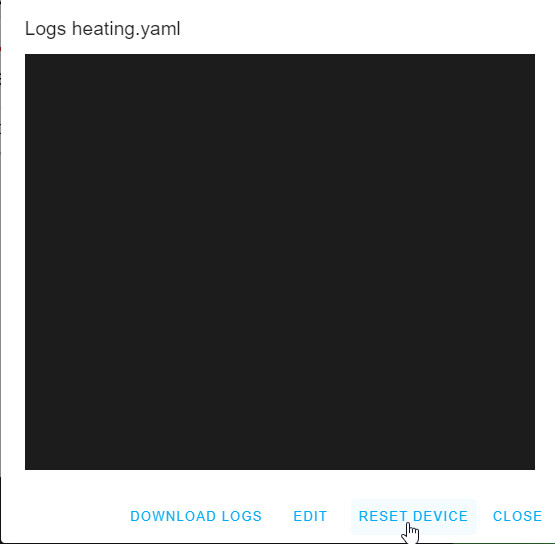
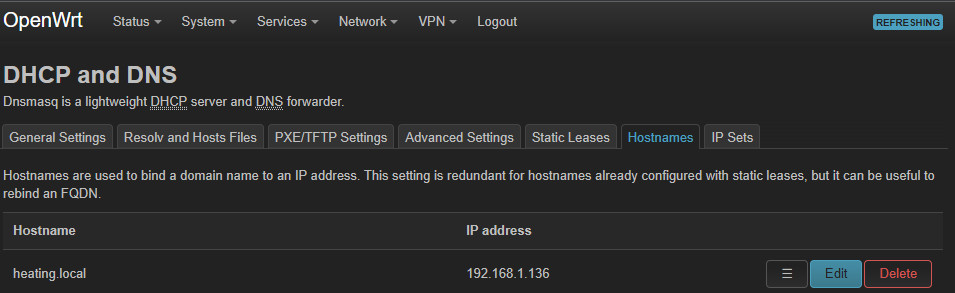
Although the controller was working fine, it was still showing as "OFFLINE":
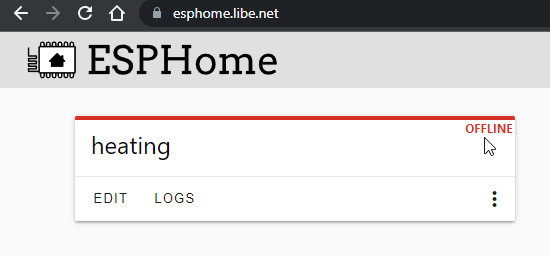
The ESPHome Docker container is apparently trying to call the controller with the name heating.local. To make it able to do that, I put the DNS name of the ESP32 on the router and added the IP address of my router in the docker-compose.yml file (dns:...).
Conclusion
With ESPHome an inexpensive DIY hardware can be used for your own projects. The numerous examples on the ESPHome page facilitate programming and integration in Home Assistant. For the connection of an ultrasonicflow meter I have put an example on the following page: ESP32 Flowmeter - RS485 Modbus. How to read DS18B20 temperature sensors can be found on this page: DS18B20 - Temperature Sensors in ESP-Home. I have documented the control of my heating here: Controlling Heating with Home Assistant.

Read out smart meter of the network operator KAIFA MA309M
Knowledge of current consumption data helps to optimize electricity consumption in a meaningful way. For this purpose, an additional smart meter can be installed or, even better, the smart meter of the network operator can be read out. As an example, the smart meter of my network operator, Salzburg AG, can be queried via the M-Bus customer interface and the data can thus be used in other systems. The values read out include the energy consumption and, if a PV system is used, the feed-in power, a... ... continue reading
DS18B20 - Temperature sensors in ESP-Home
Complementary to the article: DS18B20 Temperature Sensors ESP32, MQTT and WiFi - HowTo, I have meanwhile replaced the Arduino project with ESP-Home. Simple projects can be implemented much easier in ESPHome. As an example, in ESPHome these 2 lines are enough to address the temperature sensors: ... continue reading

add a Relay Board ESP32 - ESPHome
To be able to switch certain relays in Home Assistant via an ESP32, I tested a relay board and integrated it via ESP-Home. ... continue reading

ESPHome: Temperature and humidity sensors DHT11/22
For temperature measurement in Home Assistant, there are a variety of different sensors and ways to integrate them. When using Zigbee, for example, Aquara sensors are available, but these have a decisive disadvantage: the battery. It has to be replaced after 2 years at the latest. A cost-effective and more robust alternative to battery-powered sensors is provided by an ESP32 microcontroller. With the right wiring, a single microcontroller can measure the temperature and/or humidity of all possib... ... continue reading
 ({{pro_count}})
{{percentage}} % positive
 ({{con_count}})