Running Bitwarden in Docker - Setup step by step

Bitwarden is a web-based password manager, similar to LastPass, but open source and the ability to run (host) it yourself. How Bitwarden compares to other password managers, I have considered on the following page: Password Managers Secure? KeePass vs LastPass vs Bitwarden. Bitwarden consists of several services, which can be provided via different containers. The relatively complex setup has been simplified with "Bitwarden Unified" especially for self-hosting by packing all services into one container. Alternatively, Vaultwarden is a Bitwarden-compatible server with lower system requirements.
Docker Basics
Docker allows applications to be launched by command in a so-called container.A container is an isolated environment independent of the operating system (OS):
When a container is first launched, Docker independently loads all the necessary sources
from the internet.
Docker can be installed on Windows, macOS or an Linux Distribution
To ensure that Bitwarden is can be reached securely from the Internet, I use a Let's Encrypt reverse proxy. At first I used Nginx as Reverse-Proxy, but later replaced it with Traefik. The reverse proxy provides an encrypted HTTPS connection and makes it possible to run multiple websites on one server.
Step by step Bitwarden and Docker including access from the internet
Hardware requirement:- Almost any hardware can be used for the Docker installation. For example, a virtual server of a provider, or for home: a Mini-PC, notebook, MAC, a NAS: QNAP, Synology or any other hardware with x68-64 architecture on which Windows or Linux can be installed.
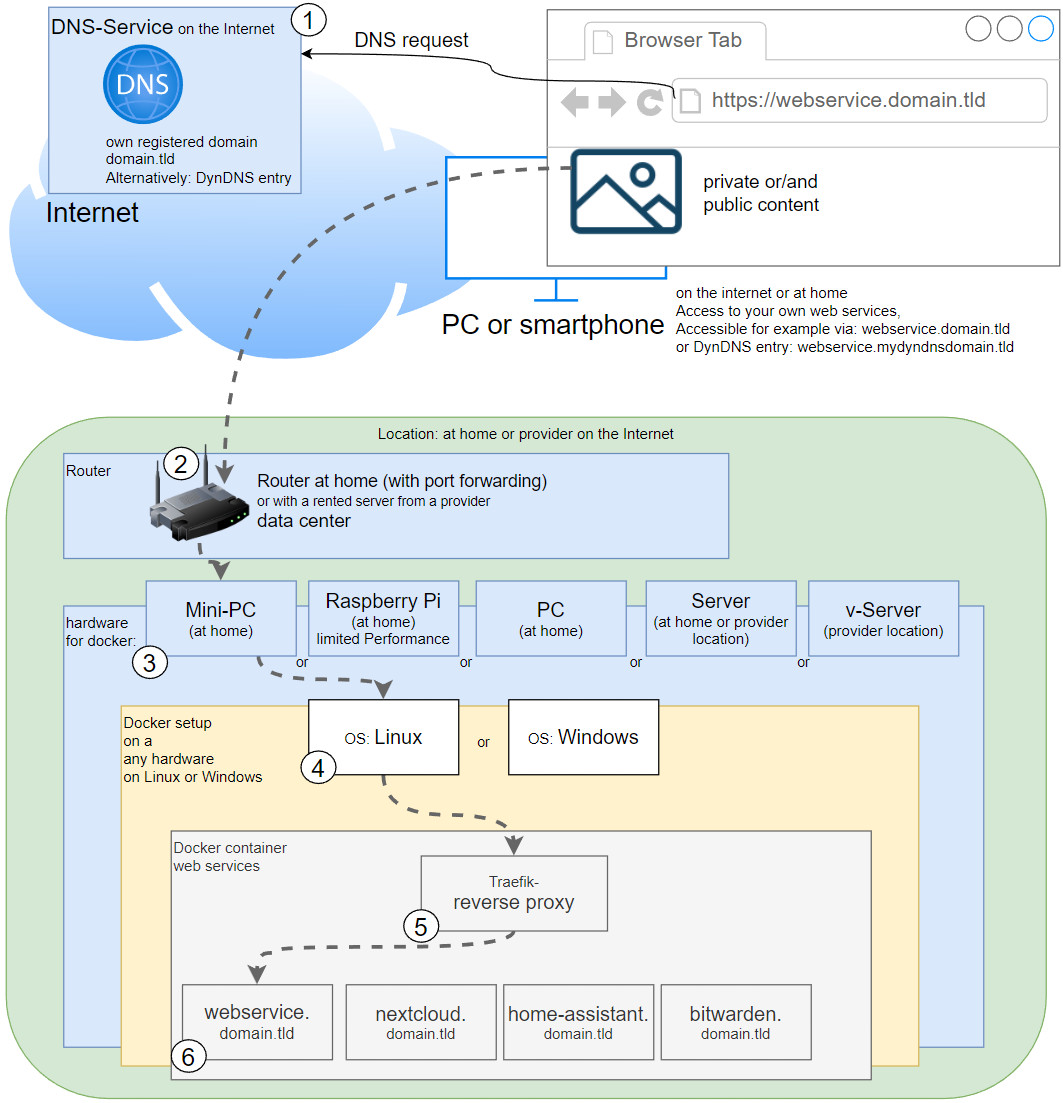
Schematic representation: Access from the Internet
- Own registered domain, see domain and its management.
- Cloudflare or Reverse Proxy:
- Cloudflare Tunnel Service or alternatively:
- Port forwarding and Reverse proxy with Let's Encrypt certificate
- Create and customize Docker-compose file:
- Version for Bitwarden Unified: docker-compose.yml or
- Alternative to Bitwarden: compatible version, Vaultwarden: docker-compose.yml
- Start container
- Calling the web interface in the browser
Bitwarden Unified
Bitwarden profile:
| Software | Server |
|---|---|
| GitHub | https://github.com/bitwarden/server |
| current version | 2025.4.3 |
| found | 2025-05-01 |
Currently, the Unified variant of Bitwarden is still in beta and thus not suitable for production use. If you still want to test Bitwarden Unified, you can do so with the following setup:
Bitwarden Unified docker-compose.yml
To start Bitwarden using docker compose, the Docker image can be downloaded, created and started with a simple docker-compose.yml file. The file can be filled with any text editor as follows and then customized:
Filename: docker-compose.yml, Content:
services:
bitwarden:
depends_on:
- db
environment:
BW_DB_PROVIDER: "mysql"
BW_DB_SERVER: "db"
BW_DB_DATABASE: "bitwarden_vault"
BW_DB_USERNAME: "bitwarden"
BW_DB_PASSWORD: "super_strong_password"
BW_DOMAIN: "bitwarden.domain.tld"
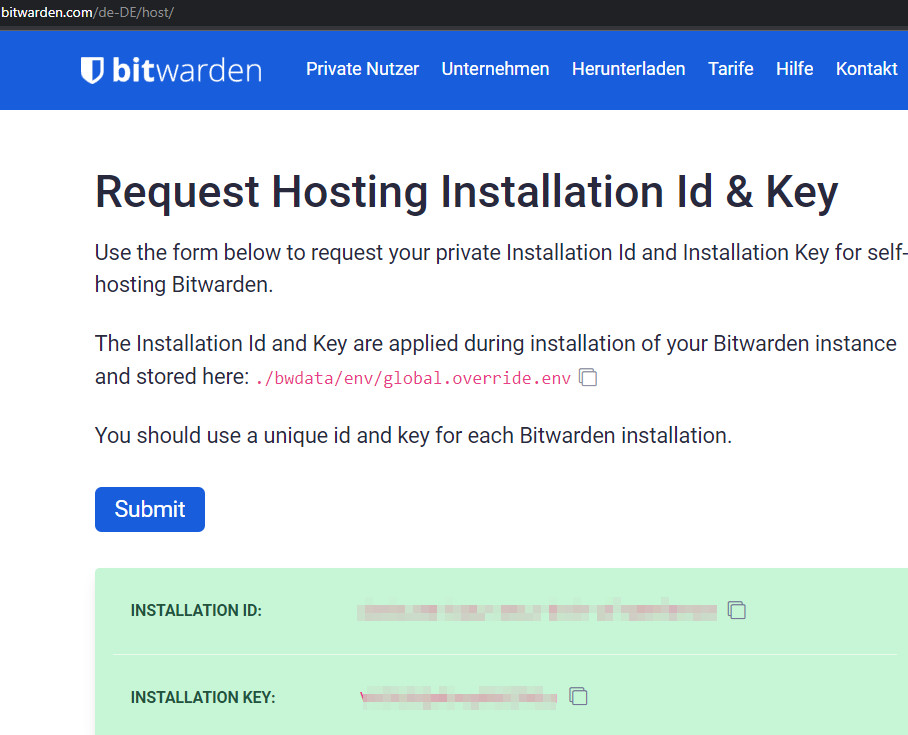
#the Install-Key can be requested at the following site: https://bitwarden.com/de-DE/host/
BW_INSTALLATION_ID: "???"
BW_INSTALLATION_KEY: "???"
#add Email-Server-Settings
globalSettings__mail__replyToEmail: "noreply@domain.tld"
globalSettings__mail__smtp__host: "mail.domain.tld"
globalSettings__mail__smtp__port: "587"
globalSettings__mail__smtp__ssl: "false"
globalSettings__mail__smtp__username: "smtpusername"
globalSettings__mail__smtp__password: "smtppassword"
#Allow Registrations?
globalSettings__disableUserRegistration: "false"
#Admin-Accounts:
adminSettings__admins: "admin1@email.com,admin2@email.com"
#Labels for ReverseProxy, see: https://www.libe.net/en-traefik
labels:
- "traefik.enable=true"
- "traefik.http.routers.bw.rule=Host(`bitwarden.libe.net`)"
- "traefik.http.routers.bw.entrypoints=web"
- "traefik.http.routers.bw.entrypoints=websecure"
- "traefik.http.routers.bw.tls.certresolver=myresolver"
- "traefik.http.services.bw.loadbalancer.server.port=8080"
image: bitwarden/self-host:dev
restart: always
expose:
- "8080"
#For direct test access, remove "#" in the following 2 lines. Call: http://localhost:8080 or http://ServerIP:8080
#ports:
# - "8080:8080"
volumes:
- ./bitwarden:/etc/bitwarden
- ./logs:/var/log/bitwarden
db:
environment:
MARIADB_USER: "bitwarden"
MARIADB_PASSWORD: "super_strong_password"
MARIADB_DATABASE: "bitwarden_vault"
MARIADB_RANDOM_ROOT_PASSWORD: "true"
image: mariadb:10
restart: always
volumes:
- ./db:/var/lib/mysql
#Without using a reverse proxy (https://www.libe.net/en-traefik) the webproxy network is likely to be missing
#and the following lines can be removed or commented out. Alternatively, the network can be created with "docker network create webproxy".
networks:
default:
name: webproxy
external: trueFor direct access via IP address or localhost - also without reverse proxy, DNS or public IP - the commented out port setting can be activated for test purposes by adding "#" in front of "ports:" and "-"8080:8080"" is removed. If the reverse proxy is not used, the network webproxy is not needed and the networks: .. section can be removed.
For Internet access via Traefik reverse proxy, the domain must be replaced in the labels with the previously created DNS records (in the example: bitwarden.domain.tld).
In addition, Bitwarden requires a mail server. I therefor use the following setup: Running Docker Mailserver myself | a field report.
The example uses bind mounts and no Docker volumes for permanent storage of the data. See: Docker data storage: Docker volumes vs. host folders
Starting Bitwarden Containers
The startup is done from the folder of the docker-compose.yml file with the command "docker compose up":
docker compose up -dAfter launching the container, Bitwarden will log on to the specified domain.
Here is a screenshot of the required system resources right after the first start:

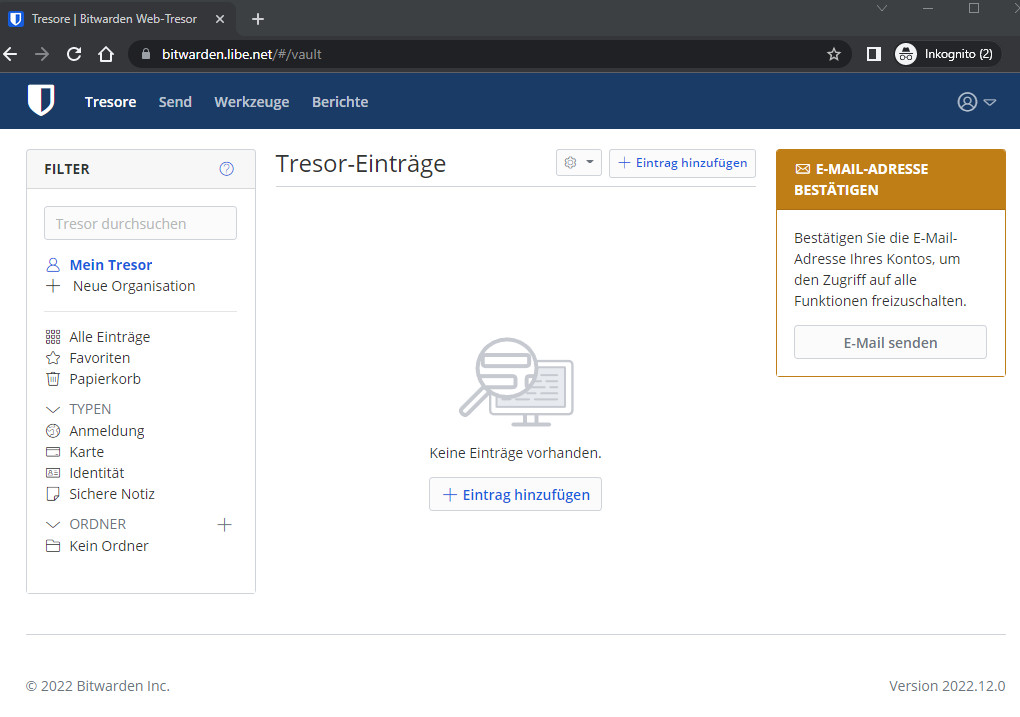
Using Bitwarden
After starting the containers, new accounts can be created via the web interface:
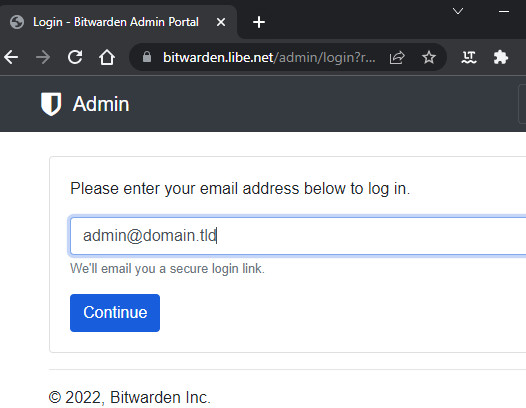
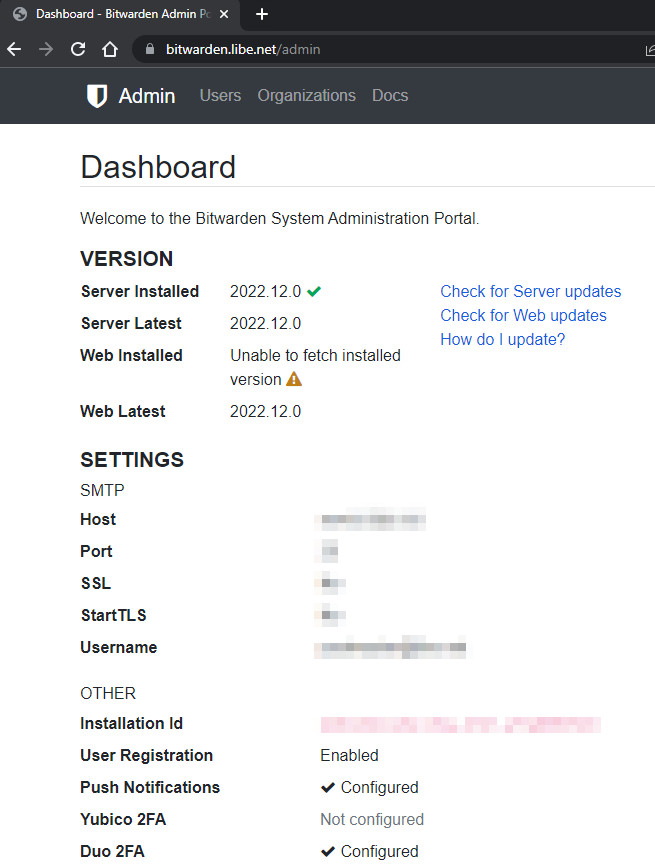
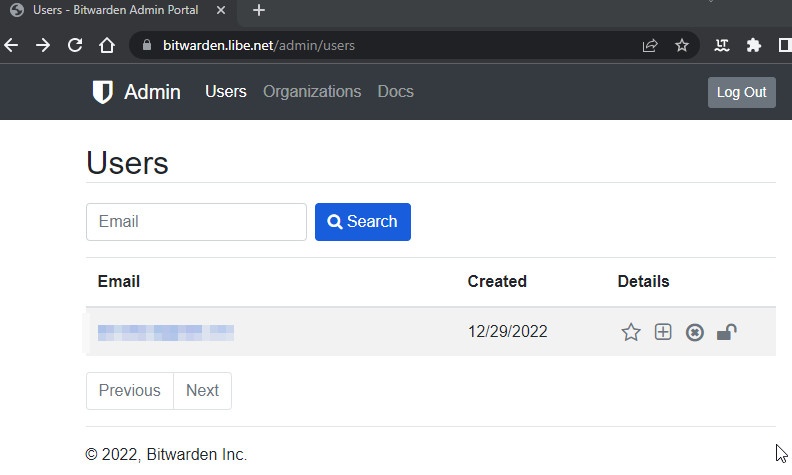
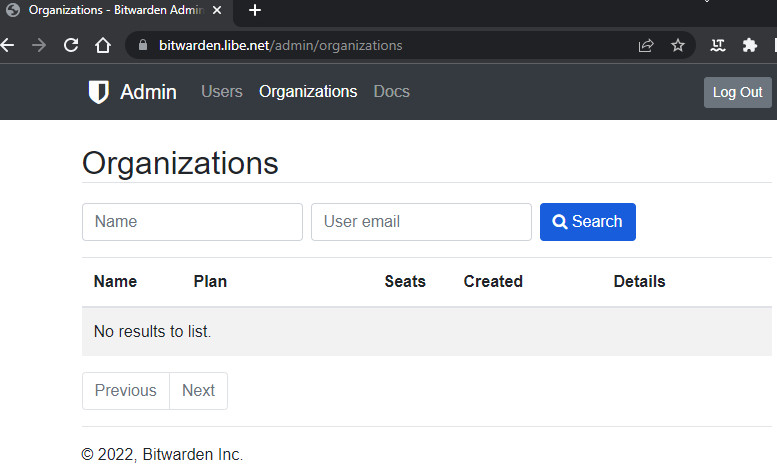
Admin Portal
The admin portal can be accessed via https://domain.tld/admin. The mail address of the admin user must be stored in the docker-compose.yml file:
..
      adminSettings__admins: "admin@domain.tld"
..
The call is made via the defined domain https://domain.tld/admin.
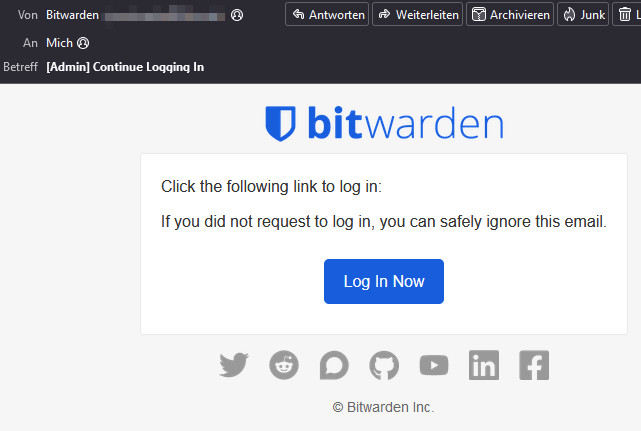
Afterwards, the access is done via a link sent by mail:
Prohibit new registrations
To prevent new users from registering, the following setting can be adjusted in the docker-compose.yml file:
..
      globalSettings__disableUserRegistration: "true"
..
The setting will be active at the next "docker compose up -d".
Vaultwarden
Vaultwarden profile:
| Software | Vaultwarden |
|---|---|
| GitHub | https://github.com/dani-garcia/vaultwarden |
| current version | 1.33.2 |
| found | 2025-02-10 |
Vaultwarden is an alternative implementation of the Bitwarden Server API, written in Rust and compatible with Bitwarden clients.
Vaultwarden docker-compose.yml
If you prefer Vaultwarden, this alternative docker-compose.yml file can be used:
# docker-compose.yml
services:
  bitwarden:
    image: vaultwarden/server
    restart: always
    expose:
       - "80"
    #Für einen direkten Test-Zugriff, in den folgenden 2 Zeilen "#" entfernen. Aufruf: http://localhost:83 oder http://ServerIP:83
    #ports:
      #- "83:80"
    volumes:
      - ./bw-data:/data
    environment:
      WEBSOCKET_ENABLED: 'true' # Required to use websockets
      SIGNUPS_ALLOWED: 'true'   # set to false to disable signups
      ADMIN_TOKEN: "mytoken2change"

   #Labels für ReverseProxy, siehe: https://www.libe.net/traefik
    labels:
      - "traefik.enable=true"
      - "traefik.http.routers.home.rule=Host(`bitwarden.domain.tld`)"
      - "traefik.http.routers.home.entrypoints=web"
      - "traefik.http.routers.home.entrypoints=websecure"
      - "traefik.http.routers.home.tls.certresolver=myresolver"
      - "traefik.http.services.home.loadbalancer.server.port=80"

#Ohne dem Einsatz eines Reverse Proxy (https://www.libe.net/traefik) fehlt voraussichtlich das Netzwerk webproxy
#und die folgenden Zeilen können entfernt oder auskommentiert werden. Alternativ kann das Netzwerk mit "docker network create webproxy" erstellt werden
networks:
  default:
    name: webproxy
    external: true
Before starting, the ADMIN_TOKEN should be adjusted, this is similar to a password for access to the admin interface. For Internet access via the Traefik reverse proxy, the domain must also be replaced in the labels with the previously created DNS entries (in the example: bitwarden.domain.tld) . This example also uses bind mounts and no Docker volumes for permanent data storage. See: Docker data storage: Docker Volumes vs. Host Folders
Starting Vaultwarden Container
The startup is again done with the command "docker compose up":
docker compose up -dUnlike Bitwarden, Vaultwarden does not use its own database, but a SQLite database, this is located in the bw-data folder after startup.
A look at the resource consumption using docker stats shows the much smaller footprint of Vaultwarden:

Vaultwarden needs initially not even 8 MB, Bitwarden in comparison about 570 MB with database ...
Setting up Vaultwarden
The call is again made from the specified domain, according to the example: https://bitwarden.domain.tld
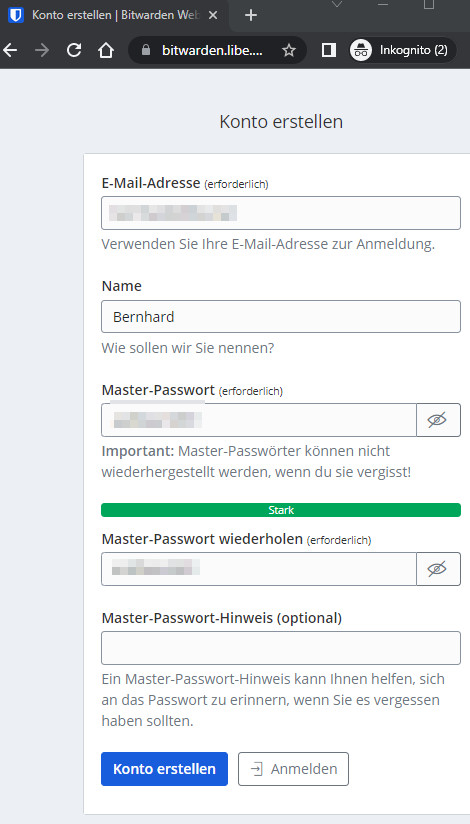
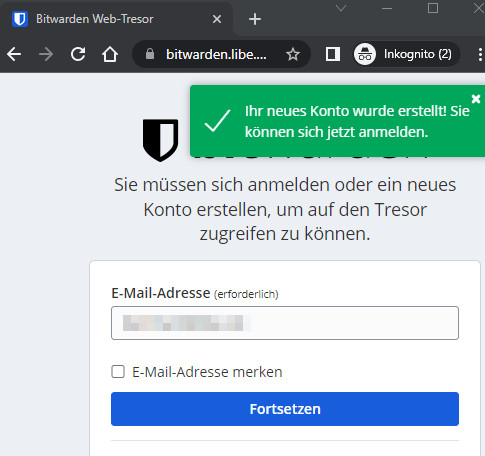
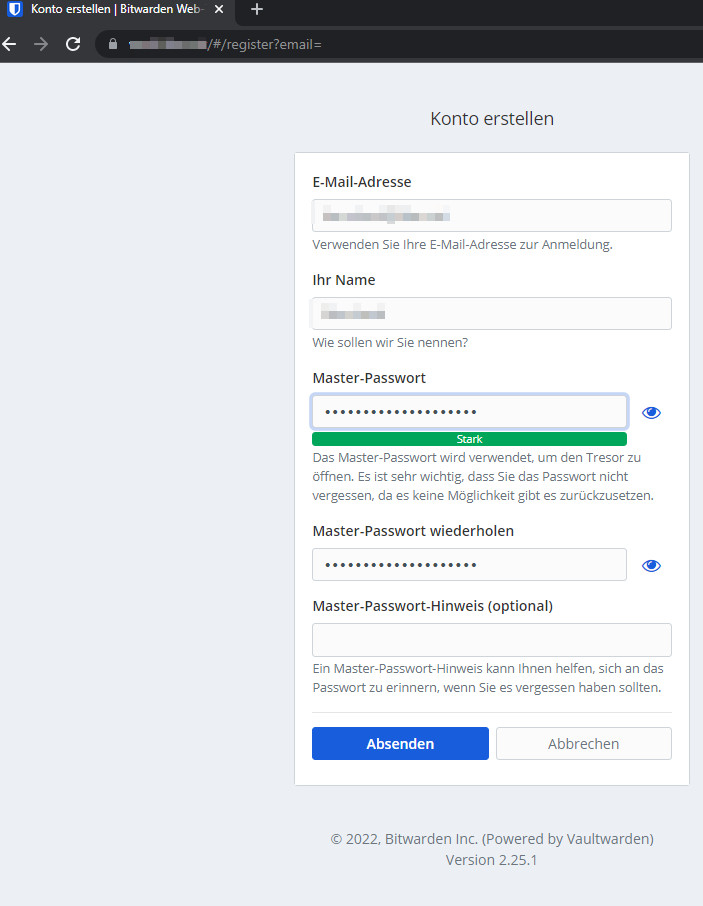
Create account
A user account can be created the first time the website is called:
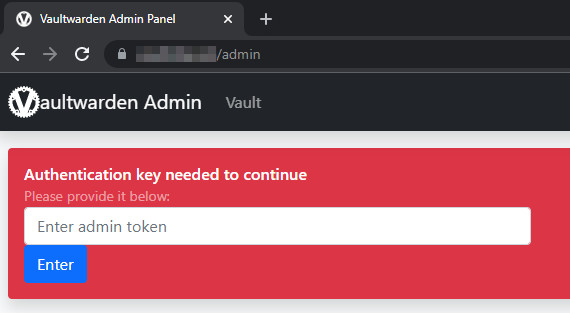
Admin Portal
Setup settings can be made in the admin portal. The admin token specified in the docker-compose.yml file and the URL "/admin" are used for access:
To allow me to determine who can use the password manager, I disabled signups.
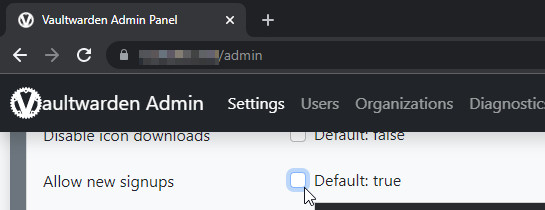
Invited users can still use the password manager. If an unknown person registers, the following error is displayed:

An error has occurred. Registration not allowed or user already exists.
SMTP settings
For sending mails I used the following settings.
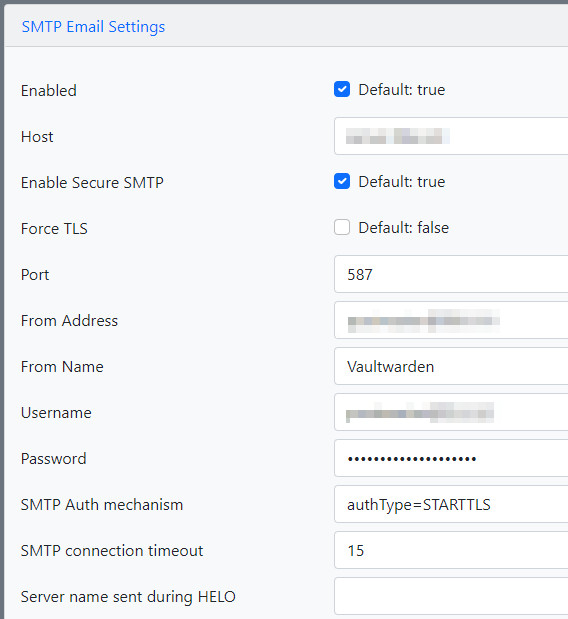
As mail server I use the following setup: Running Docker Mailserver yourself | a field report
 ({{pro_count}})
{{percentage}} % positive
 ({{con_count}})