OpenWRT - my router setup
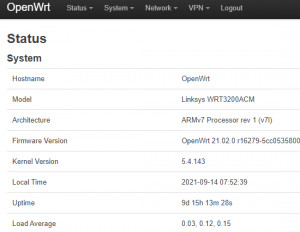
For my home network I use a router with OpenWRT. My requirements for the router are basically the following tasks:
- The access via Ethernet and WLAN to the Internet
- A possibility to display the required data volume of the individual devices currently and historically.
- The access from the road to my home network: VPN
As hardware I use a Linksys WRT3200ACM and as an additional access point a NETGEAR WAC104 and an EX3700 in a shared mobility domain: see: Set up home network: Extend LAN and WLAN | improve. See also: Uninterrupted WLAN: Roaming (Fast Transition). If you are looking for a suitable hardware, you might find it here: OpenWRT hardware recommendation - available devices 2026.
Current OpenWRT version: 24.10.5 (found: 2025-12-23)
Software packages
Since the software packages have to be activated again when upgrading, I put together a few lines of code to bring the router back up to date:
opkg update && opkg install openvpn-openssl luci-app-openvpn block-mount e2fsprogs kmod-fs-ext4 kmod-usb3 kmod-usb2 kmod-usb-storage bandwidthd-pgsql luci-app-sqm luci-app-advanced-reboot luci-app-attendedsysupgrade
block detect > /etc/config/fstab
uci set fstab.@mount[0].enabled='1' && uci set fstab.@global[0].check_fs='1' && uci commit
/sbin/block mount
The upgrade process is even easier with Attended Systemupgrade, see: OpenWrt Upgrade
OpenVPN - Setup
The quickest way to set up OpenVPN is to use the following commands:
opkg update
opkg install openvpn-openssl openvpn-easy-rsa
build-ca
build-dh
build-key-server libe
cp /etc/easy-rsa/keys/ca.crt /etc/easy-rsa/keys/libe.* /etc/easy-rsa/keys/dh2048.pem /etc/openvpnuci set network.vpn0=interface
uci set network.vpn0.ifname=tun0
uci set network.vpn0.proto=none
uci set network.vpn0.auto=1
uci set firewall.Allow_OpenVPN_Inbound=rule
uci set firewall.Allow_OpenVPN_Inbound.target=ACCEPT
uci set firewall.Allow_OpenVPN_Inbound.src=*
uci set firewall.Allow_OpenVPN_Inbound.proto=udp
uci set firewall.Allow_OpenVPN_Inbound.dest_port=1194
uci set firewall.vpn=zone
uci set firewall.vpn.name=vpn
uci set firewall.vpn.network=vpn0
uci set firewall.vpn.input=ACCEPT
uci set firewall.vpn.forward=REJECT
uci set firewall.vpn.output=ACCEPT
uci set firewall.vpn.masq=1
uci set firewall.vpn_forwarding_lan_in=forwarding
uci set firewall.vpn_forwarding_lan_in.src=vpn
uci set firewall.vpn_forwarding_lan_in.dest=lan
uci set firewall.vpn_forwarding_wan=forwarding
uci set firewall.vpn_forwarding_wan.src=vpn
uci set firewall.vpn_forwarding_wan.dest=wan
uci commit network
/etc/init.d/network reload
uci commit firewall
/etc/init.d/firewall reload
echo > /etc/config/openvpn # clear the openvpn uci config
uci set openvpn.myvpn=openvpn
uci set openvpn.myvpn.enabled=1
uci set openvpn.myvpn.verb=3
uci set openvpn.myvpn.port=1194
uci set openvpn.myvpn.proto=udp
uci set openvpn.myvpn.dev=tun
uci set openvpn.myvpn.server='10.8.0.0 255.255.255.0'
uci set openvpn.myvpn.keepalive='10 120'
uci set openvpn.myvpn.ca=/etc/openvpn/ca.crt
uci set openvpn.myvpn.cert=/etc/openvpn/libe.crt
uci set openvpn.myvpn.key=/etc/openvpn/libe.key
uci set openvpn.myvpn.dh=/etc/openvpn/dh2048.pem
uci commit openvpn
To allow clients access via VPN, the build-key-pkcs12 command can be used to create the necessary files:
Client
I executed the build-key-pkcs12 command on my Ubuntu machine and copied the keys to the router using scp:
 build-key-pkcs12 myclient
 scp root@192.168.0.2:/etc/easy-rsa/keys/myclient.* /media/temp/vpn
 scp root@192.168.0.2:/etc/easy-rsa/keys/ca.crt /media/temp/vpn
Client DNS settings
To make the DHCP server use a different DNS server for the clients, alternative DNS servers can be specified in the DHCP options:
As an example: option 6 the Google DNS servers 8.8.8.8 and 8.8.4.4:
6,8.8.8.8,8.8.4.4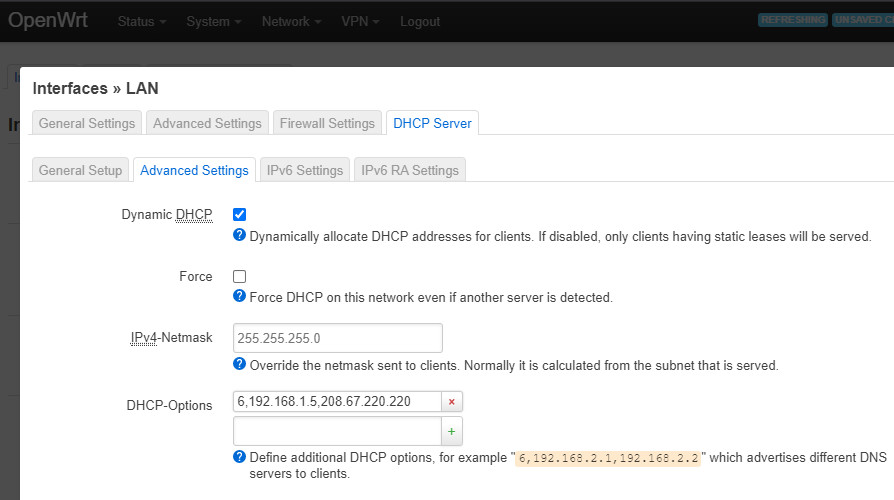
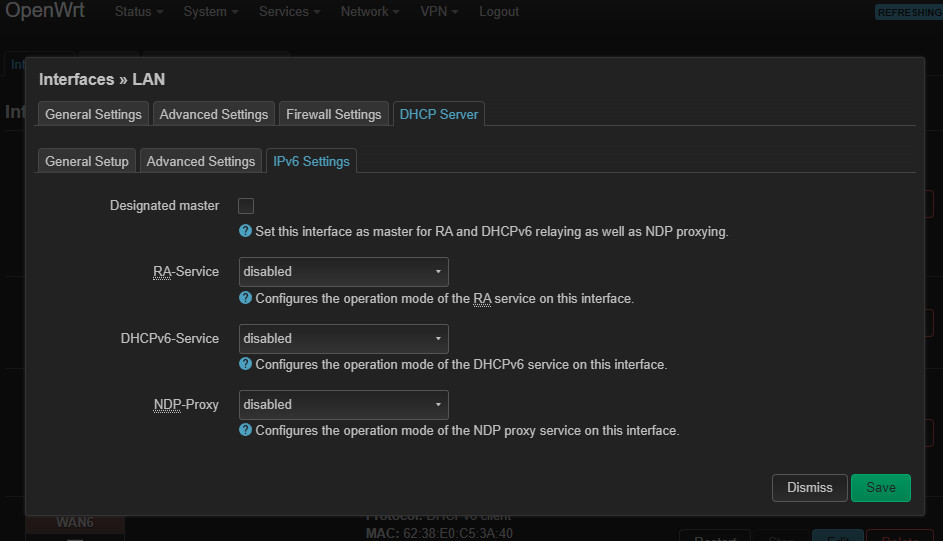
IPv6 DHCP deactivated
NTP
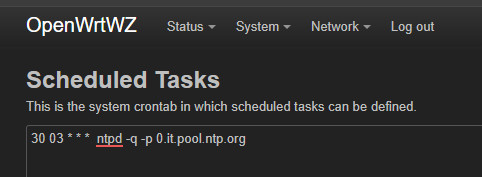
30 03 * * * ntpd -q -p 0.it.pool.ntp.org
Home Assistant Integration
OpenWRT & Home Assistant: evaluate, visualize, automate
OpenWrt vs. DDWRT
see also: Alternative Router Firmware: OpenWrt and no longer DD-WRT
 ({{pro_count}})
{{percentage}} % positive
 ({{con_count}})