Publish your own web services at home with Cloudflare

If you want to access your web services from the Internet, you can set up port forwarding on the router. For secure access to multiple web services, a reverse proxy with SSL offloading can also be used. As an alternative to this setup, Cloudflare offers a possibility to establish the connection via a tunnel with its Zero Trust service. The tunnel is established with a small utility program from the own network, which enables a simple and secure connection from the outside to released services. After the tunnel is established outbound, the Internet access does not require any special prerequisites: no fixed IP address, no DynDNS service and no incoming ports and therefore no port forwarding on the router. The only requirement is a domain and a CloudFlare account.
Requirements
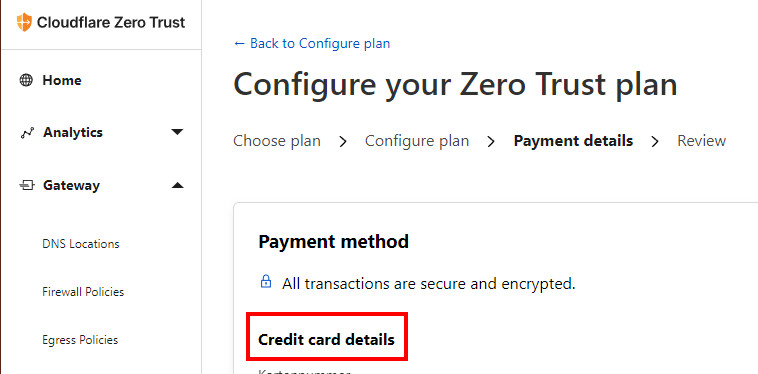
- CloudFlare account (a credit card is required for registration, the Zero Trust Tunnel service is free for a limited number of users)
- Paid Top Level Domain (TLD), available around 15€ per year, depending on the domain extension.
Domain, better not free ...
A TLD domain is required to access your own resources via the Zero Trust Tunnel, a DynDNS service is not sufficient for this. Although there have been free domains in the past, as an example via the provider Freenom.com, it is more sustainable to invest a few euros / year and register your own domain.

Information on registering and managing a domain, see also: Website construction kit vs. web space or your own web server?
Cloudflare
First of all, an overview of calling via the Internet when using a Cloudflare tunnel:
See also: https web services as VPN alternative: accessing the network.
Register a Domain
Those who do not yet own a domain can register it with any hosting provider or directly with Cloudflare:


Existing domains, or domains registered with another hosting provider, can be included in Cloudflare by customizing the DNS servers, see: Website builder vs. web space or a dedicated web server?
CloudFlare - Zero Trust Tunnel
After a domain has been included in CloudFlare, the only thing left to do is to set up the tunnel:


The wizard for creating a tunnel starts with "Create a tunnel".


In order to establish a connection between the network at home and Cloudflare, we need a little helper on the local network. Since I run my web services with Docker, I use the Docker variant for the connector here as well:

By running the "docker run" command, the tunnel starts and establishes a connection:
Docker tunnel docker run

If you want to add the command to an existing project in a docker-compose file, you can do so as follows:
Alternatively to docker run: docker-compose.yml
version: '3'
services:
  cloudflaretunnel:
    image: cloudflare/cloudflared:latest
    restart: always
    command: "tunnel --no-autoupdate run"
    environment:
      - TUNNEL_TOKEN=???
The command "docker compose up -d" starts the Tunnel in this case.
It would also be possible for each project, for each docker-compose file to use its own network and tunnel. For simplicity, I implemented the tunnel standalone using the docker-compose file described. For a first test I have published Home-Assistant:
Private Network Routes
To access a private web service, a subdomain can be created for it and an existing endpoint with port in the local network can be specified. Home-Assistant can be reached in my network via the URL http://192.168.1.5:8123, accordingly I use this URL as service:

Last but not least we are missing the internal private network:

After my router uses the IP range 192.168.1.1 and all network devices are in this subnet, I can specify the complete network as a potential destination for the published services:


When opening the published URL from the Internet, it should load the internal Service

By specifying the complete private subnet as the private network, I can publish additional web services at any time using an additional public hostname:

Conclusion
I already thought a port forwarding and the use of a reverse proxy is relatively slim and simple, yet it can be even simpler: the Cloudflare tunnel service provides easy and secure access to private network resources. On the one hand, Cloudflare does not use the public IP of the private Internet access, on the other hand Cloudflare offers the possibility to protect the access by additional login services. The free plan of the Cloudflare Zero Trust service includes access for 50 users, which should certainly be enough for accessing your own web resources. This is not the case when publishing an internet presence, where a zero-trust tunnel may not be the first choice.
 ({{pro_count}})
{{percentage}} % positive
 ({{con_count}})