add a Relay Board ESP32 - ESPHome

To be able to switch certain relays in Home Assistant via an ESP32, I tested a relay board and integrated it via ESP-Home.
Necessary hardware
Besides an appropriate hardware for Home Assistant, I married an ESP32 with a 4-channel relay board:
- ESP32 Dev Kit C V4 NodeMCU WLAN WiFi Development Board
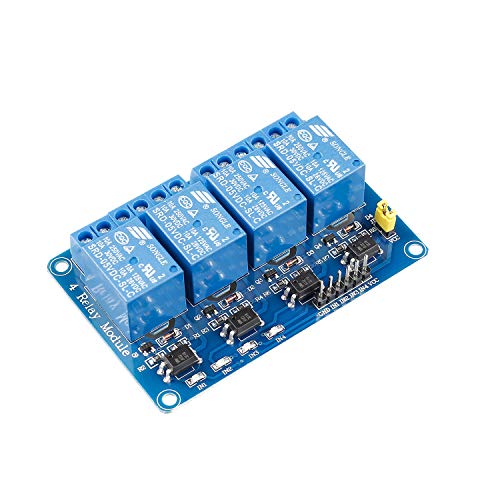
- 4-Channel Relay Board

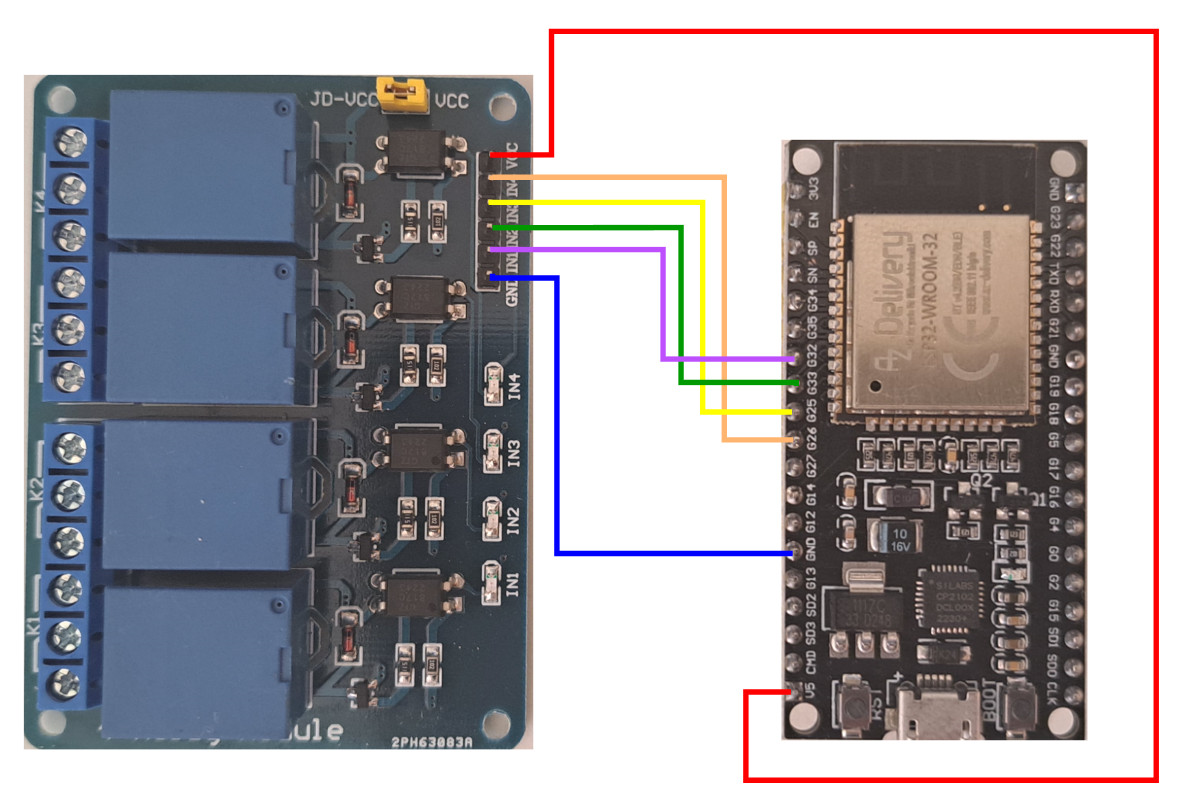
Wiring
As GPIO-PINs I used the PINS G25,26,32 and G33 for testing:
ESP-Home
If you already have the ESP32 connected to Home Assistant, you can add the relay board with the following lines:
...
switch:
  - platform: gpio
    pin: GPIO32
    name: Relay1
    id: relay1
  - platform: gpio
    pin: GPIO33
    name: Relay2
    id: relay2
  - platform: gpio
    pin: GPIO25
    name: Relay3
    id: relay3
  - platform: gpio
    pin: GPIO26
    name: Relay4
    id: relay4
This will make the relays show up as "controls" in Home Assistant.

Use in practice: Heating control
 ({{pro_count}})
{{percentage}} % positive
 ({{con_count}})
THANK YOU for your review!
created by Bernhard
| published: 2023-10-02
| Updated: 2025-01-30 |
Übersetzung Deutsch
|🔔
| Comments:0