OpenDTU - ESP32 - Hoymiles inverter

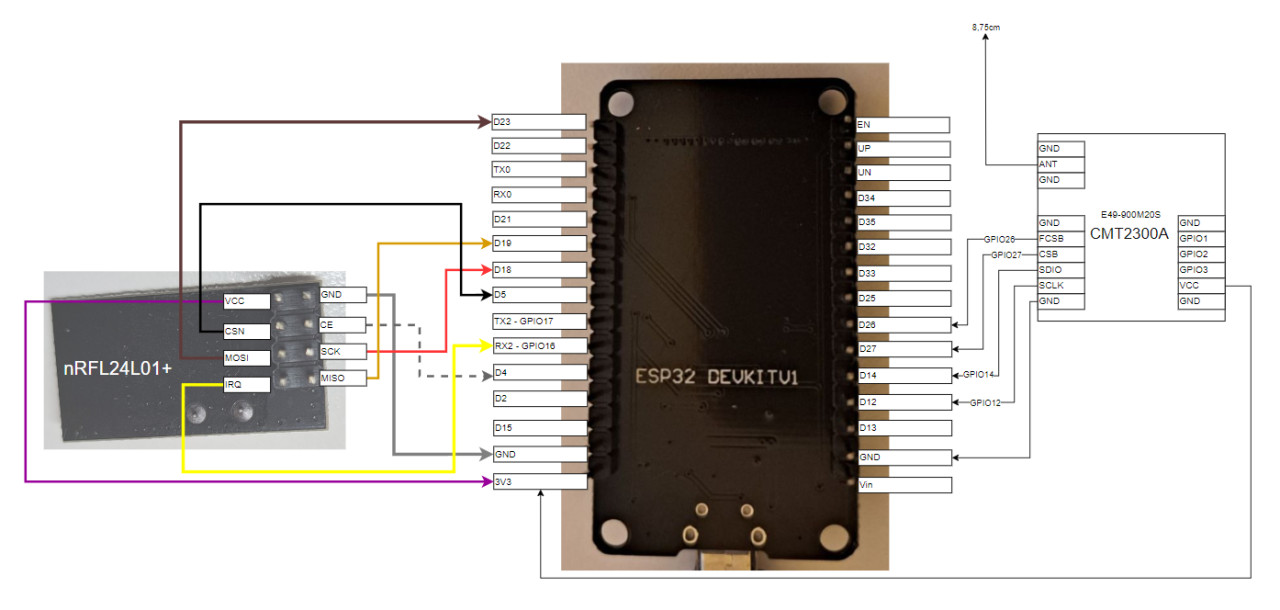
As already mentioned in an earlier article, I have replaced the Deye-SUN800 inverter with a Hoymiles HMS-2000-4T. The HMS-2000-4T does not have a WLAN module, so access is only possible via its own DTU (Data Transfer Unit). The DTU is a kind of bridge between WLAN and the inverter's sub-1G radio. In addition to the manufacturer's DTU, there are 2 open source projects for a DIY DTU: AhoyDTU and OpenDTU. The hardware basis of the projects is an ESP32 and an additional radio module. Depending on the inverter type, an nRFL24L01+ radio module is required for the HM series and a CMT2300A radio module for the HMS series.
OpenSource DTU versions for Hoymiles
| Software | OpenDTU |
|---|---|
| GitHub | https://github.com/tbnobody/OpenDTU |
| current version | 25.9.11 |
| found | 2025-09-13 |
as an alternative to OpenDTU
| Software | Ahoy |
|---|---|
| GitHub | https://github.com/lumapu/ahoy |
| current version | 0.8.156 |
| found | 2025-08-14 |
Commissioning OpenDTU
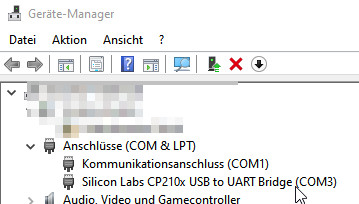
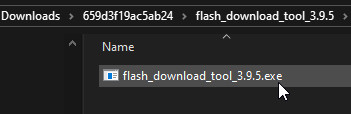
A prerequisite for the USB connection to the ESP is a USB to UART bridge, which I had already installed for earlier projects. After connecting the ESP32 to the USB port, an additional COM port, in this case COM3, should appear in the device manager:
Variant 1: Webinstall
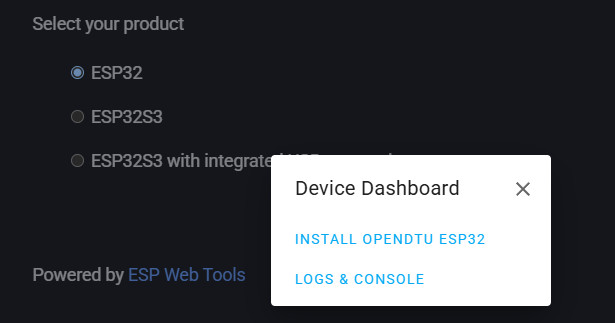
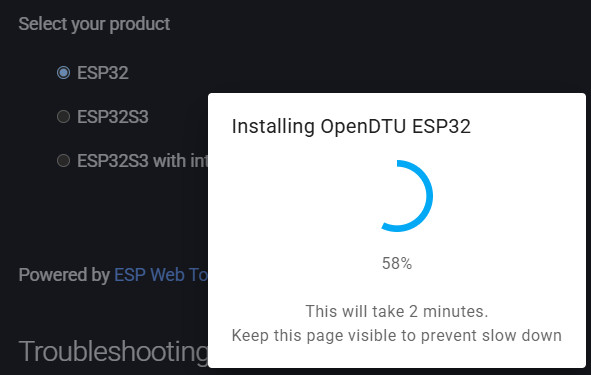
The easiest way to install OpenDTU is via the Web Flasher on the Opendtu website: www.opendtu.solar/firmware/webinstall/
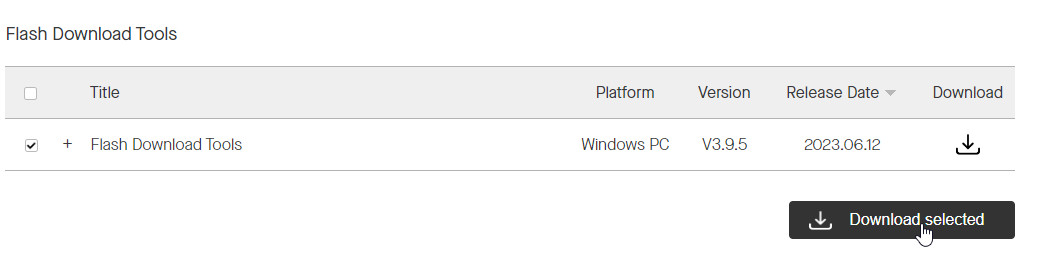
Variant 2: Espressif Flash Download Tools
Alternatively, the software image for the ESP32 can be downloaded from the Opendtu project's Github page and installed using Espressif's Flash Download Tools: Image download: https://github.com/tbnobody/OpenDTU/releases

Flash Download Tools: https: //www.espressif.com/en/support/download/other-tools:
After starting the exe file, I used "ESP32" as ChipType and "Develop" for the WorkMode:

I then selected the previously downloaded image and deleted the ESP first with "ERASE". The COM port for the USB to UART Bridge is listed in the Windows Device Manager and should match the settings in the Flash Tool.
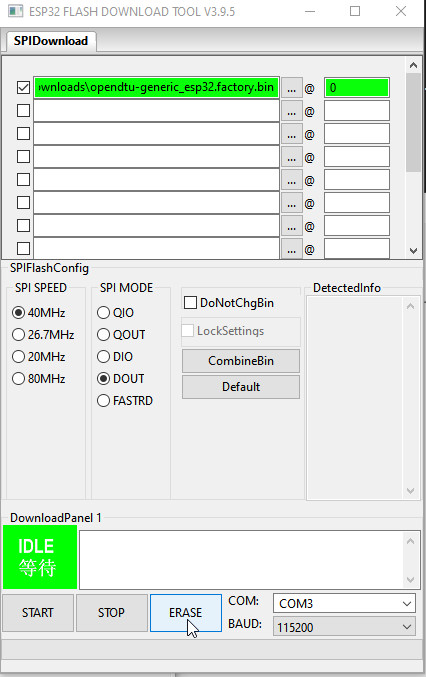
If the ESP does not respond at this point, simply press and hold the boot button on the ESP32 for approx. 2 seconds.
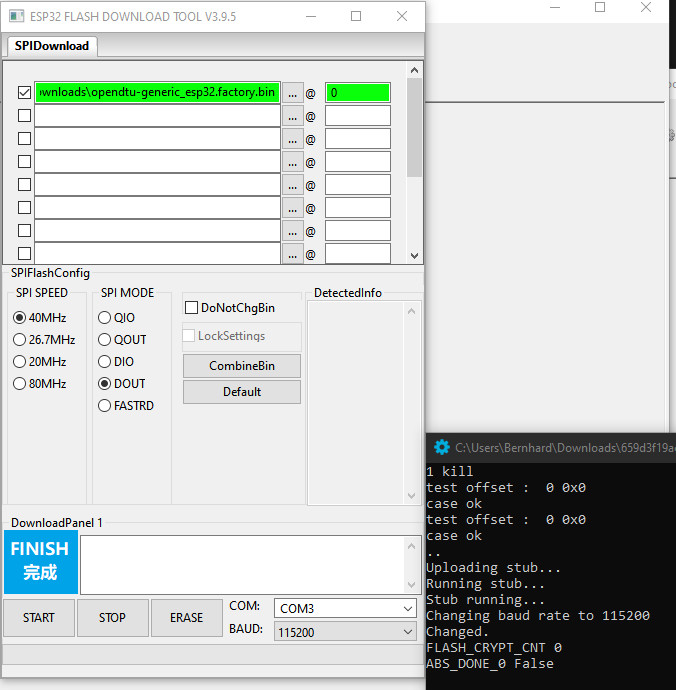
After deletion, the ESP can be flashed with the following settings:
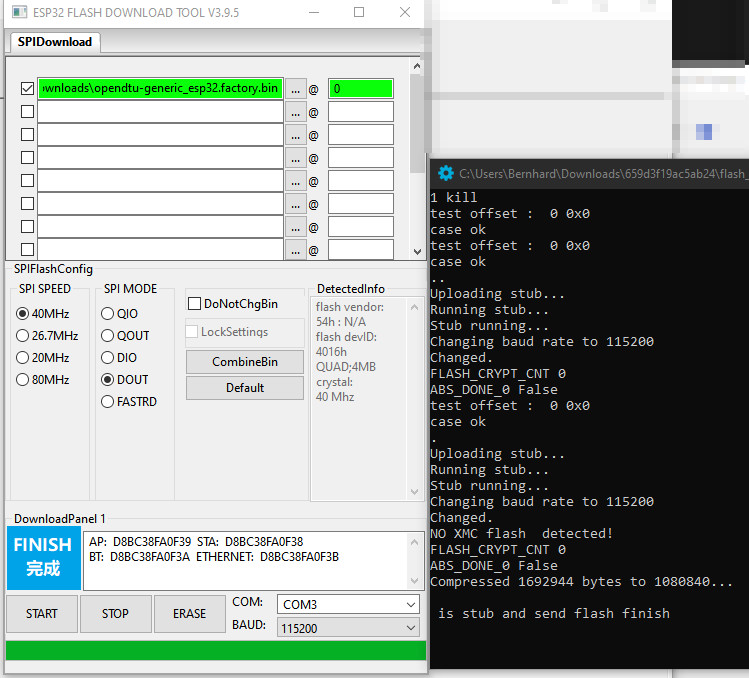
If the ESP has been successfully flashed, we no longer need the connection to the PC, the ESP can be accessed via WLAN from this point on.
Setup via the WLAN hotspot of the ESP32
After flashing, OpenDTU can be set up via the integrated Wi-Fi hotspot, for example with a smartphone.
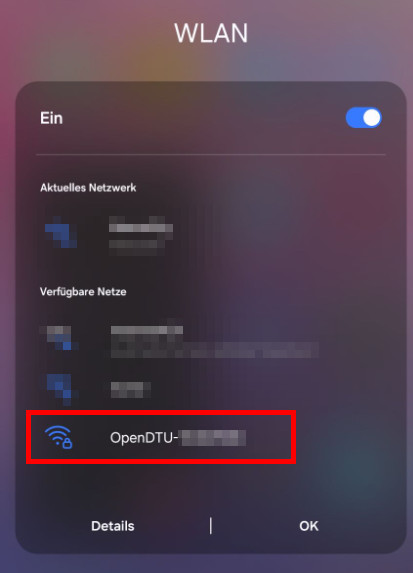
The default password for the hotspot is "openDTU42":

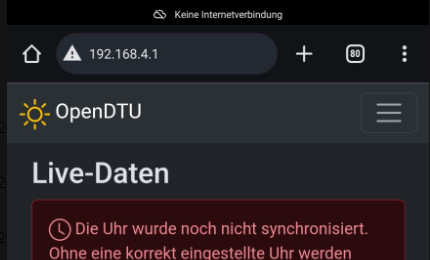
Continue in the browser with the IP address: 192.168.4.1. The user: "admin" and again the password: "openDTU42" is used as the user for the login:
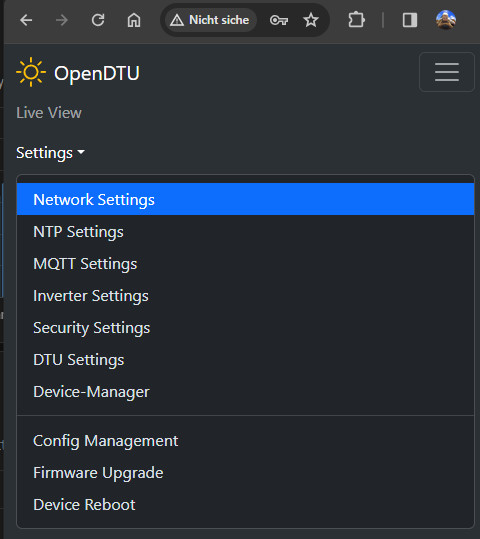
In order for the DTU to connect to the home network, the WLAN can be stored in the network settings:

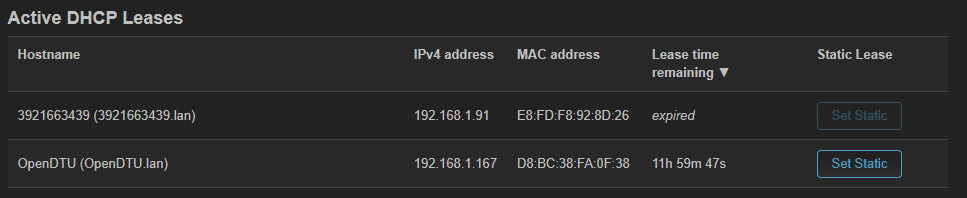
A look at the router of the home network shows us the IP address for the call from our own network:
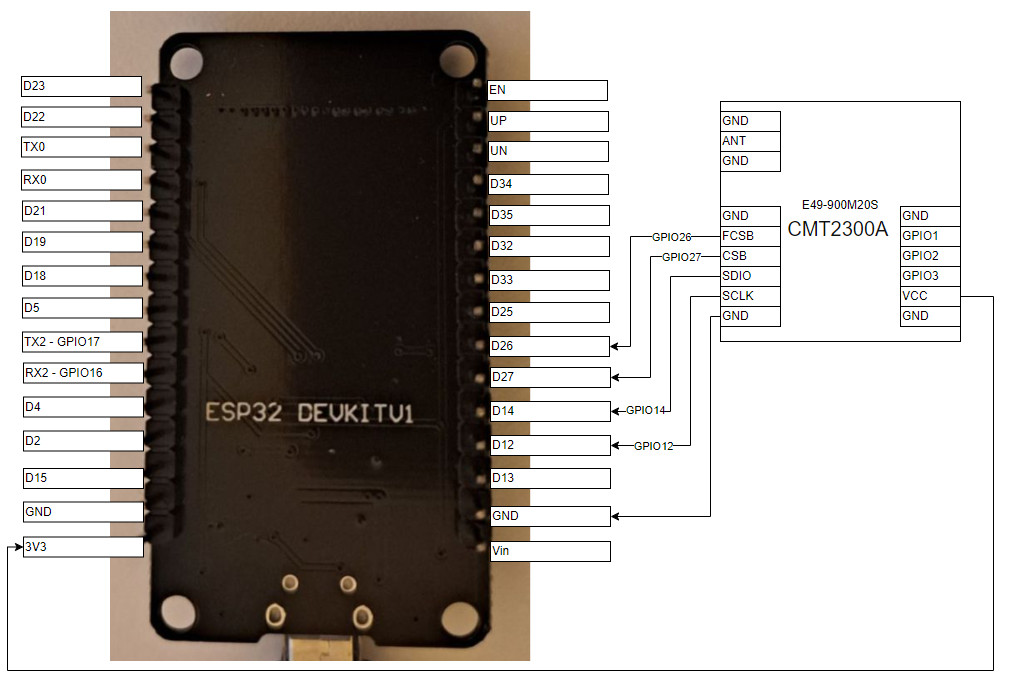
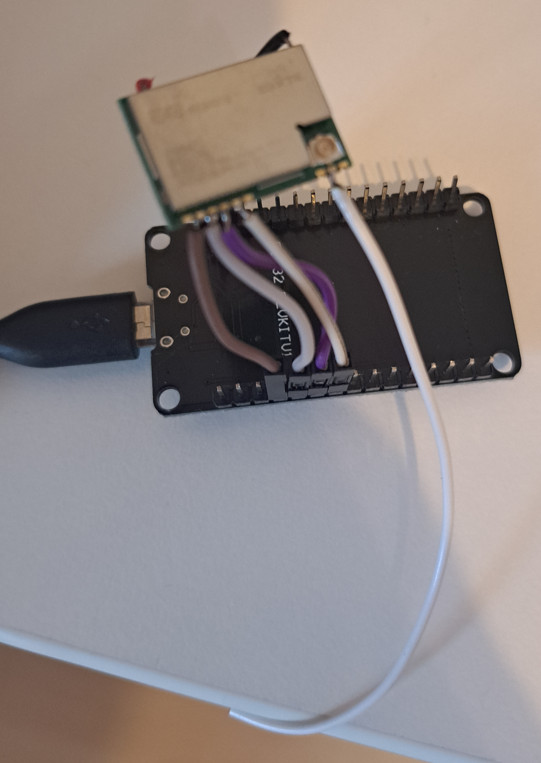
Cabling CMT2300A
For the models of the HMS series and integrated WLAN, a CMT2300A wireless module is required, which can be connected to the ESP as follows:

Soldering requires some practice and the right tools.

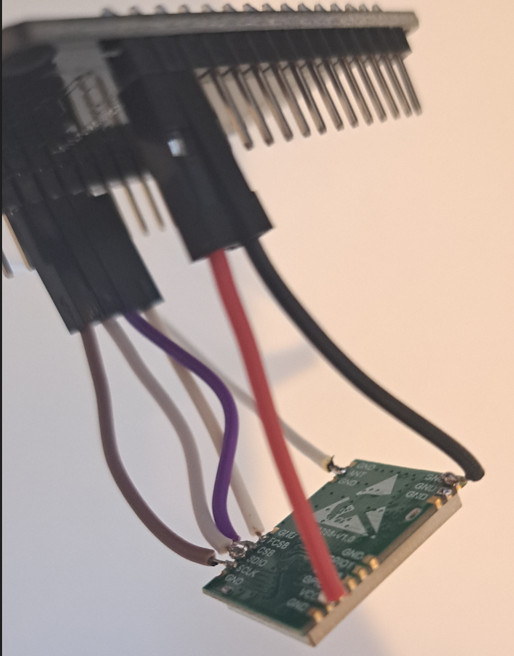
I used an 8.75cm long wire for the antenna. It's possible that a real antenna will provide better reception, but it's definitely sufficient for short distances.
If you are not confident in soldering, you can use the test board kit as an alternative.
. I haven't tried the board myself yet, but according to the following discussion, it should work: github.com/tbnobody/OpenDTU/discussions/902
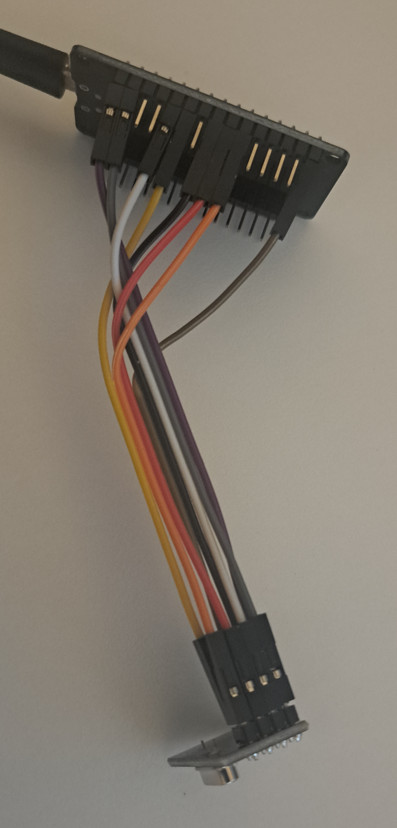
Wiring nRFL24L01+:
If you want to address an HM series inverter, you need an nRFL24L01+ radio module, which can be connected to the ESP as follows.
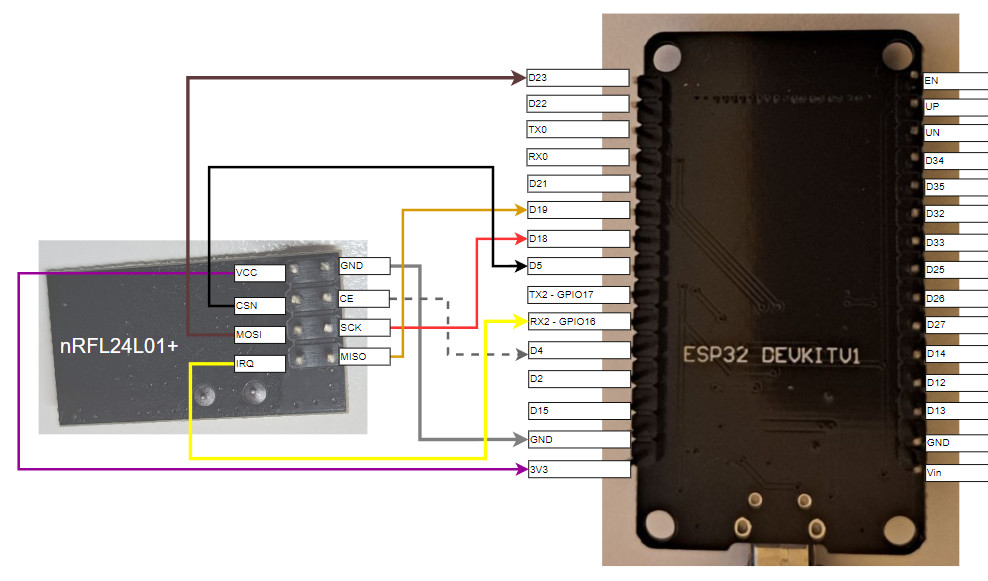
nRFL24L01+ and CMT2300A
If different PINs are used for both receiver modules, they can also be operated in parallel on an ESP32:
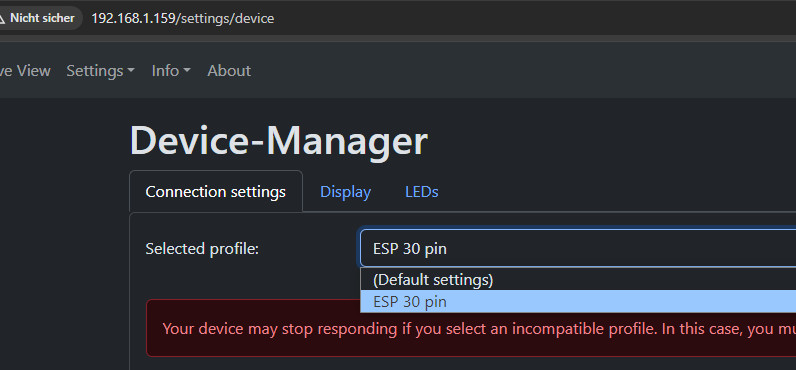
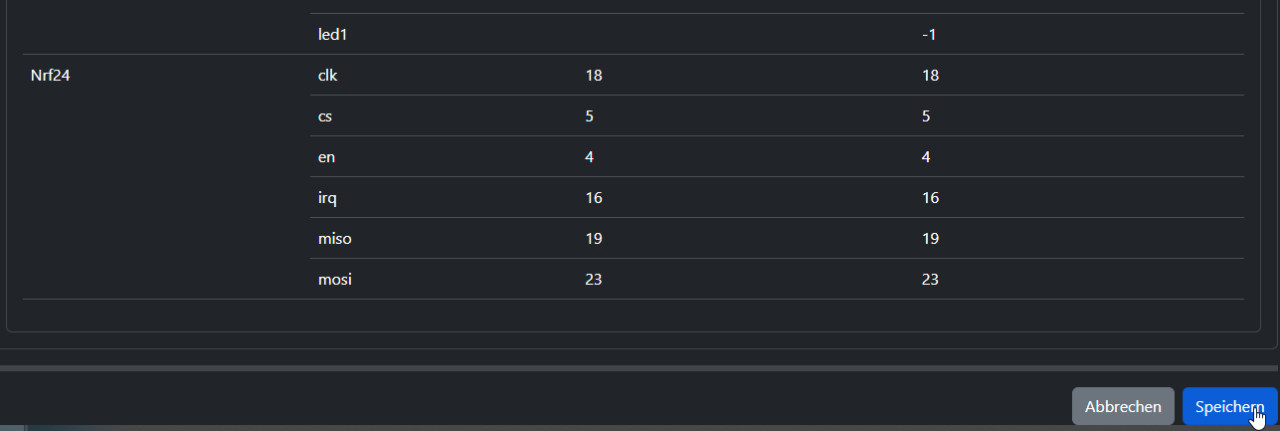
Pin mapping
To ensure that OpenDTU addresses the receiver modules via the correct PINs, these can be stored in a JSON file and uploaded via the configuration management:
[
    {
        "name": "ESP 30 pin",
        "nrf24": {
            "miso": 19,
            "mosi": 23,
            "clk": 18,
            "irq": 16,
            "en": 4,
            "cs": 5
        },
        "cmt": {
            "clk": 12,
            "cs": 27,
            "fcs": 26,
            "sdio": 14,
            "gpio2": -1,
            "gpio3": -1
        },
        "eth": {
            "enabled": false,
            "phy_addr": -1,
            "power": -1,
            "mdc": -1,
            "mdio": -1,
            "type": -1,
            "clk_mode": -1
        }
    }
]
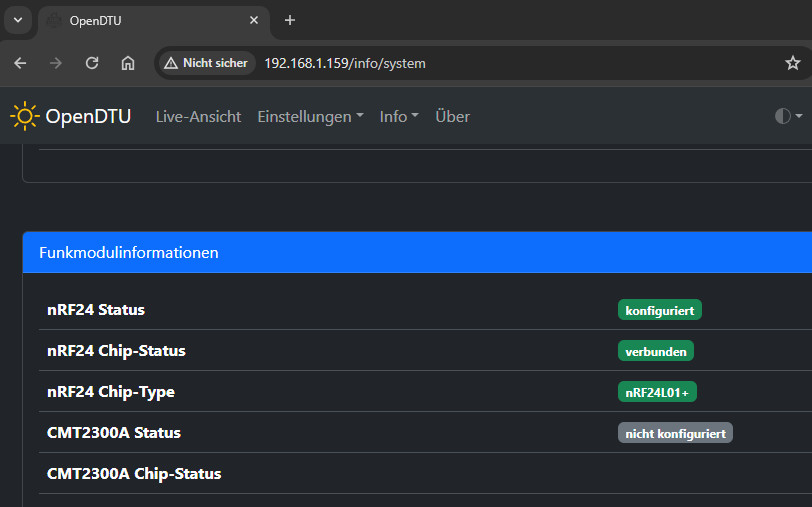
Example Status of connected nRFL24L01+ radio module:
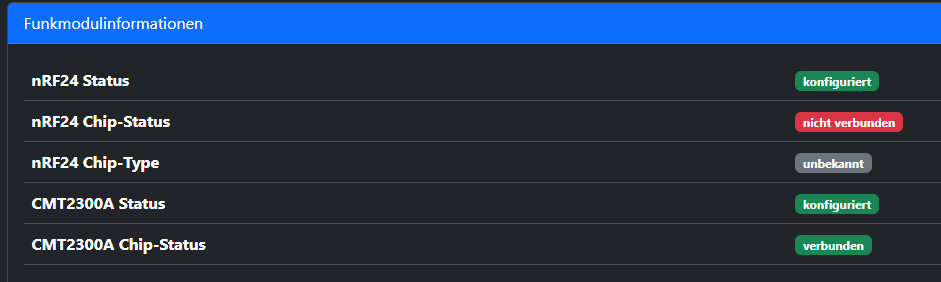
CMT2300A Status:
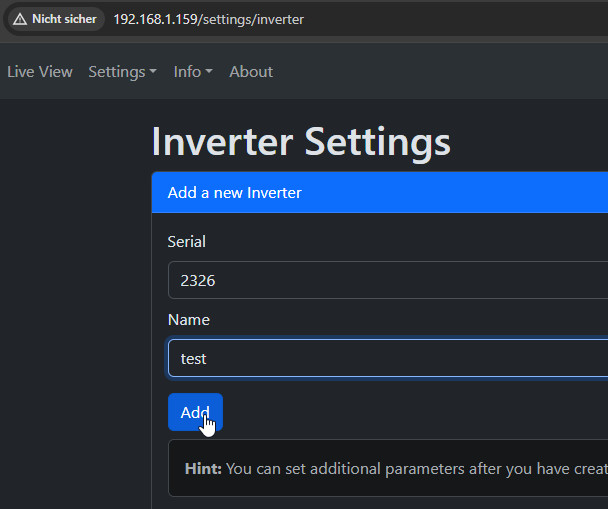
Only the serial number is required to set up the inverter and communication.
MQTT and Home Assistant
The DTU can report its data to Home Assistant using MQTT. Of course, this requires an MQTT broker in Home Assistant, see: MQTT - Broker : Docker Setup. OpenDTU then only needs the IP address of the broker, its port, user name and the password stored on the broker: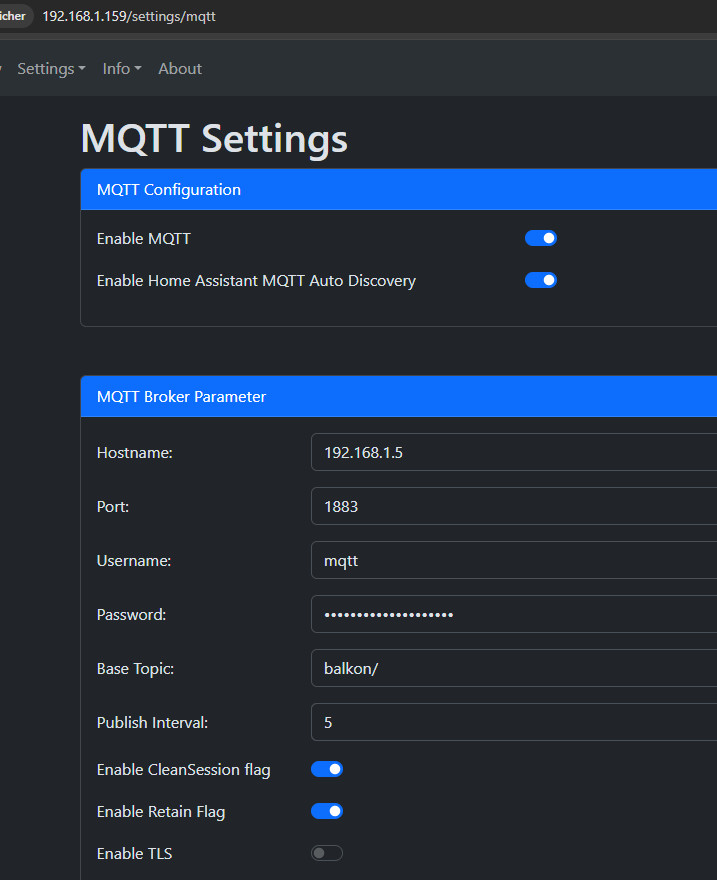
Conclusion
Although OpenDTU commissioning is somewhat more complex than using the manufacturer's DTU, the setup does not require any cloud at all and enables a direct connection to the existing smart home, for example for visualization and control via Home Assistant.
 ({{pro_count}})
{{percentage}} % positive
 ({{con_count}})