HAOS Installation: Publish RPi securely over the Internet
One of the preferred installation variants of Home Assistant, besides the use of Docker, is the Home Assistant operating system: HAOS and a Raspberry Pi (RPi). Using a Raspberry Pi as a smart home control center is simple, cheap to purchase, and power efficient to operate.


SD or SSD?
An SSD hard disk is often recommended as storage for Home Assistant, since changes in the database trigger a relatively large number of write operations, which could cause a cheap SD card to give up. Alternatively, an SD card that is designed for a high number of write operations can be used, e.g. SanDisk MAX ENDURANCE

HAOS- Installation Raspberry Pi
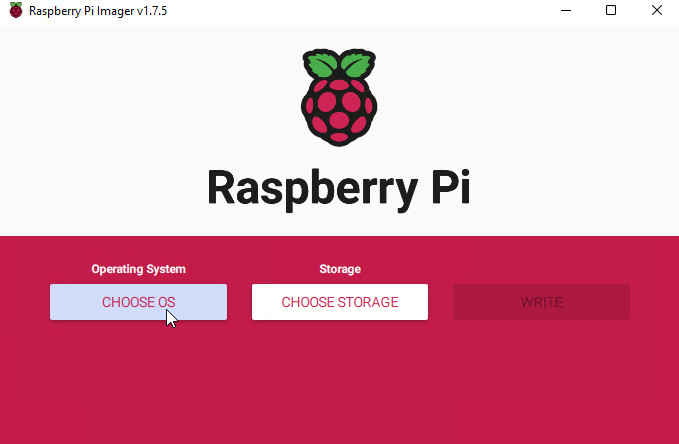
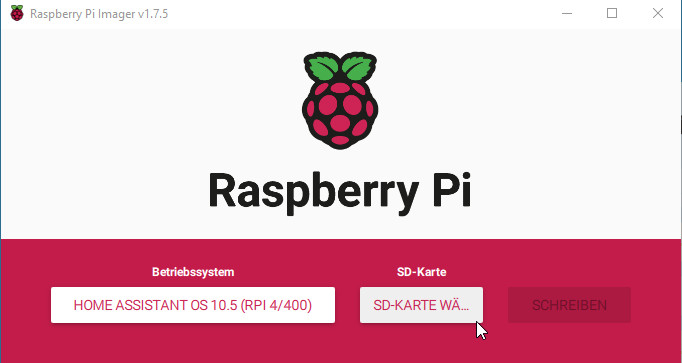
The easiest way to install HAOS on the Raspberry Pi is to use the Raspberry Pi Imager: https://www.raspberrypi.com/software/, see also: Raspberry Pi Startup.
The HAOS image is written to an empty SD card, which then starts the Raspberry Pi with Home Assistant.
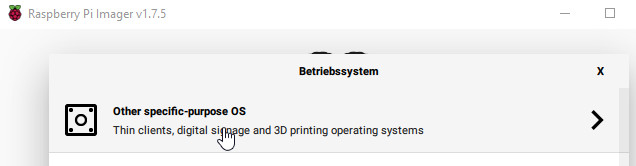
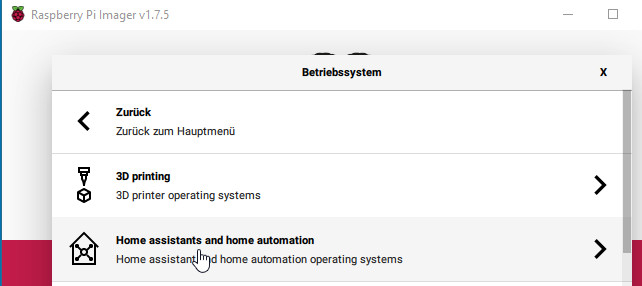
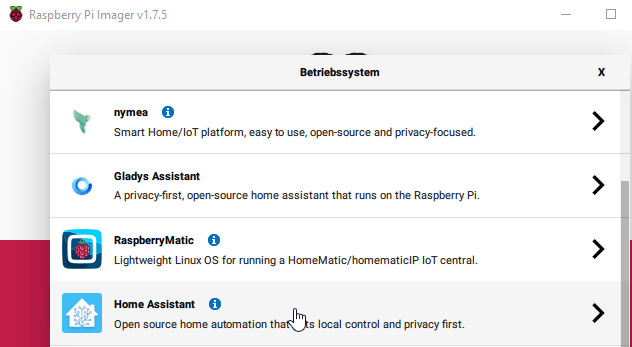
Depending on the hardware used: Raspberry Pi 3 or 4, an appropriate image can be selected: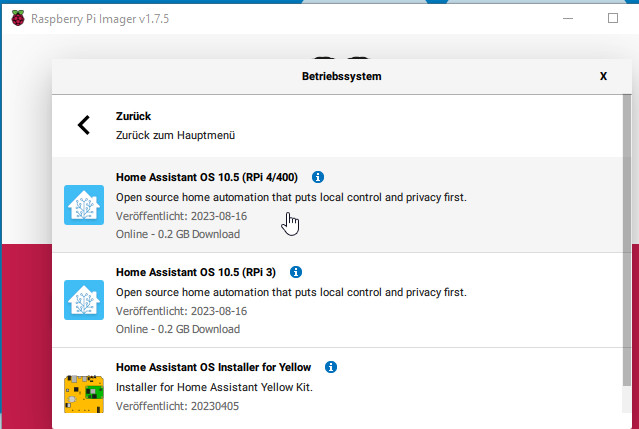
Then still select the inserted SD card and "WRITE" the image:
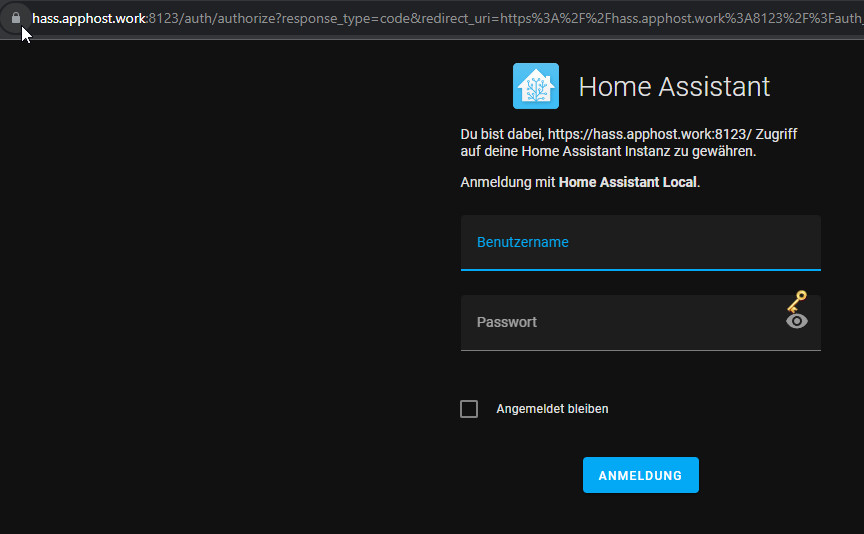
Inserted into the Raspberry Pi, it boots with Home Assistant and can be accessed via its name or IP address and port 8123 in the browser: http://homeassistant.local:8123/. Alternatively, a look at the router's management interface will tell us the IP address, or it can also be found out using the following PowerShell script: Find IP addresses on the network even if their firewall is enabled.
Secure access from the Internet: DNS entry and Let's Encrypt certificate
For access from the Internet I have set up port forwarding on the router. To encrypt the access I set a DNS entry and requested a certificate via the Let's Encrypt add-on, but let's take it one step at a time:
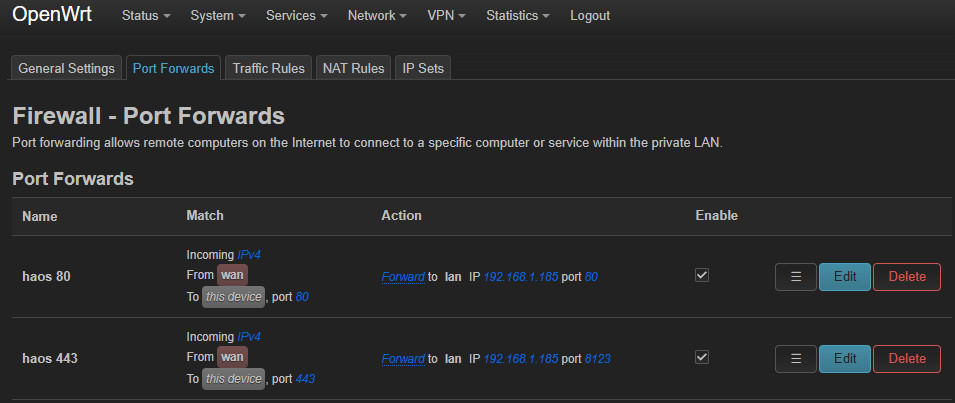
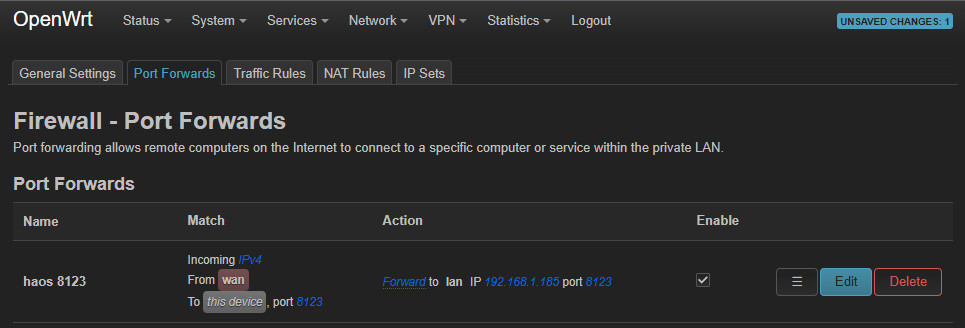
First, Home-Assistant should be reachable via port 8123 after the successful deployment in the local network. One step further, we can try to call the installation from the internet, for this we have to forward the requests from the internet from the router to the Raspberry Pi.
Port forwarding
Details about access, public IP address and functionality of access via port forwarding, see: making available from the internet: port forwarding - OpenWRT.
Port 443 can be redirected to 8123 for access, so port 8123 from the Internet does not need to be listed separately in the URL. Port 80 is required for issuing the Let's Encrypt certificates via the http variant.
By port forwarding Home Assistant should be reachable via the public IP address of the Internet and port 443: http://PublicIP:443. For a secure access we additionally need a DNS entry, e.g. via DynDNS, see: free DynDNS Service - Access with changing public IP. If the IP address of the internet access does not change, an additional entry of any internet domain can be used. As an example I ordered a domain from Cloudflare.
DNS entry
For the name resolution we need an A-record to the public-IP of the internet access.
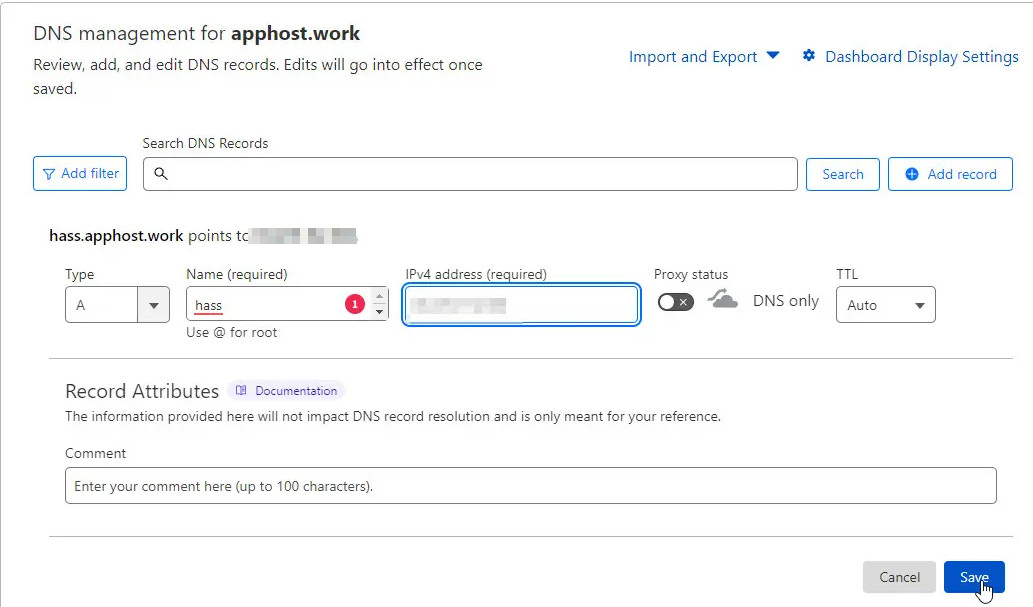
Important when using CloudFlare is to disable the CloudFlare proxy: "DNS only".
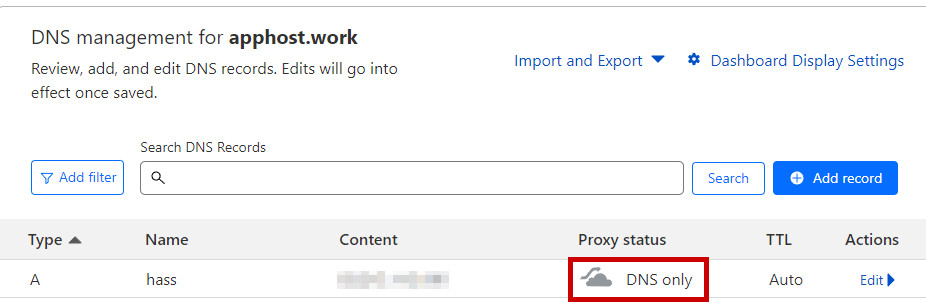
If the DNS record points to the public IP address of the internet connection, Home-Assistant should be callable from the internet by name as well.
http://A-Record-Public-Domain:443.
To switch from http to https, all we need now is a certificate:
Issue Let's Encrypt certificate
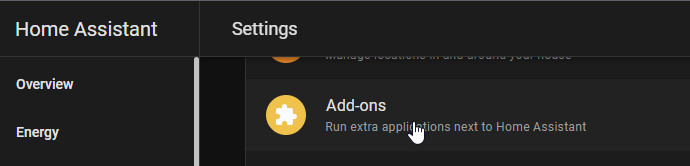
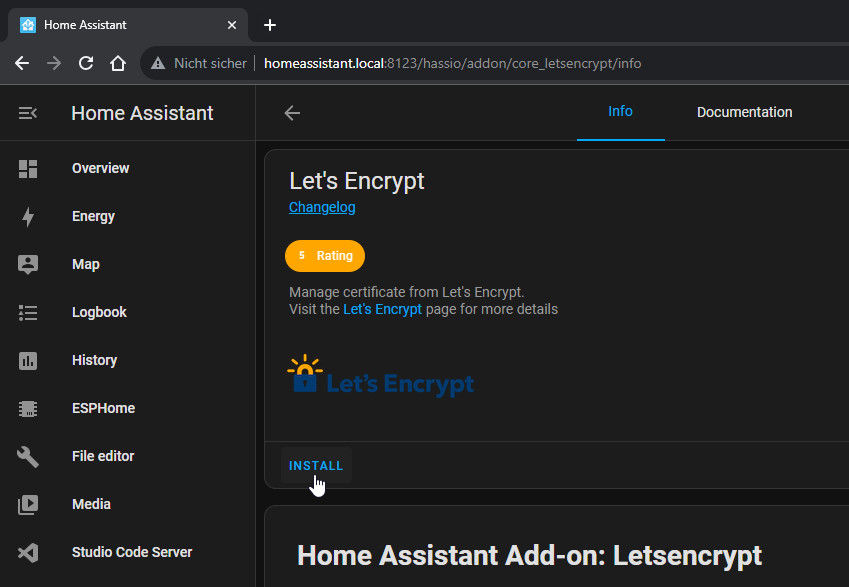
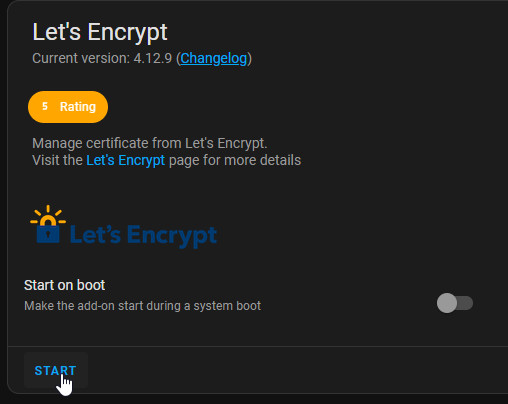
The Home Assistant AddOn "Let's Encrypt" can take care of the issuing and automatic renewal of a certificate, which can be installed via the AddOn Store:
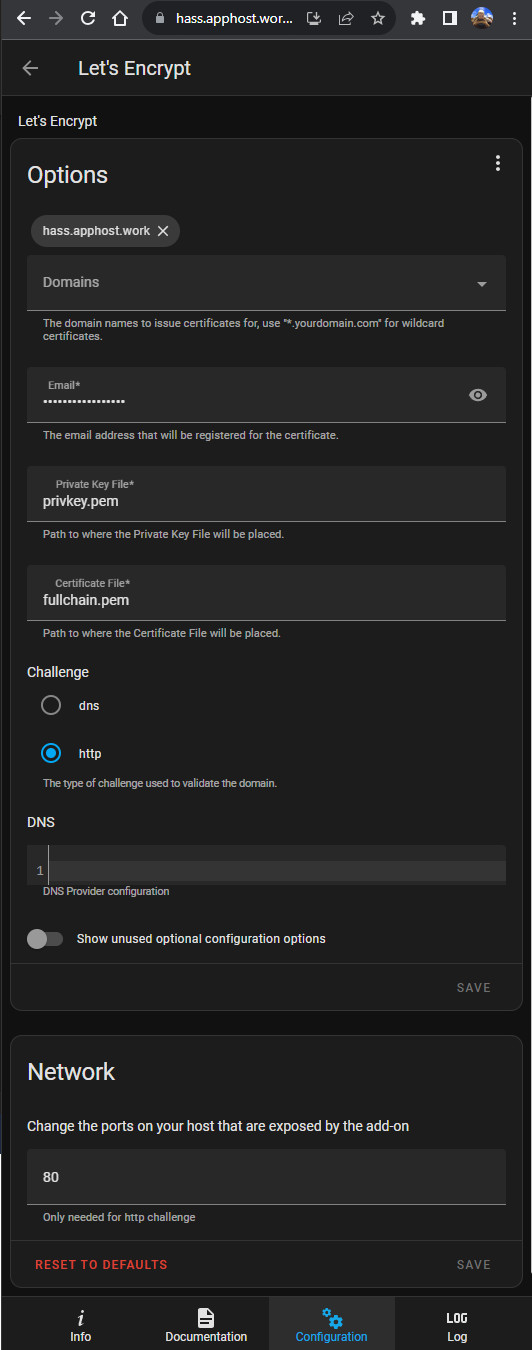
In the options, the AddOn now needs the information about the DNS record used (A record) and the email address for any warnings or information about the certificate:
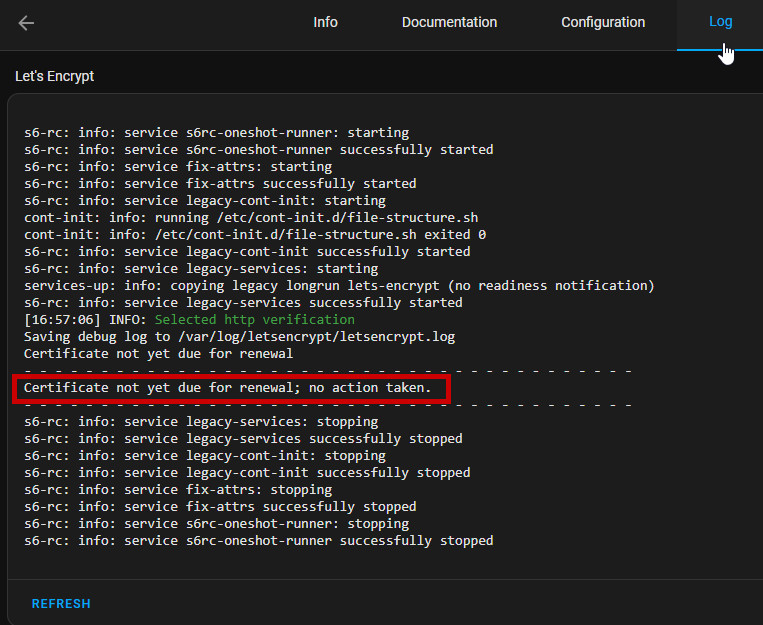
After starting the add-on, it takes care of issuing and renewing the certificate. A look into the log shows, at this point, that a certificate has already been issued and no further action is necessary:
So far, nothing has changed in the Home Assistant installation, the certificate is now only ready for use. In order for the certificate to be used, we need to tell Home Assistant where the certificate is located and that the connection should take place over https:
Switch Home Assistant to https
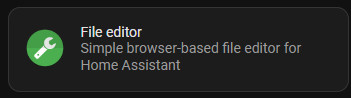
As with very many other settings in Home Assistant, these take place in the configuration.yaml file. In order to be able to edit the configuration.yaml file easily, the add-on "File editor" can be used:
After activating the file editor, the file /config/configuration.yaml can be opened with it and https can be activated with the following lines:
...
# enable https
http:
  ssl_certificate: /ssl/fullchain.pem
  ssl_key: /ssl/privkey.pem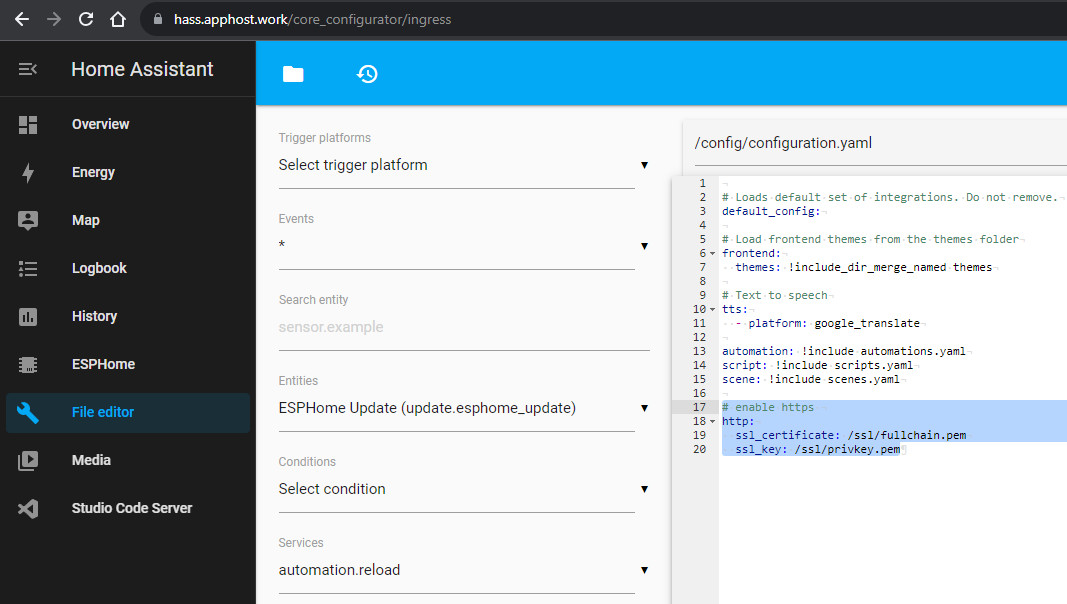
As an alternative to the http variant just described, the DNS variant can also be used with Cloudflare via an API token. Port forwarding of port 80 is not necessary for this variant:
Test with Cloudflare API token
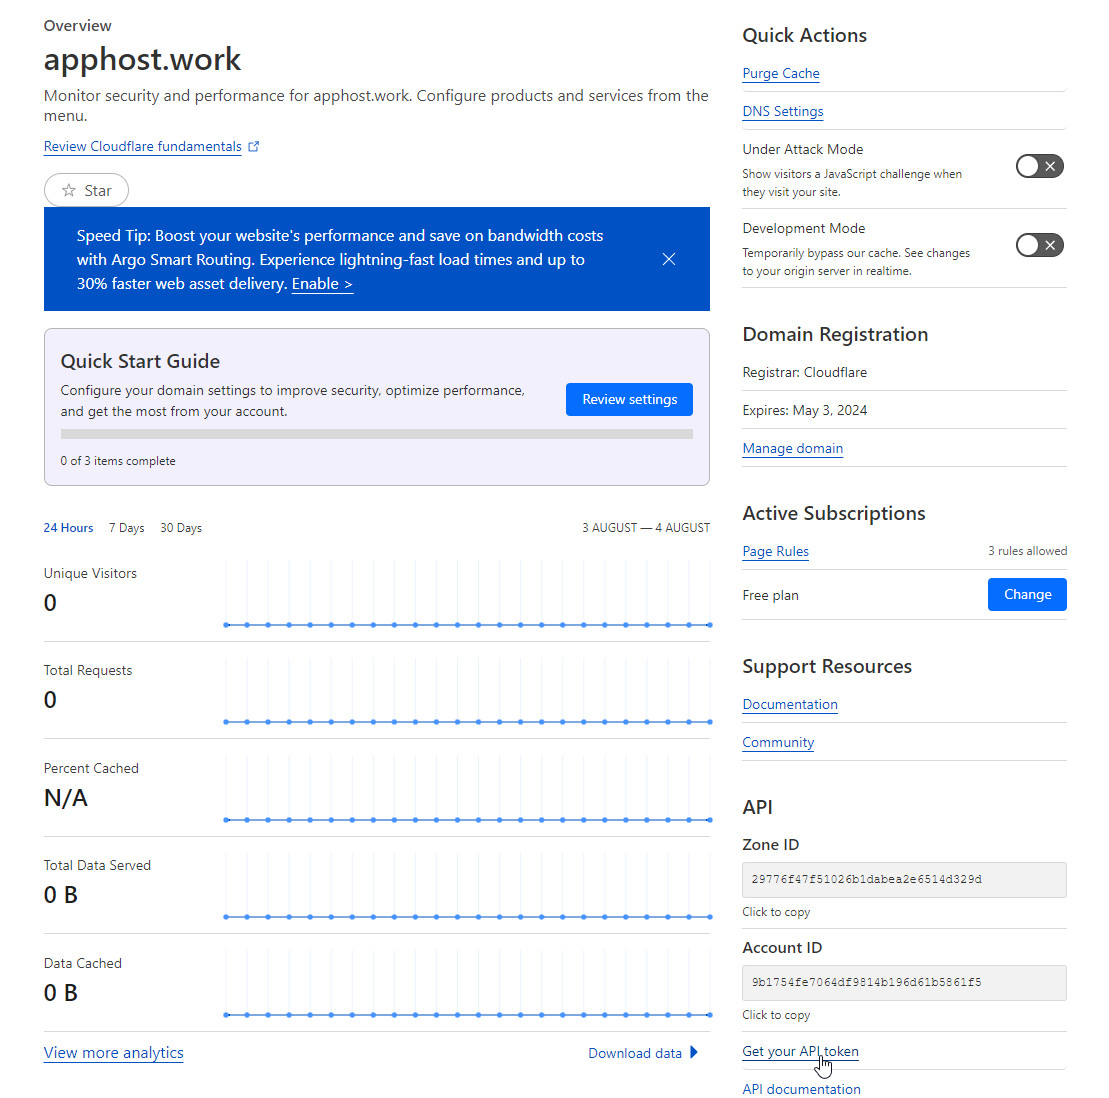
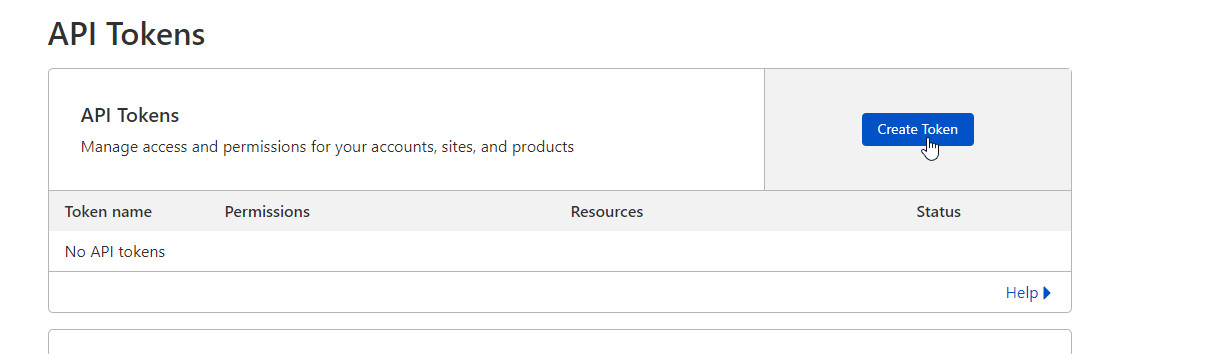
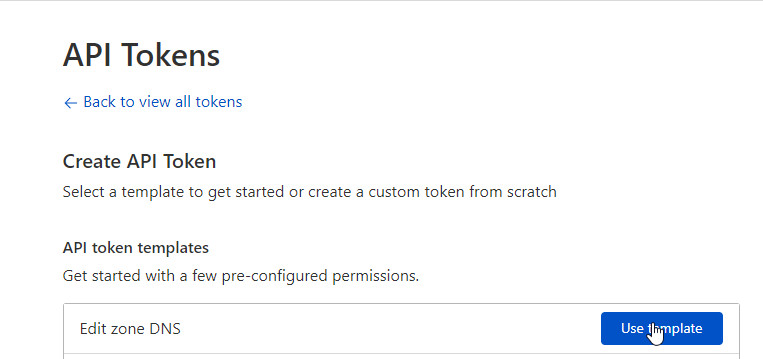
The API token can be requested on the Cloudflare website using "Get your API token":
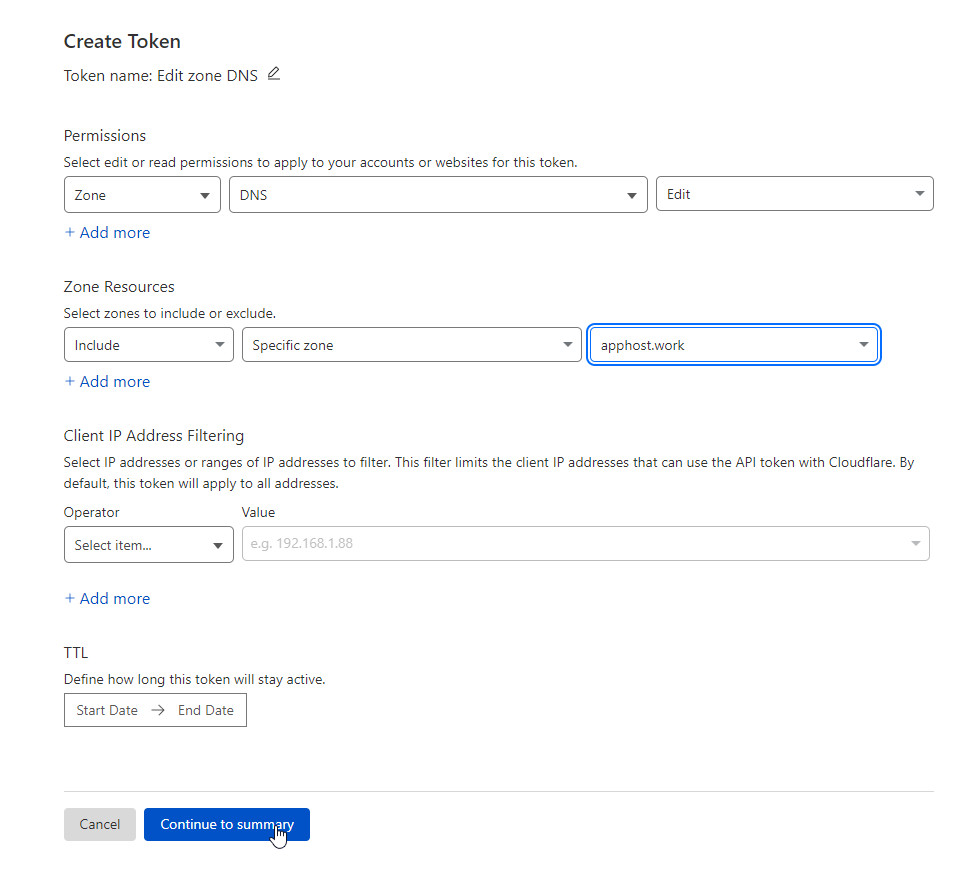
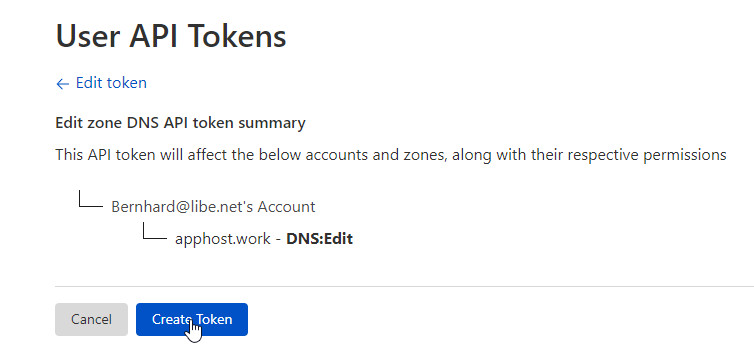
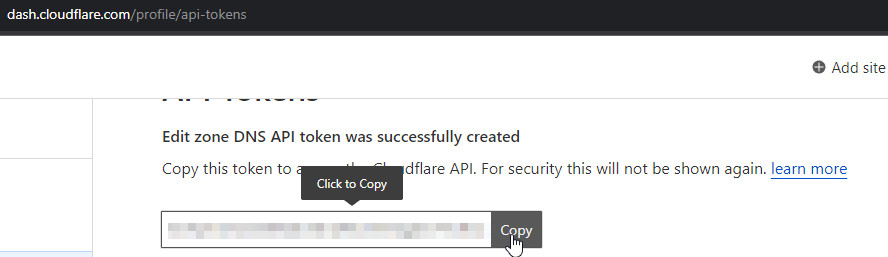
The token, can then be deposited in "Options" and DNS as follows:
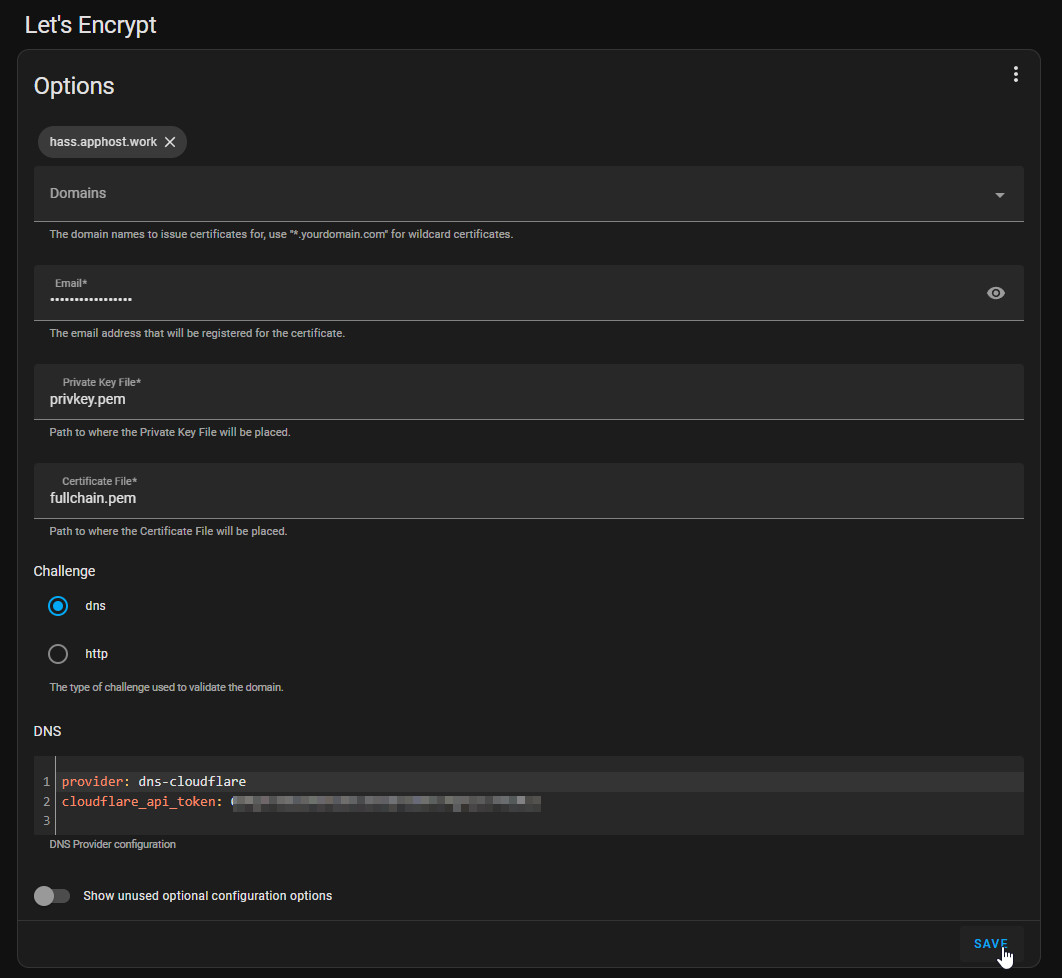
provider: dns-cloudflare
cloudflare_api_token: ???
A look at the log shows us if the certificate could be issued successfully:

Alternative port
If for some reason the Internet provider blocks port 443 incoming, Home Assistant can also be operated on another port, for example on the standard port 8123:
Conclusion
The combination of a Raspberry Pi and Home Assistant provides a cost-effective way to build your own smart home, without the dependence on a cloud provider: The operation takes place entirely within the user's own network and the setup optionally offers the possibility to access it from the Internet as well: With the same convenience of a cloud service.
 ({{pro_count}})
{{percentage}} % positive
 ({{con_count}})